Editor’s note: This blog is part 2 of a series on installing signals for an interlocking plant. You can read part 1 of this series here.
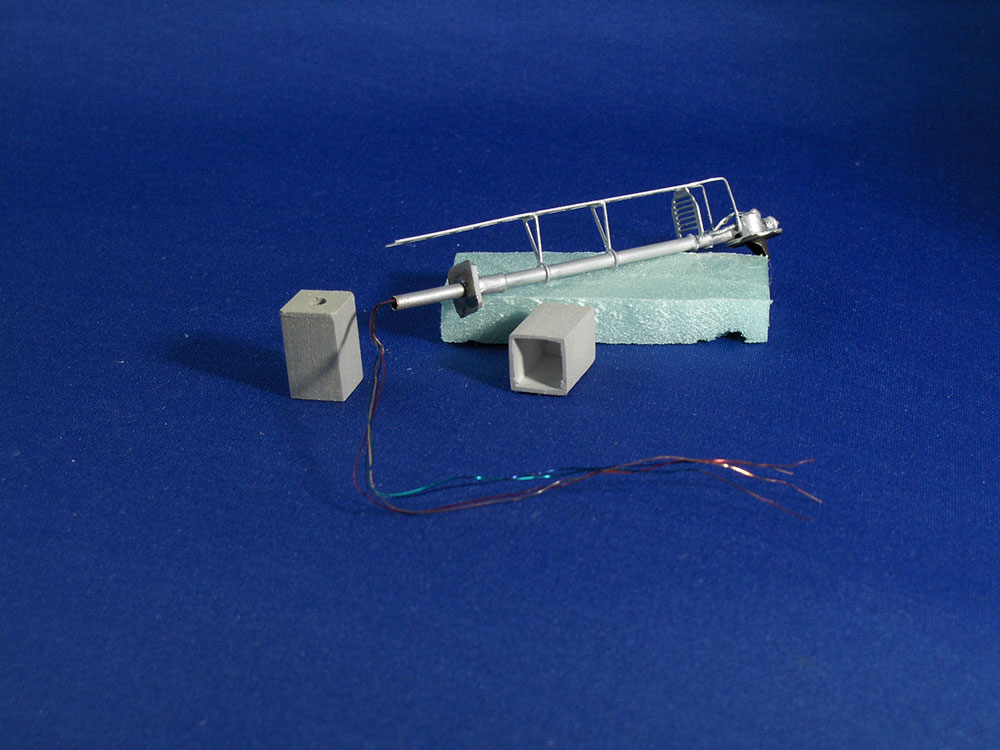
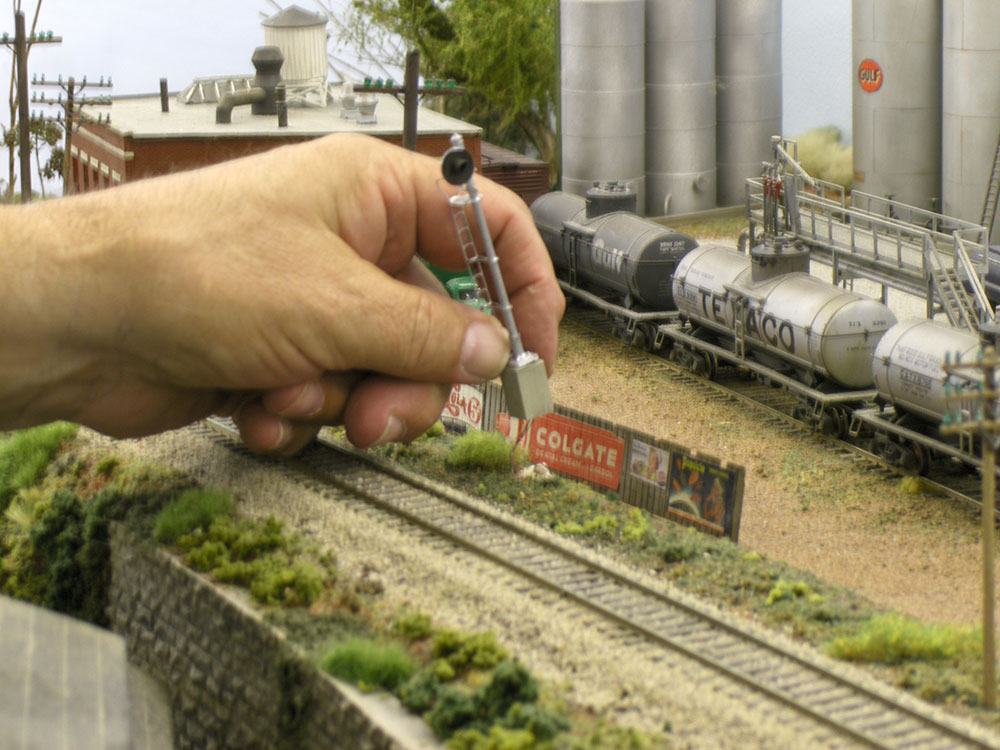
We decided to use searchlight signals manufactured by Tomar Industries. We added a 4′ scale base made out of Plastruct tubing to help raise the approach light signal mast and to give the whole thing a nice prototypical looking base. The signal will not be permanently attached to the base and the base will not be glued to the layout scenery. Even though I hope it’s never damaged, I have taken this precaution of using a completely loose signal to minimize the damage.
You’ll notice the very fragile, color-coded, insulated magnet wire that powers the three color LED with a common anode.
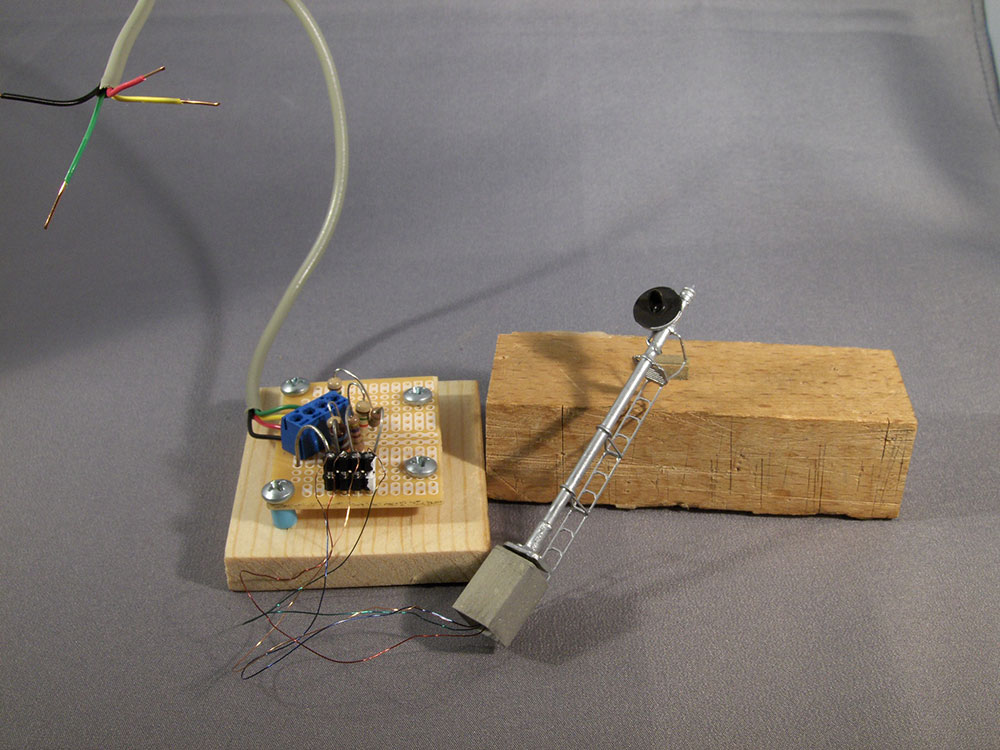
Also in the picture is the base made from a piece of circuit board. The green wire powers the green light, the red wire powers the red light, and the yellow wire powers the yellow (caution) light. It contains a female plug to receive the male plug we very carefully soldered to the magnet wires. The gray cable attached to the board will provide the 12 volts D.C. needed to power the signal. There is also a 2100 ohm resistor on the board so the LED will last longer with a current draw of 17-19 milliamps. We are only running the LED at 2.2 volts.
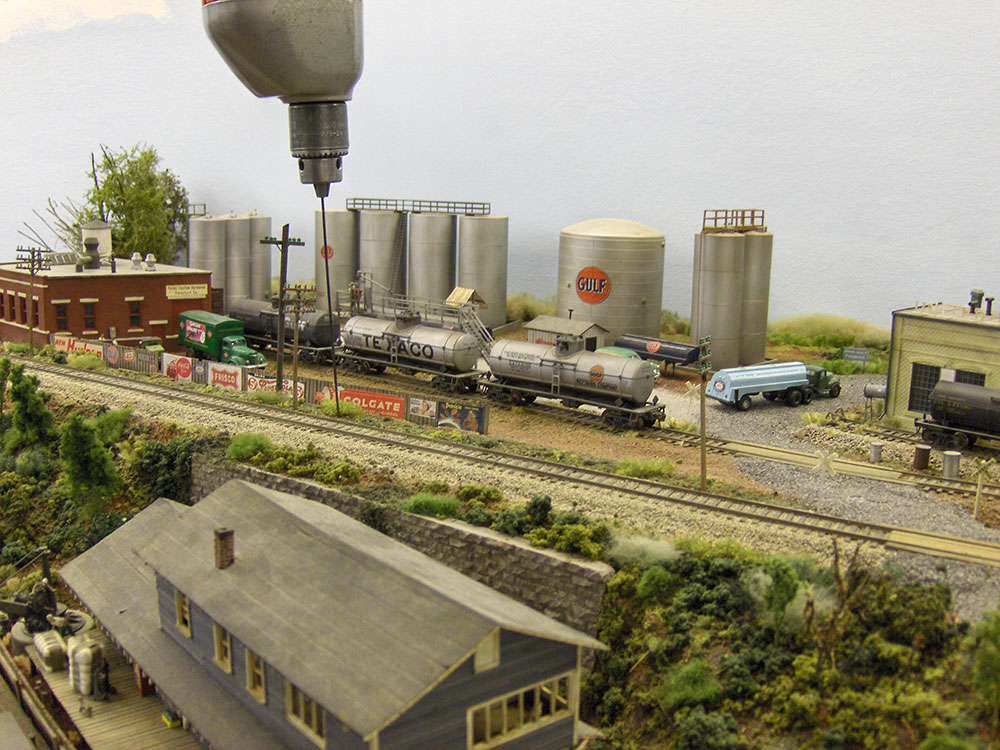
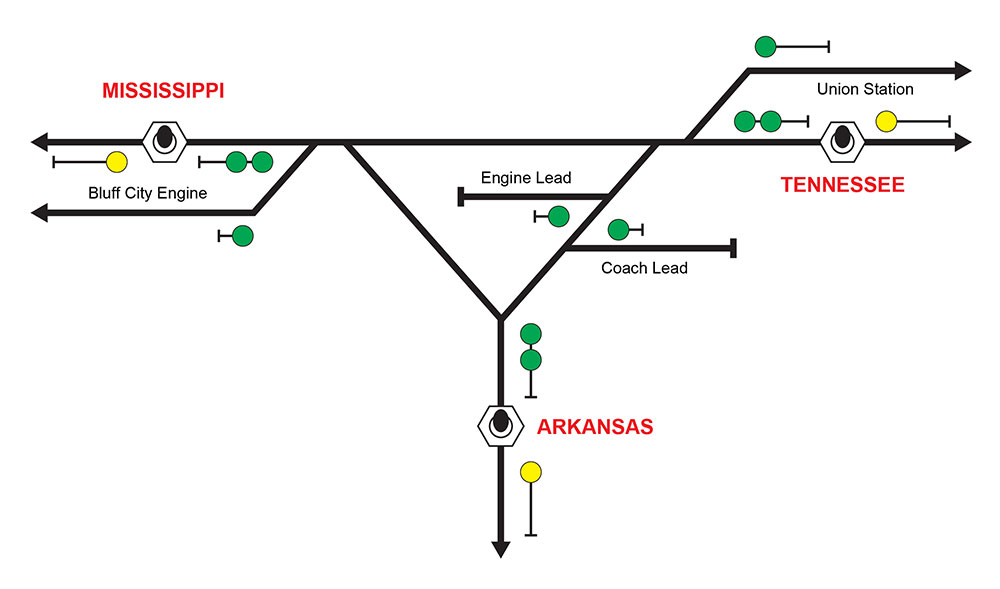
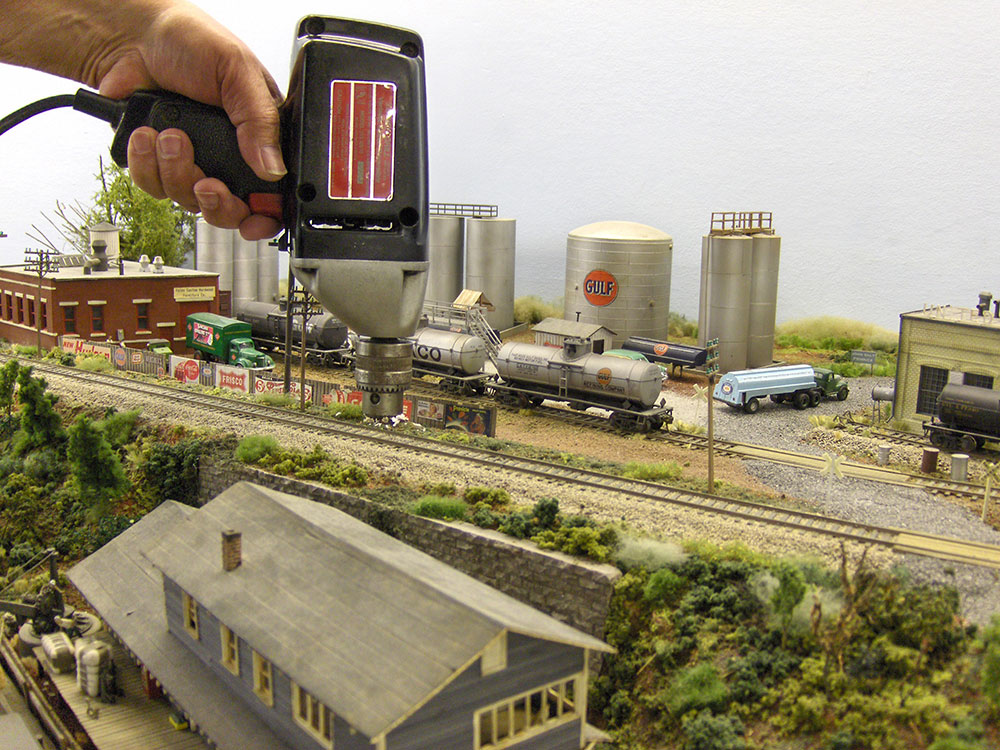
First we had to drill a pilot hole in the scenery base. We used a small drill bit to start. We add our first signal on the Arkansas approach to the wye. If you remember we are signaling a wye that connects three areas of the Bluff City Southern. The Mississippi, Arkansas, and Tennessee peninsulas all meet at the Bridge Junction Wye in Memphis.
Later we went to a larger bit that will accommodate the plug that we soldered to the magnet wires. This step makes the signal completely removable if we just unhook it from the board.
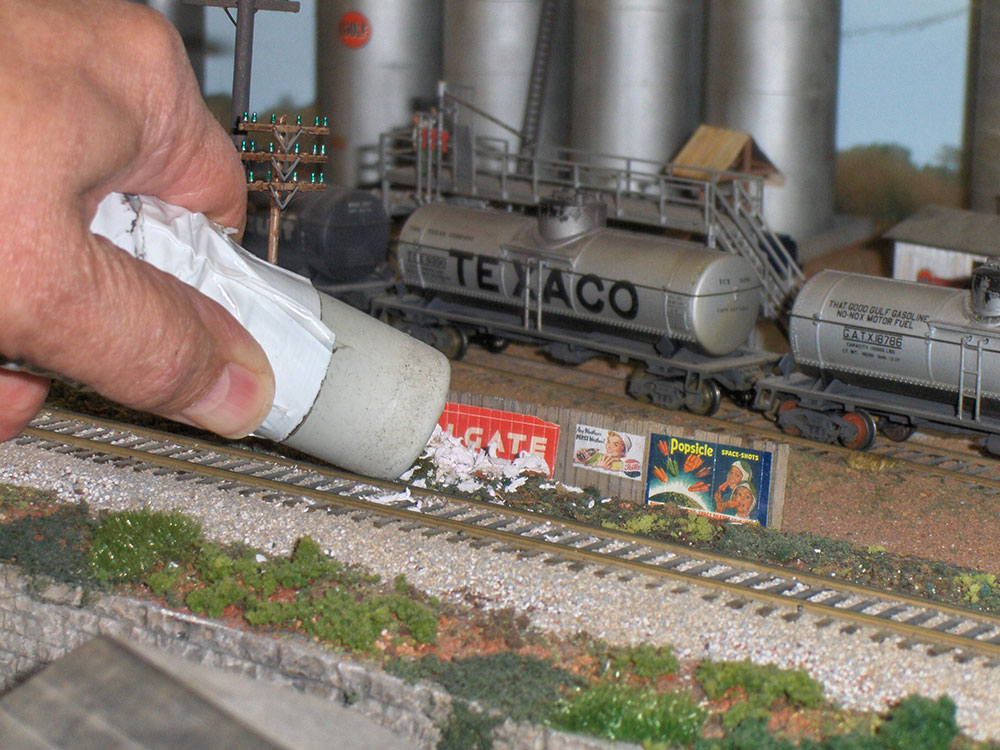
Since my layout base is 2” pink styrofoam, it was necessary to vacuum up the mess from the drilling.
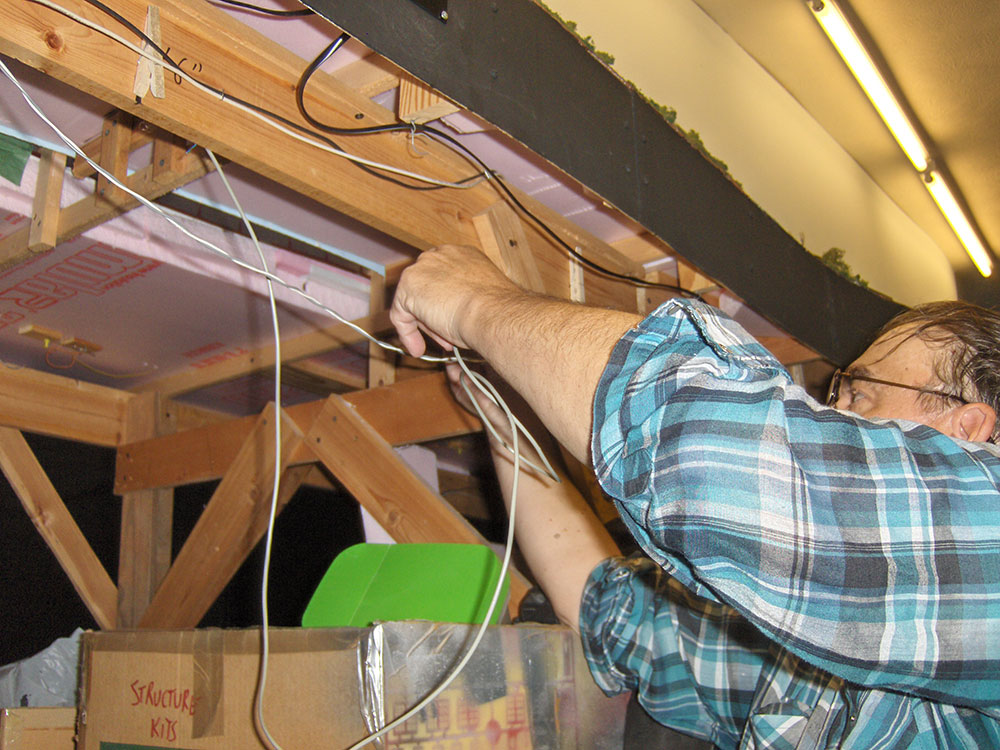
Kevin volunteered to do the dirty work under the layout. Here he is running the control wires for the signals. The signals use common anode wiring. This means the common wire to the signal is connected to the + (positive) side of the power supply.
Each cable contains four wires. A common and the separate wires for each color of the signal. Isn’t it amazing how much stuff we can store under our layouts?
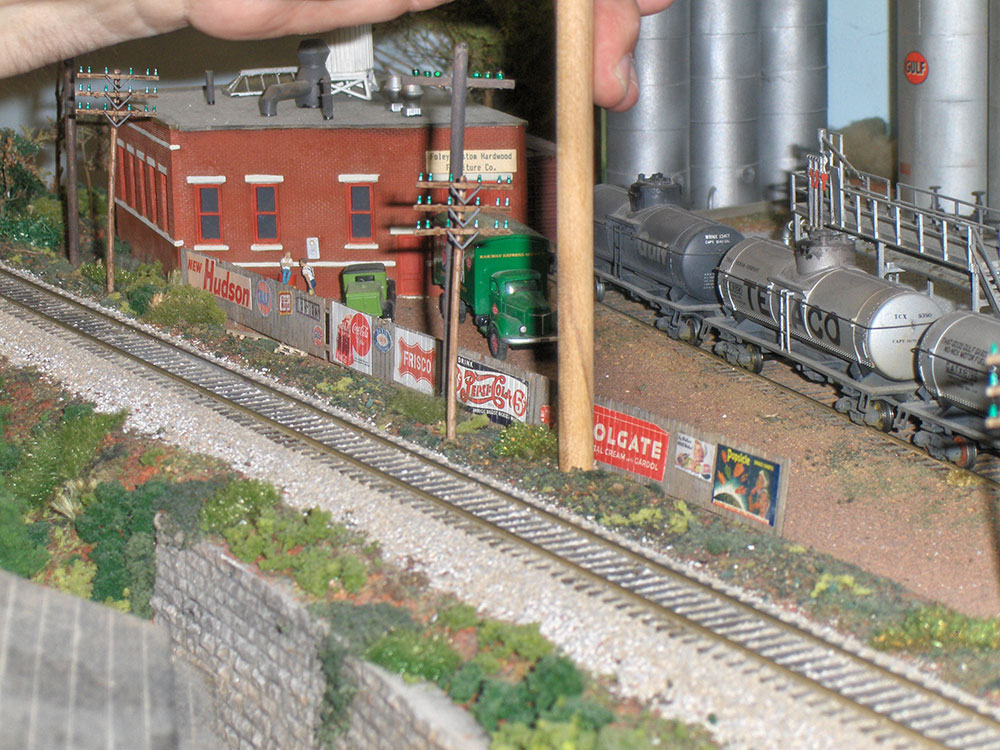
Here we just took a 3/8” wooden dowel to clear out any remaining foam in the hole.
Fortunately everything fit after we cleaned out the hole. We inserted the plug and let it fall down so the fragile magnet wires would follow.
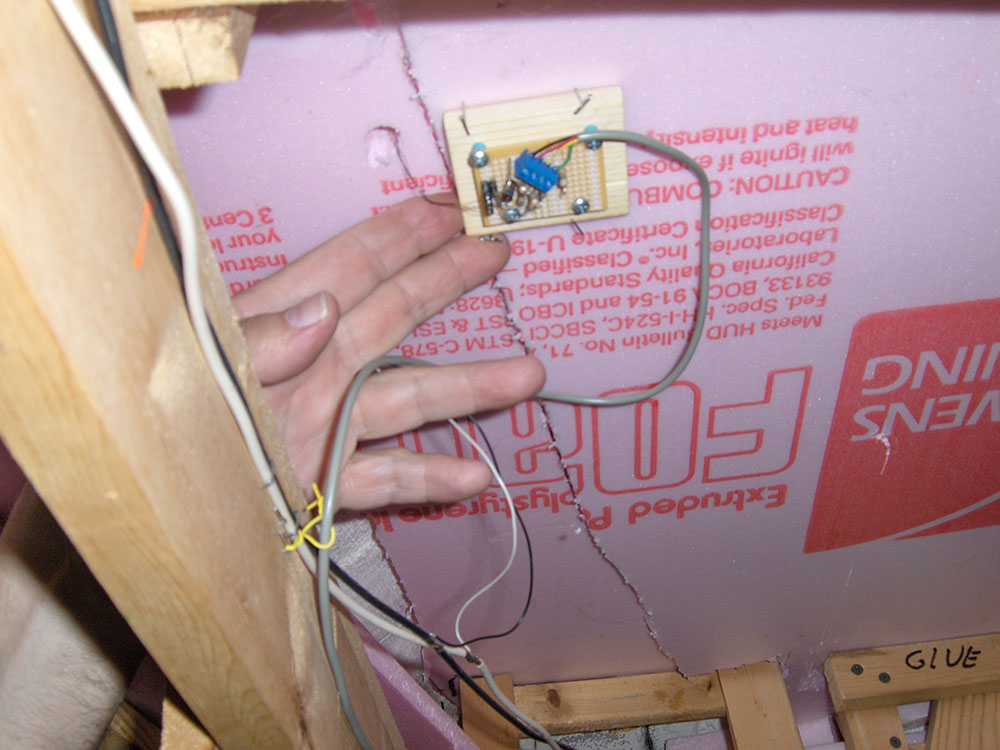
We glued the board to the styrofoam and plugged in the control cable. You can see two sets of plugs and disconnects. One for the signal itself and one for the cable.
The board contains resistors used to limit current through the LED. This prevents damage and extends the life of the LED. Also there’s a protection diode to prevent possible damage from a reverse hook-up.
The board makes it easy to mount components for each individual signal and also makes for quick installation and repair if a signal ever fails.
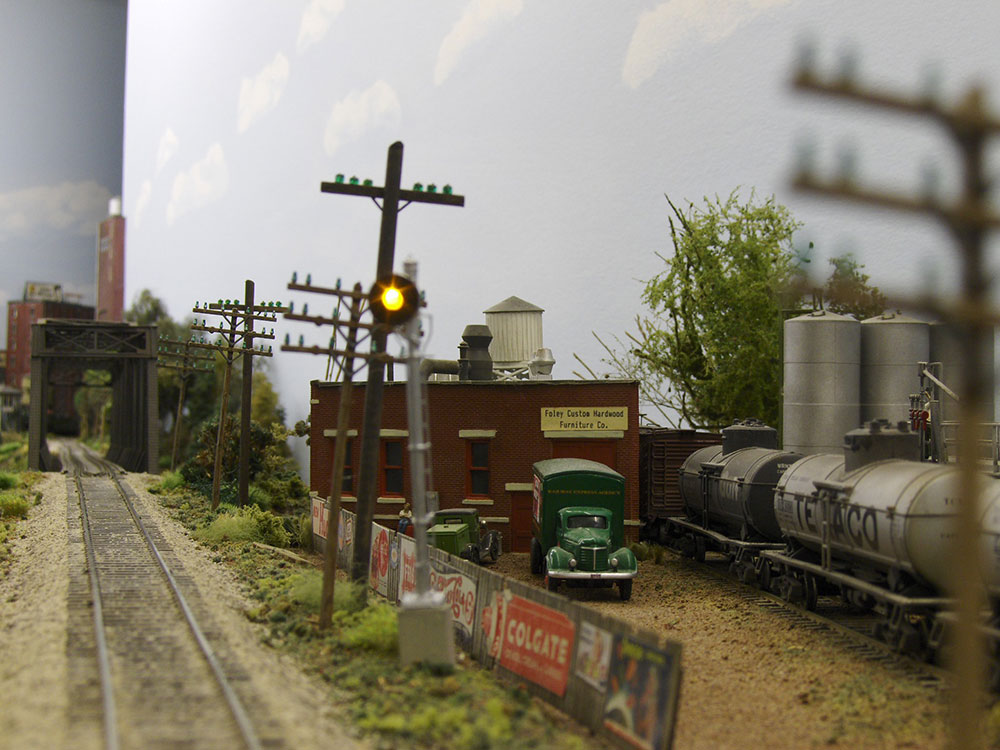
Hey it works! It’s really quite bright but we are only running it at 17 milliamps instead of the maximum of 20 milliamps. The actual voltage on the LED is 2.2 volts.
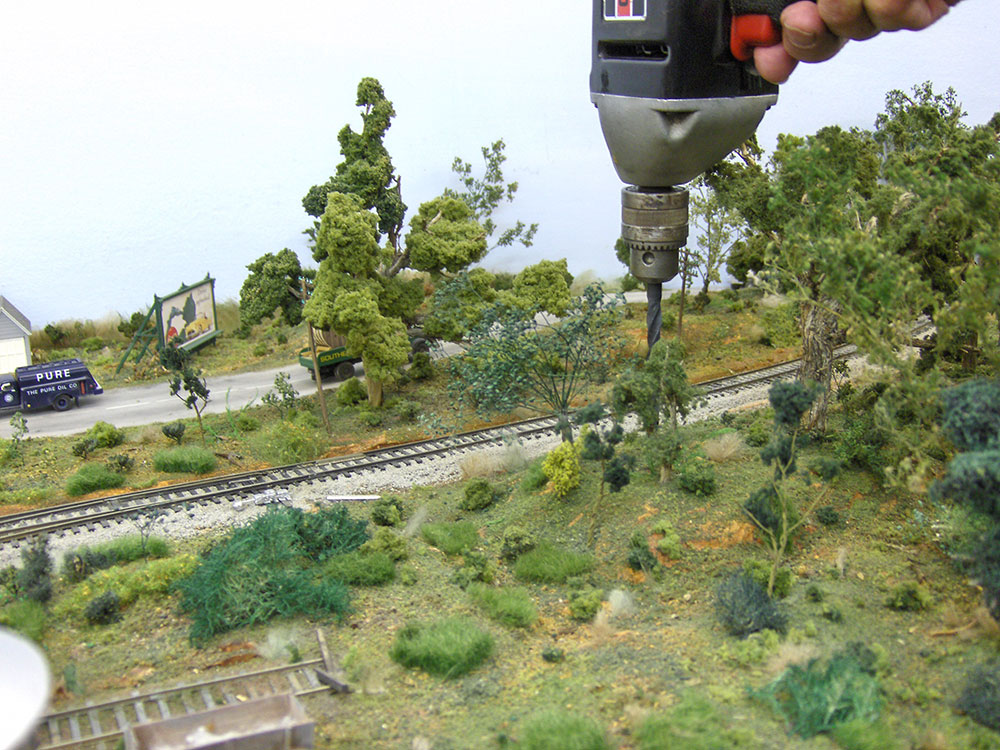
Here we are drilling another hole on the approach from the Mississippi section of the layout.
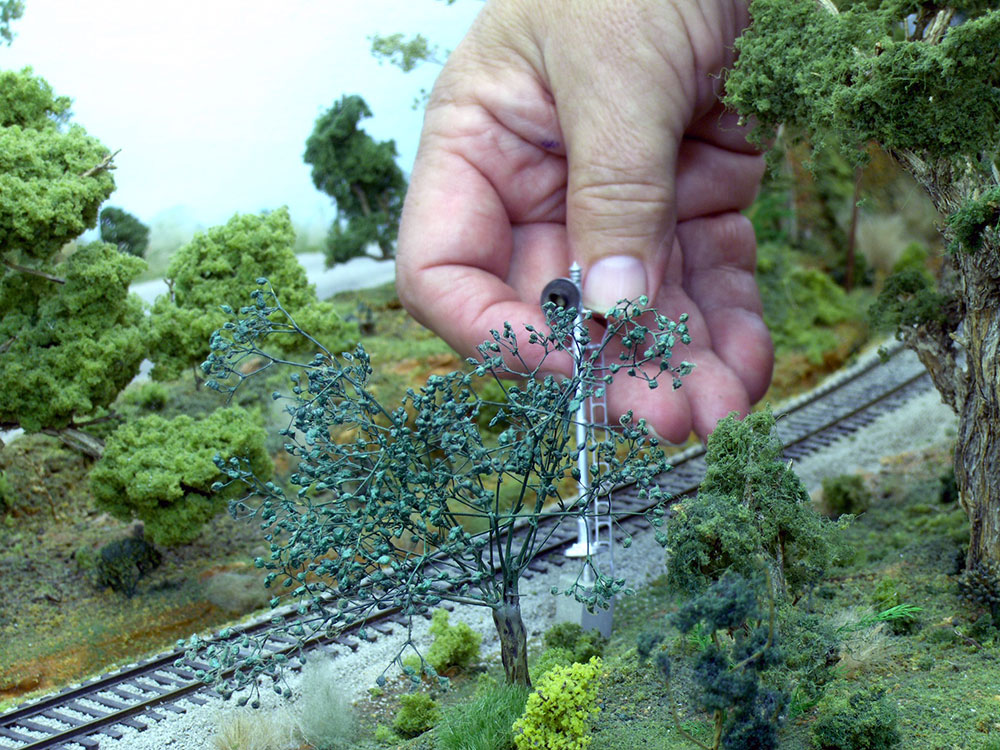
After cleaning out the hole with the wooden dowel, the searchlight approach signal is put in place.
This signal works too! We installed the final searchlight signal on the Tennessee approach to the wye.
In another installment we will talk about the circuit and the power supply we are building to power all the signals.
More in this series:
Installing Approach Signals for an Interlocking Plant: Part 1
Installing Approach Signals for an Interlocking Plant: Part 3
Have something to add to the story? Leave a comment or connect with us on Facebook.


Since your scenery base is styrofoam, when making your pilot holes you could use a skewer chucked into your drill motor. Most anyone who operates on a railroad has a bunch of those skewer uncoupling tools laying around. Using one to "drill" pilot holes makes a lot less styro-chips to vacuum up. Then chuck the appropriate size dowel in the drill motor to make the final hole (I'd sharpen the end in a pencil sharpener).
kevin can you send the schematic for your controll board.im trying to use arduino .to do what your doing put its the code im having problems with. thanks.
Could you publish the wiring diagram for the small printed circuit board the has the diode and current limiting resistors? TIA, Paul G