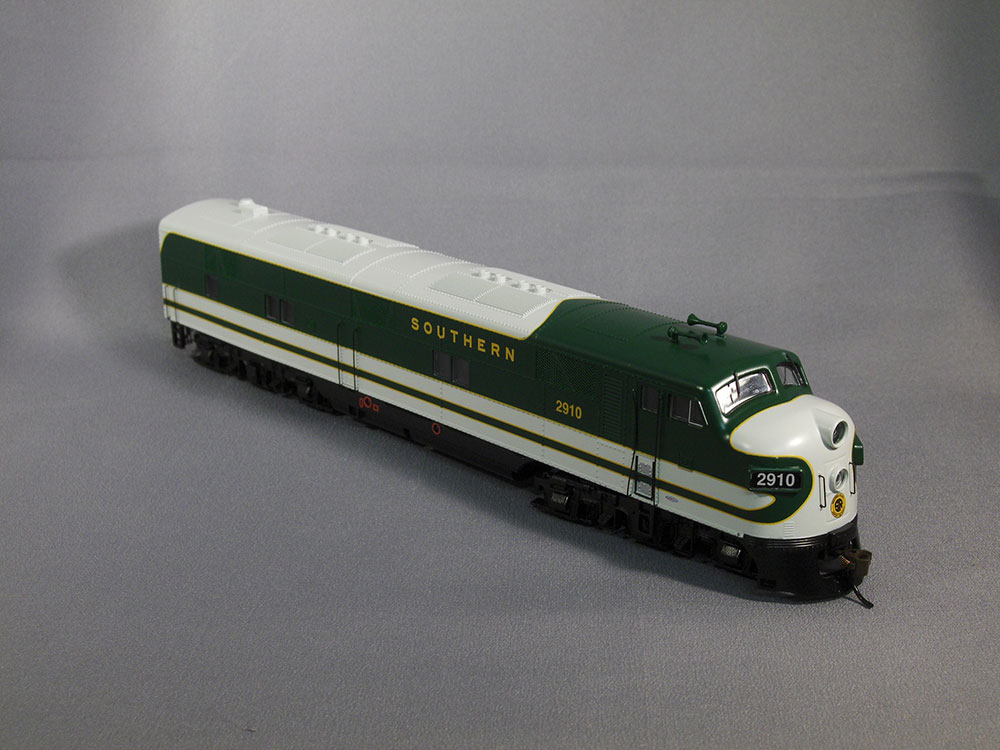
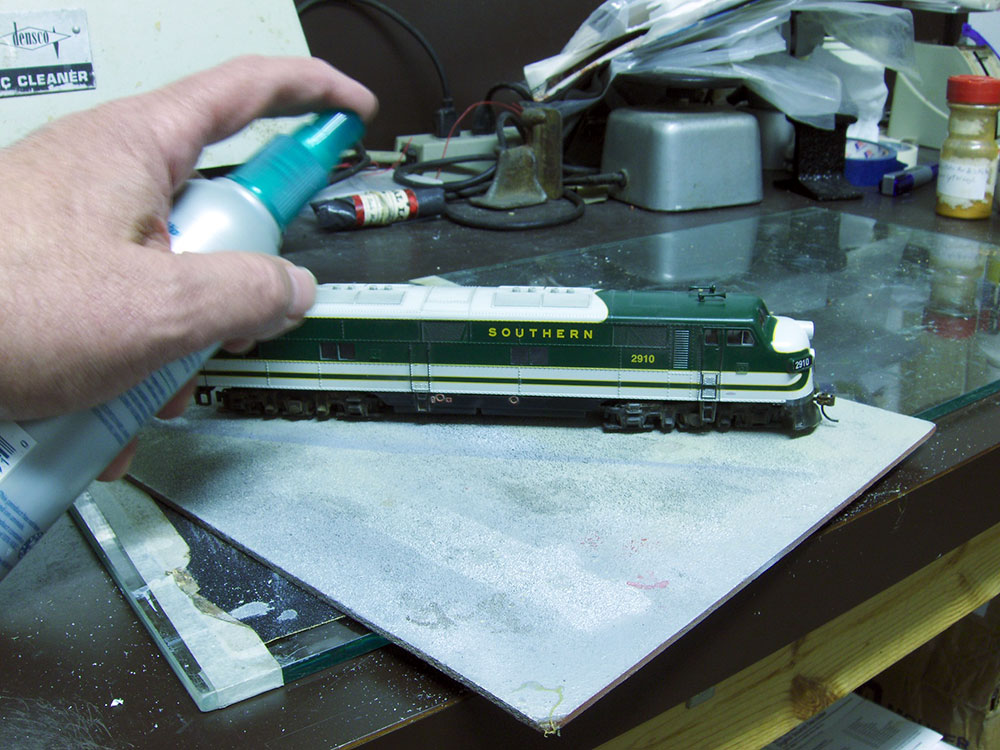
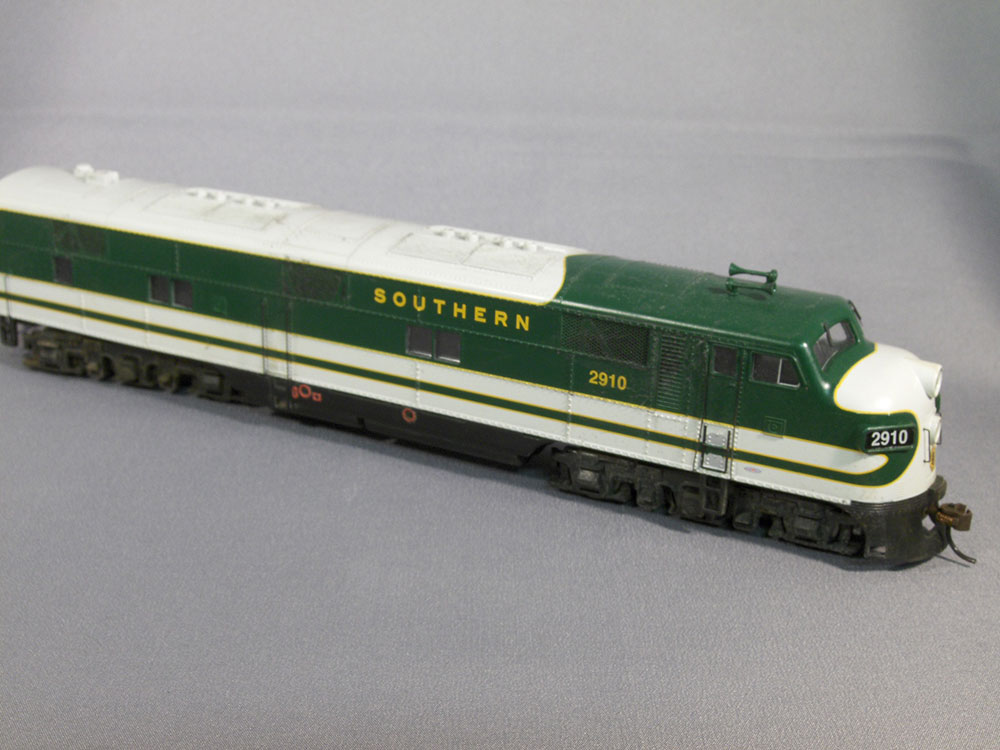
This is a new HO scale E-7 diesel. It’s well detailed and runs well with sound, but it looks too toy-like to me. There are as many ways to weather a locomotive as there are model railroad track plans!
I want to show you a quick way to make your engines look less toy-like. It’s always possible to do a more thorough weathering job, but my simple and quick techniques will help improve things a lot.
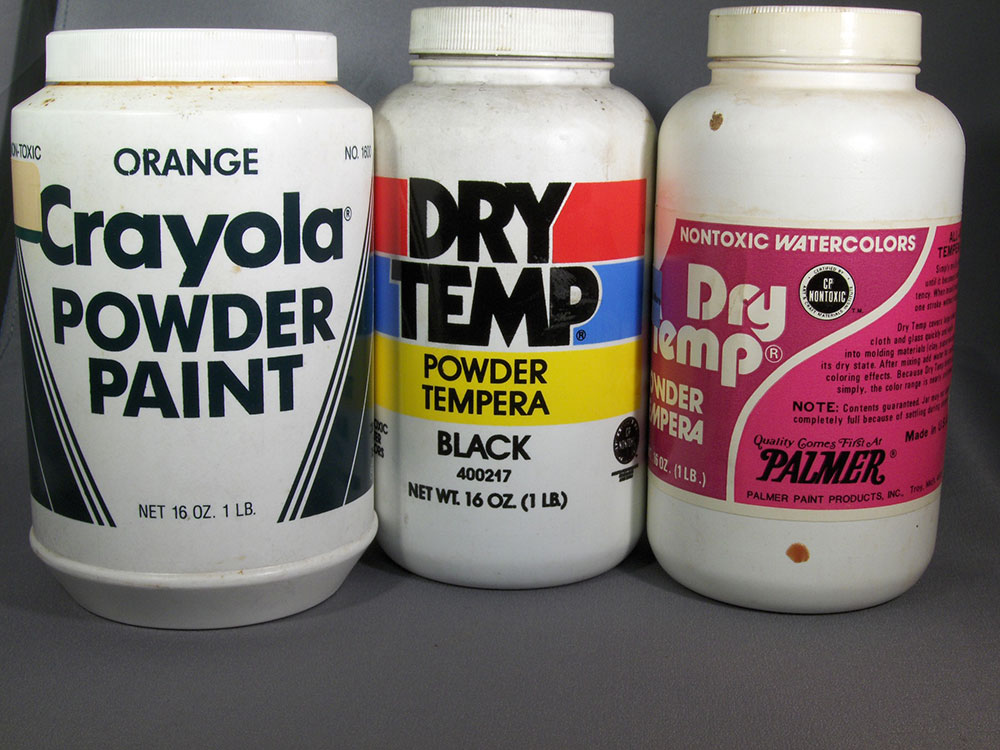
First you need to know that I use powdered tempera paint. This stuff looks like chalk and in fact you can apply it just like chalk, but it can be set permanently with water. This paint comes in many colors that can be mixed to get gray, rust, grime, and dirt. Use your imagination, but the point is to remember more can always be done. This paint will give you a nice looking locomotive.
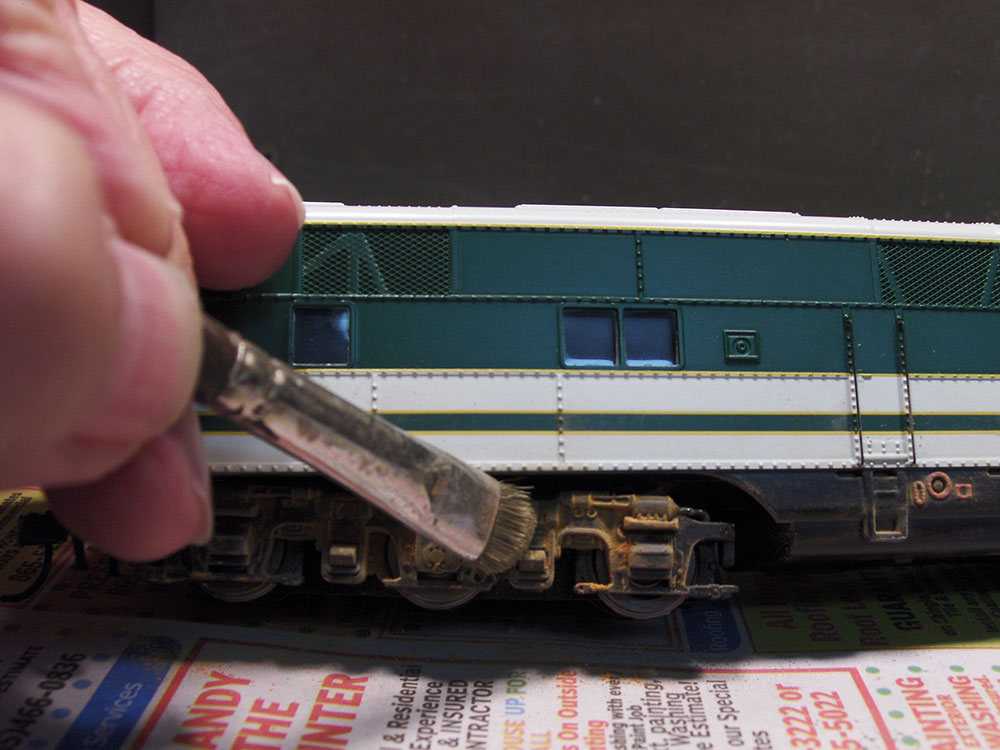
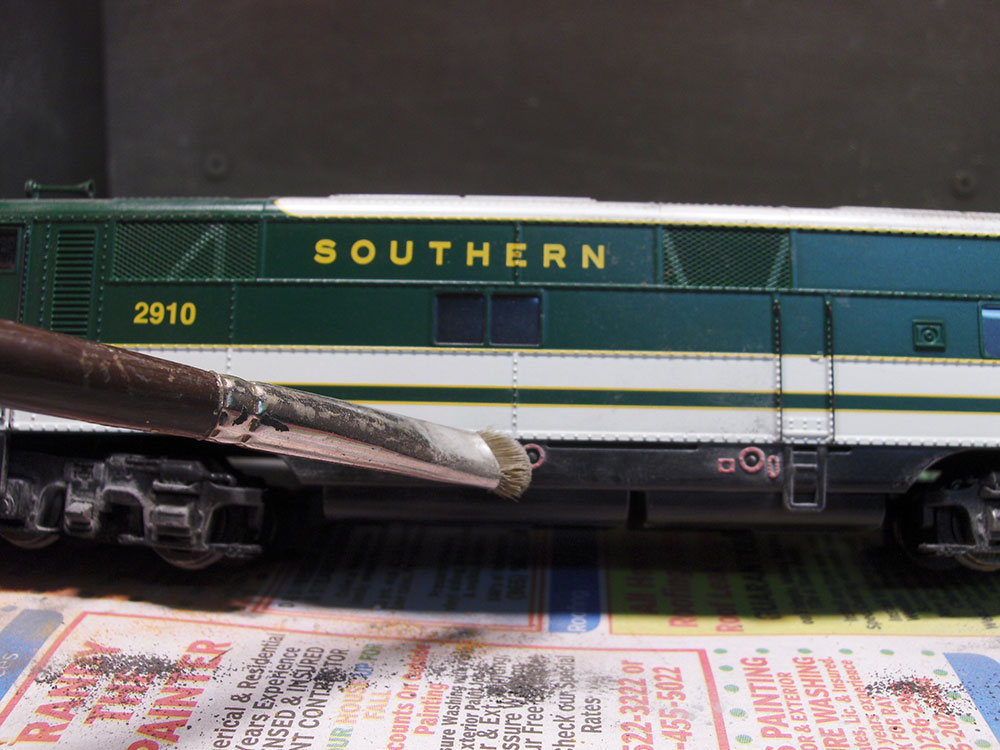
I use an old stiff brush to apply the paint. Scrub it in. You want to pay particular attention to the trucks; a little gray will help bring out the nice details in the model.
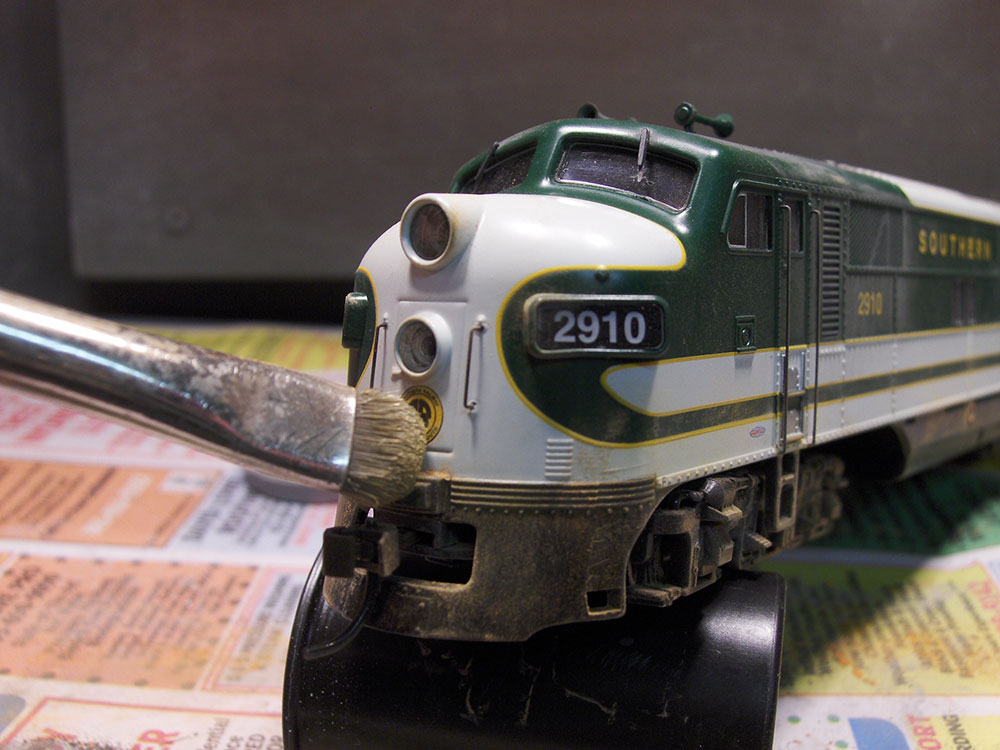
I then add a little paint powder to represent the red clay that is so prevalent in the South. Scrub it in.
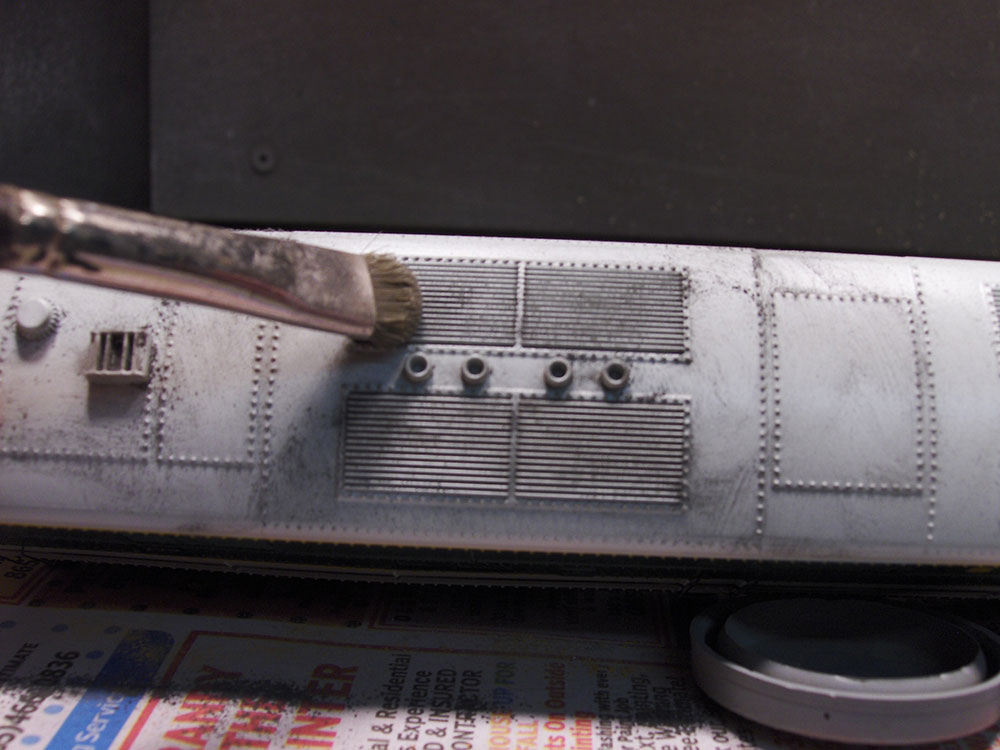
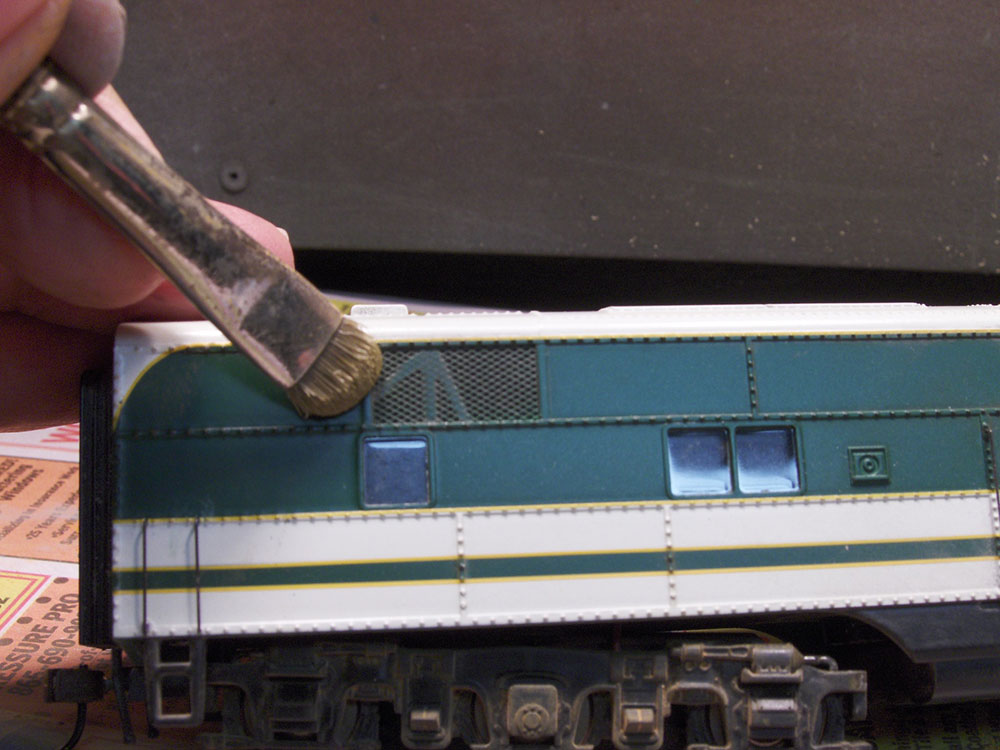
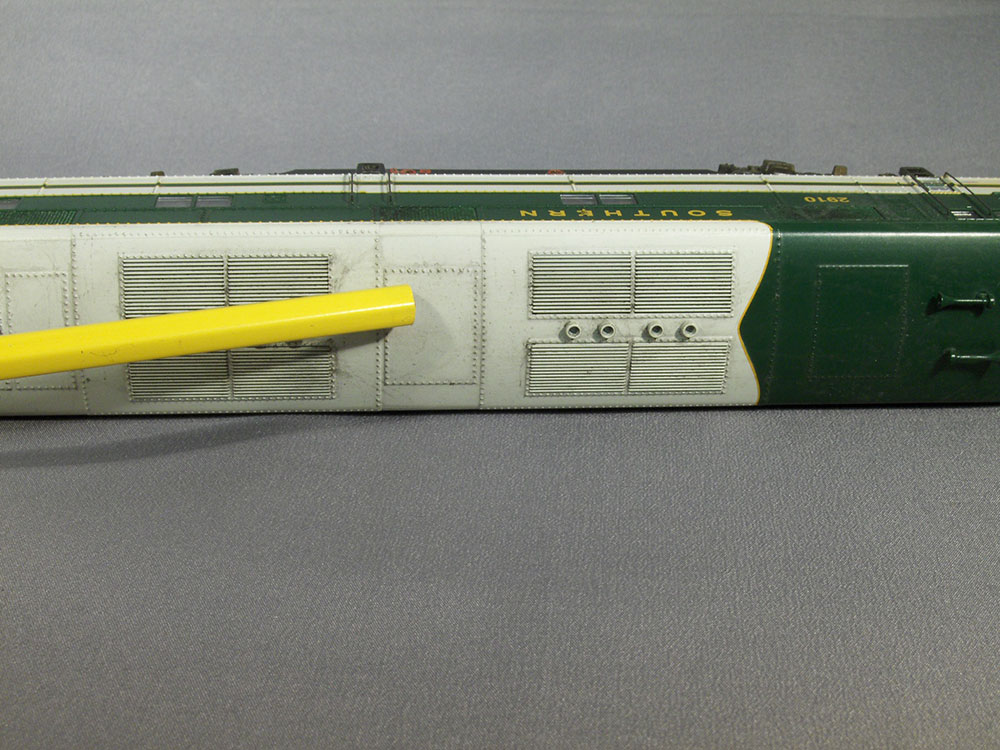
Some gray will add a lot of detail to the roof. Again scrub it in. The roof is the most visible part of a model on a layout. It’s what people notice first. So work to make it look good.
Put some more on the underbody including the fuel tank. You’ll notice I haven’t spent much effort on weathering the sides of the model. Typically passenger equipment was kept fairly clean on the sides, but not so much on the roof. I’ll show you a freight locomotive later that is weathered more heavily.
The front of the engine needs some attention to simulate the dirt that sprays up from the track. If a locomotive is on the road for any time at all it will pick up some weathering. Right now this looks a little harsh, but wait for the final steps.
I always like to add dark gray to the ventilating screens to give the effect of depth.
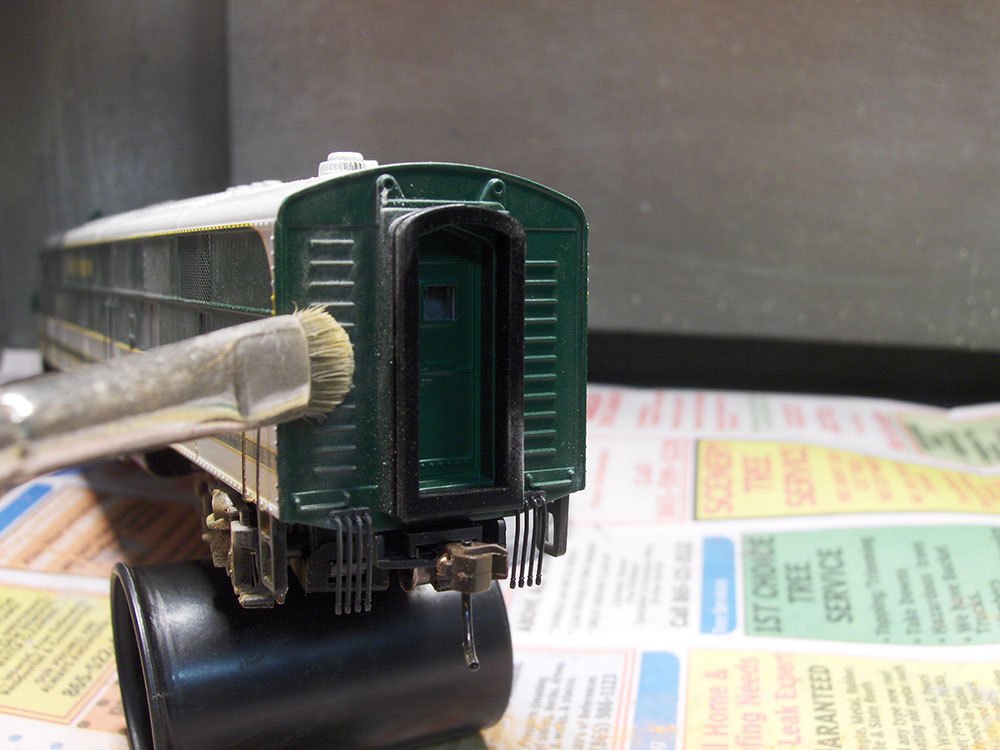
It’s a good idea to add some grime to the back of the engine where the spray will wash up from the track.
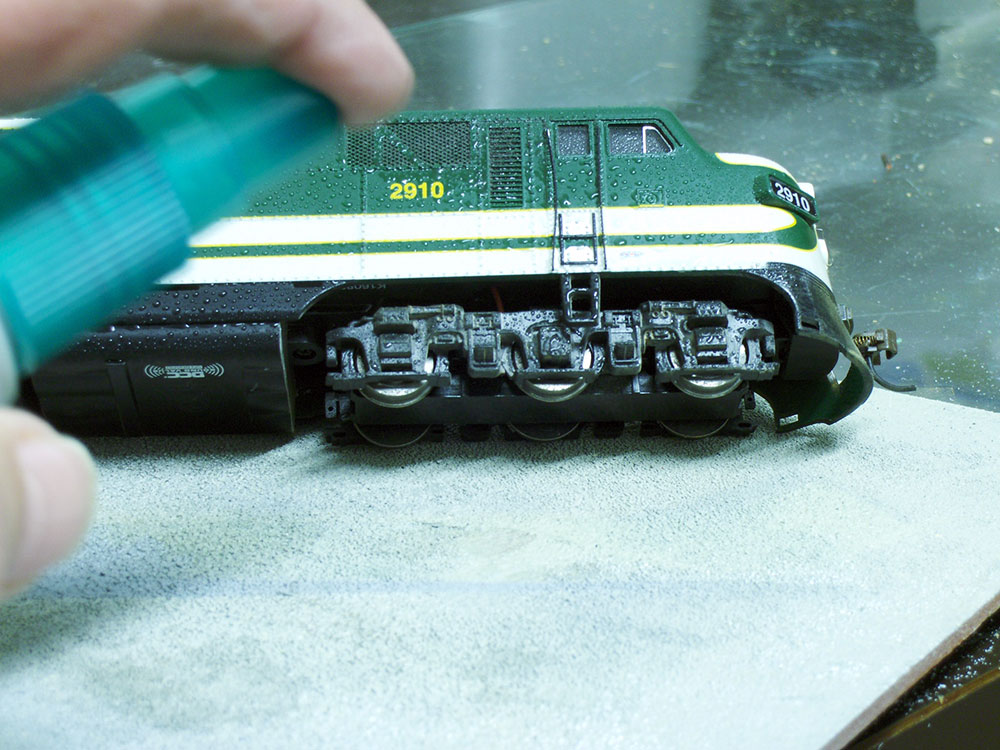
Now here’s the key to the effect. I spray water from an old hair spray bottle that puts out a very fine mist. You don’t want a hard concentrated spray.
Here you can really see the spray to set the paint on the trucks and the ventilator screen.
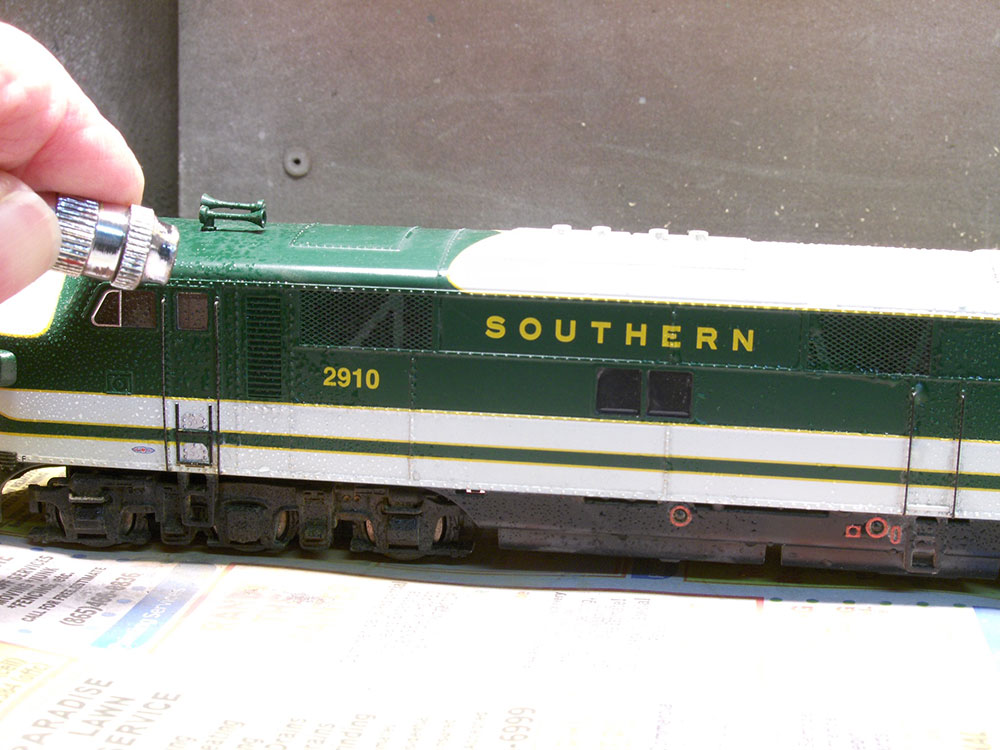
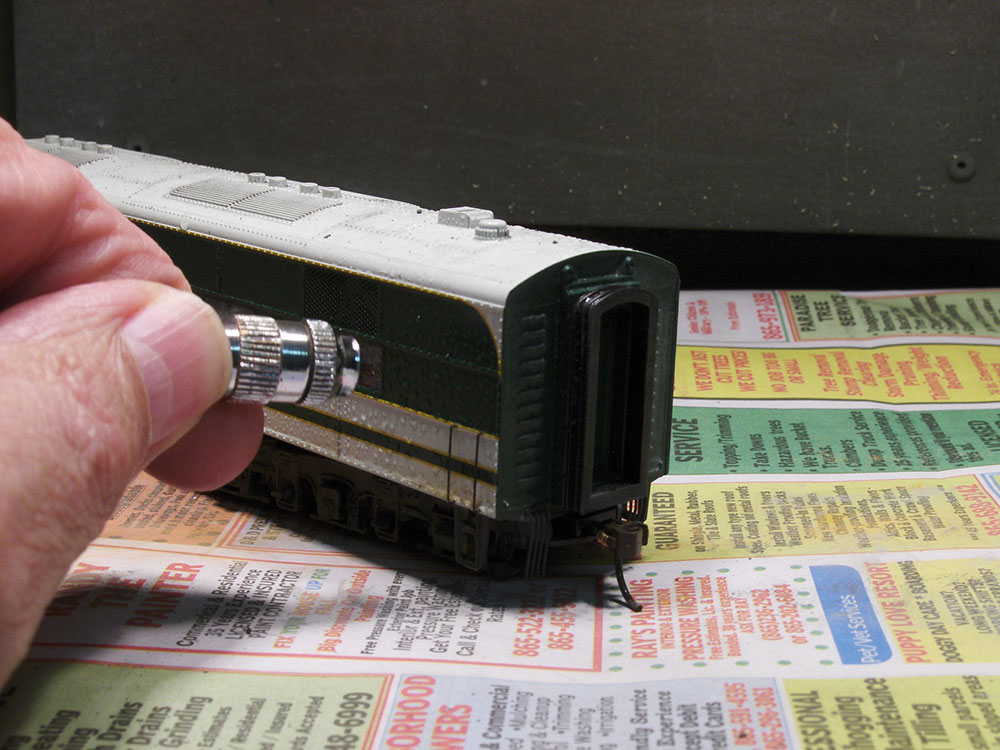
You can let the engine air dry, but air from my compressor gives an interesting effect. It duplicates the way wind will force dirt into seams and creases on the body of the locomotive.
Here the air is applied to the rear of the unit.
Now the E-7 looks like it has been on the road for a while.
Notice how the trucks and ventilator screens show detail that was always there, you just needed some paint to highlight it.
See how nice the roof now looks, the details just pop out. Remember this is the first thing most people will see when they operate this locomotive.
This is another view of the engine with my quick weathering job applied. Later you can always add more, but now this unit does not look like a toy. I like to think that weathering gives the model the appearance of weight and mass.
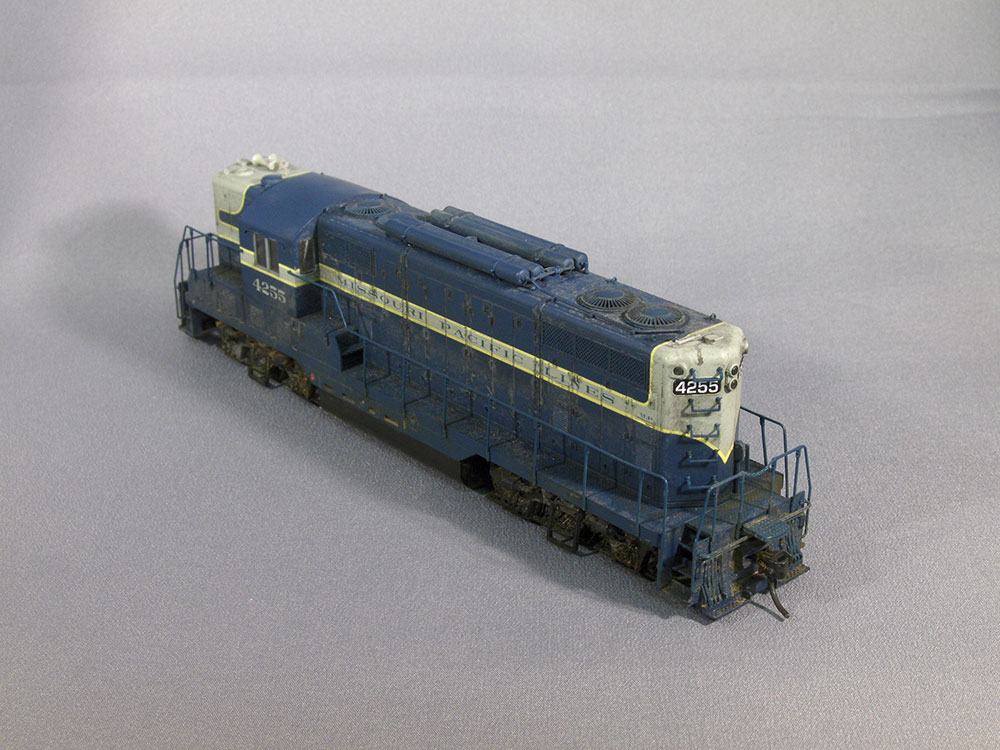
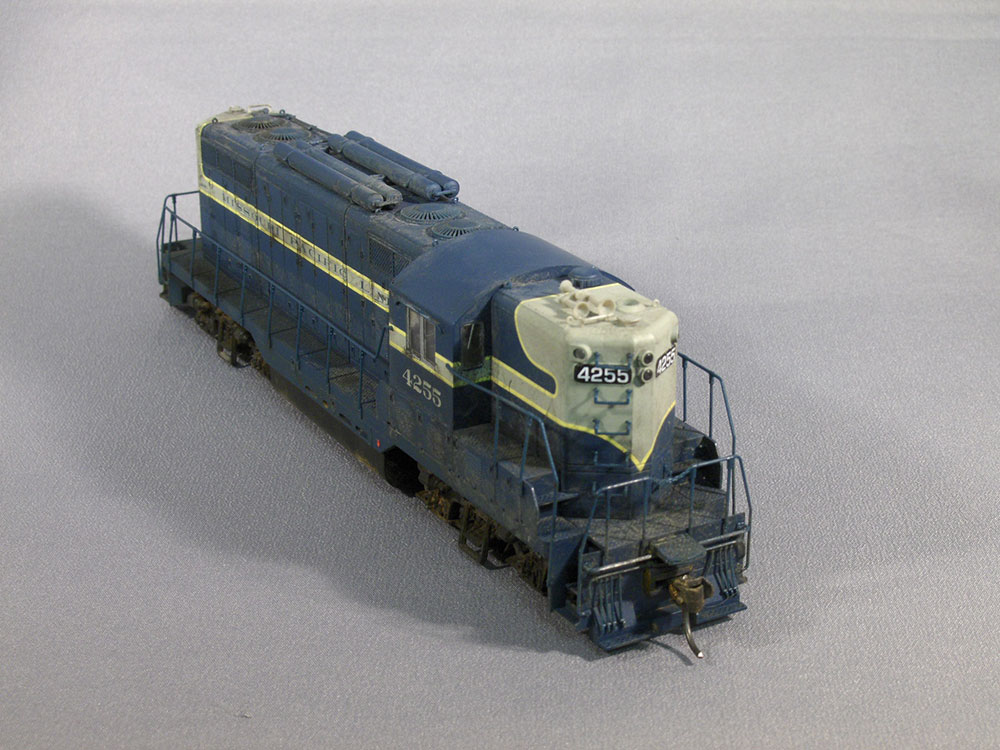
This GP-7 was weathered with the same techniques, but I applied much heavier coats of the paint. I think the engine looks faded and grimy.
I hope this lesson gives you some ideas for weathering a locomotive in about 10 minutes. You can always move the weathering effect around with the brush before you add the water spray. If after the water dries, you notice that things don’t look quite right, it’s possible to scrub the paint again to eliminate any imperfections.
Related videos:
Weathering Technique Using Tempura Paint
Model Railroad Weathering Tips for Stock and Structures
Model Railroad Weathering Techniques for Rolling Stock
Have something to add to the story? Leave a comment or connect with us on Facebook.



Where can you find powdered tempera? It seems everyone sells it in liquid form these days.
Does tempera powder work okay with new very smooth plastic surfaces, as comes on Kato N- scale diesel locos?
VERRY GOOD IDEA
Excellent presentation. I just scanned it through reading the text. With all those pictures, when I get around to doing it, I can read it again, stopping at each step and reading it thoroughly to make sure I can do it right. So much easier than a video. Thanks.
Thanks for your weathering points. They really look authentic now.
thank you E-7 looks great and the GP-7 like an old veteran. Very useful George from NY
Outstanding and concise directions. This post is a keeper.
Quick and simple.
Can you remove it after the water is applied?