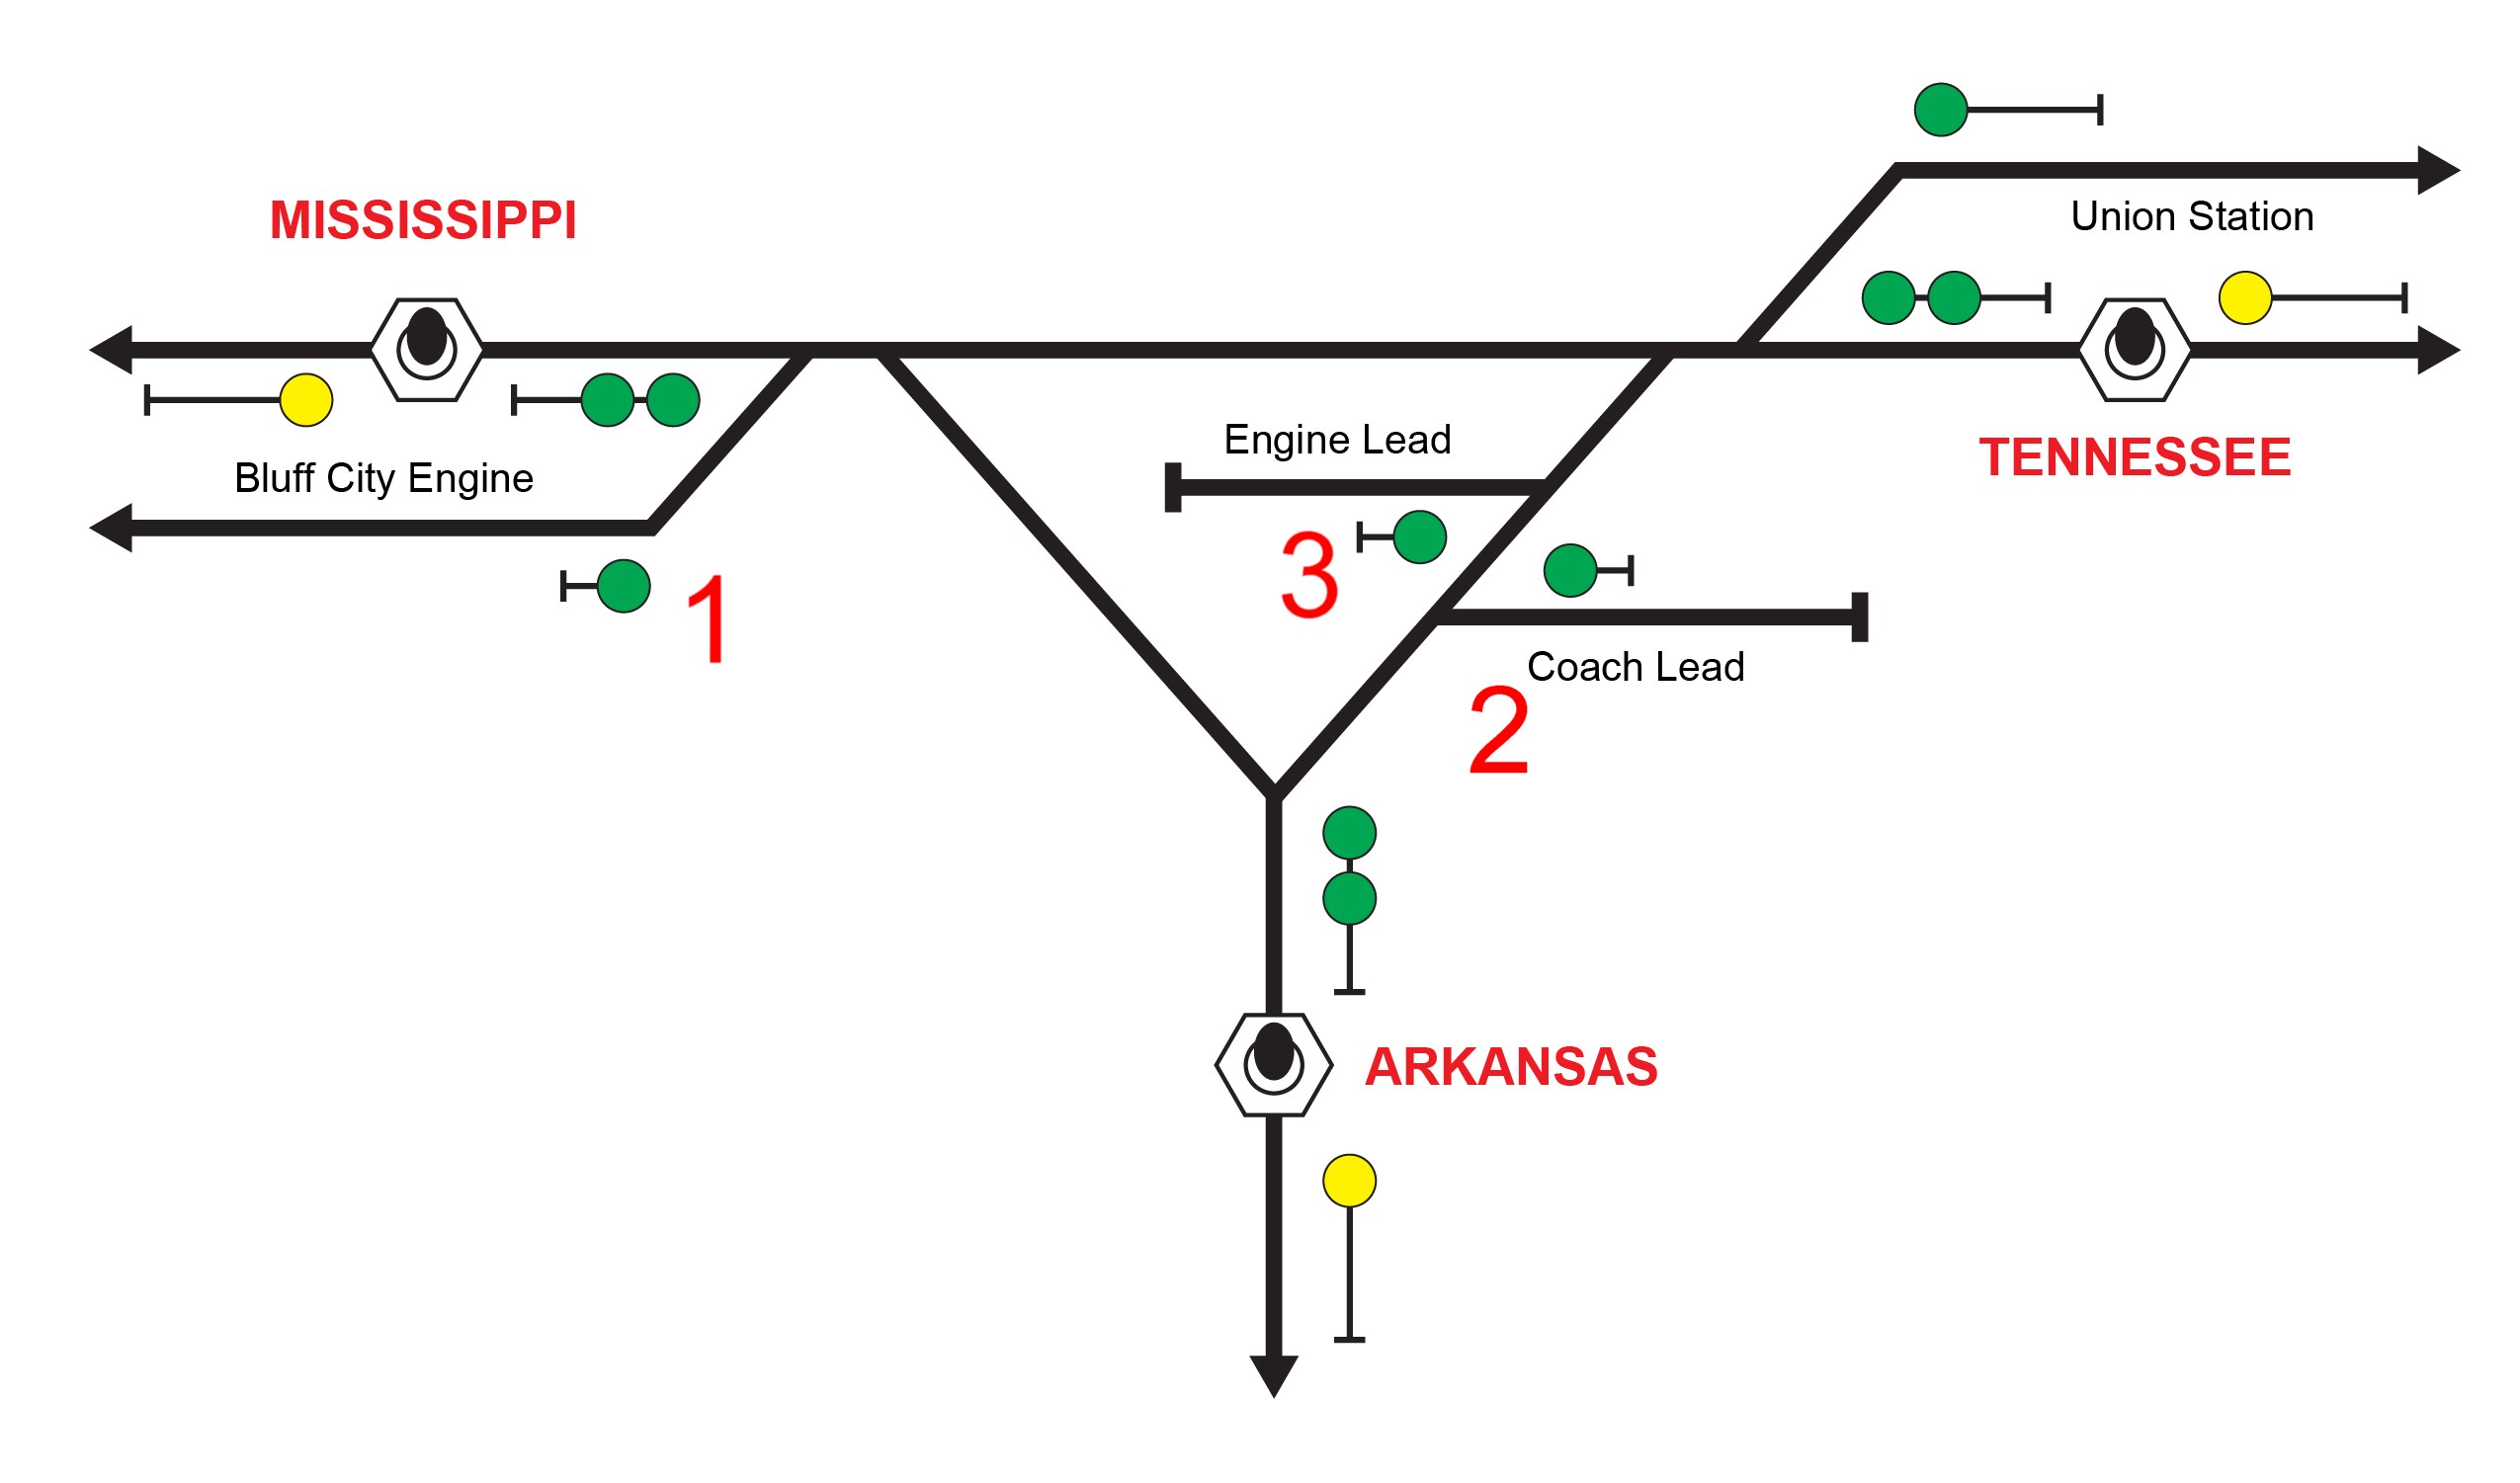
 Here is the diagram for Bridge Junction on Allen’s Bluff City Southern. In earlier blogs (part one, part two, and part three) Kevin Kizer and I installed the approach signals and the train order signal inside the wye. Kevin, a retired signal maintainer, determined that we needed dwarf signals at the three locations marked 1, 2, and 3. Location 1 is the lead to Bluff City yard, location 2 is the lead to the coach yard, and location 3 is the lead to the engine service facility inside the wye itself. Kevin said the signals will tell the engineer if the switch is aligned properly to exit the location.
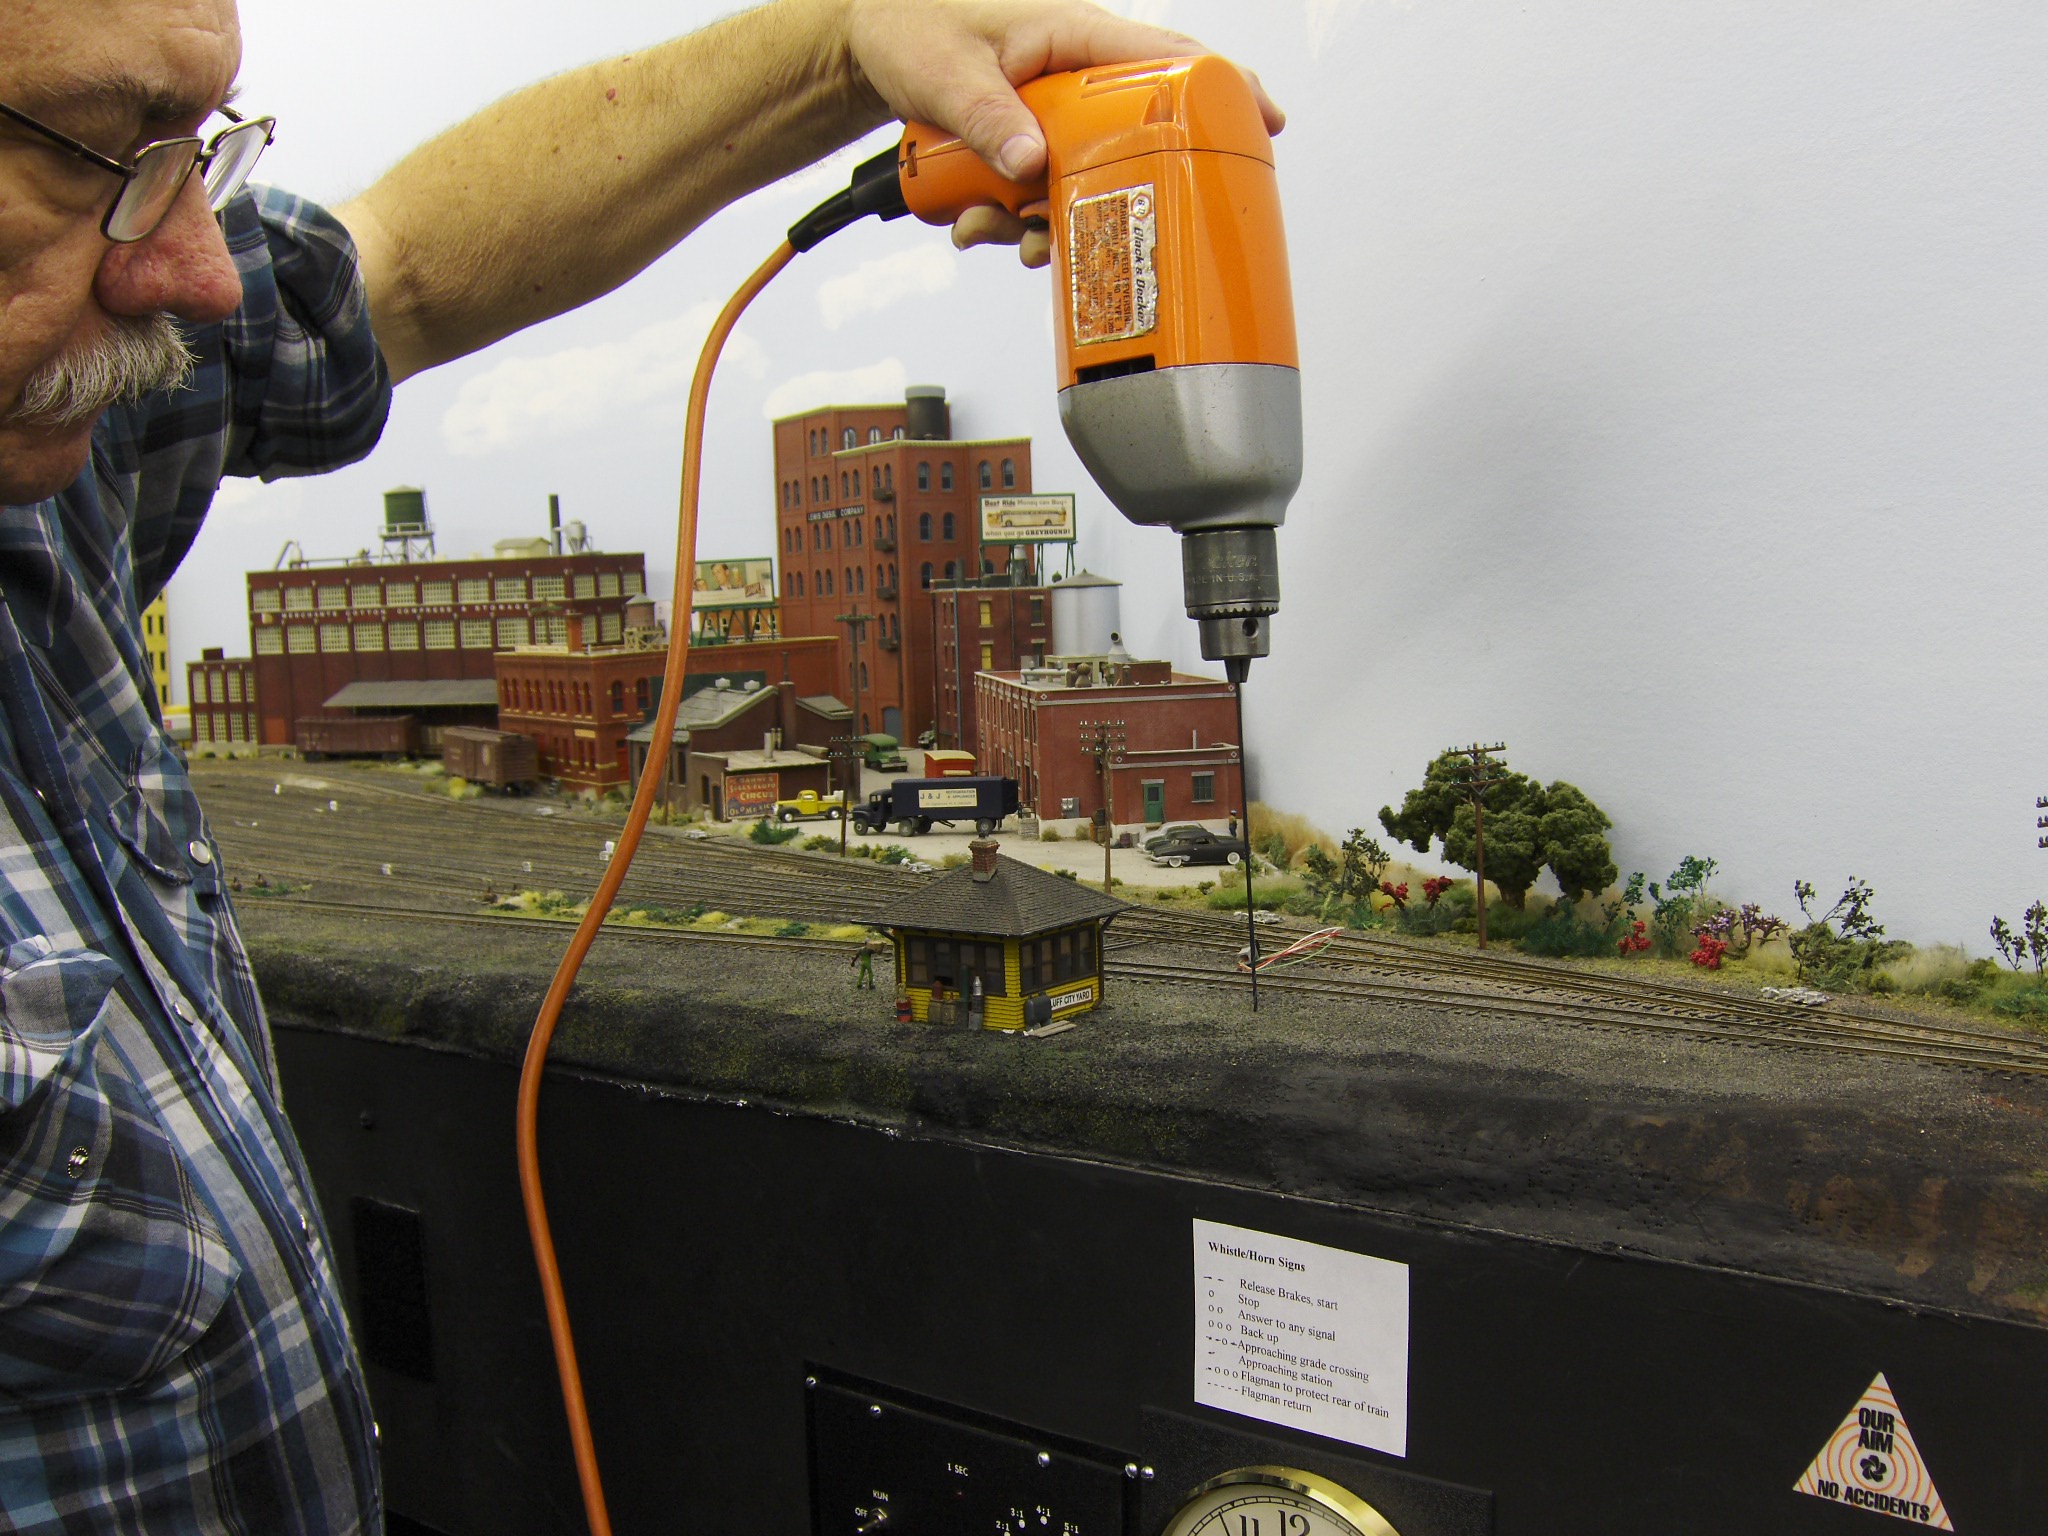 Kevin always likes to drill a pilot hole with a small bit to make sure there is room to install the signal.
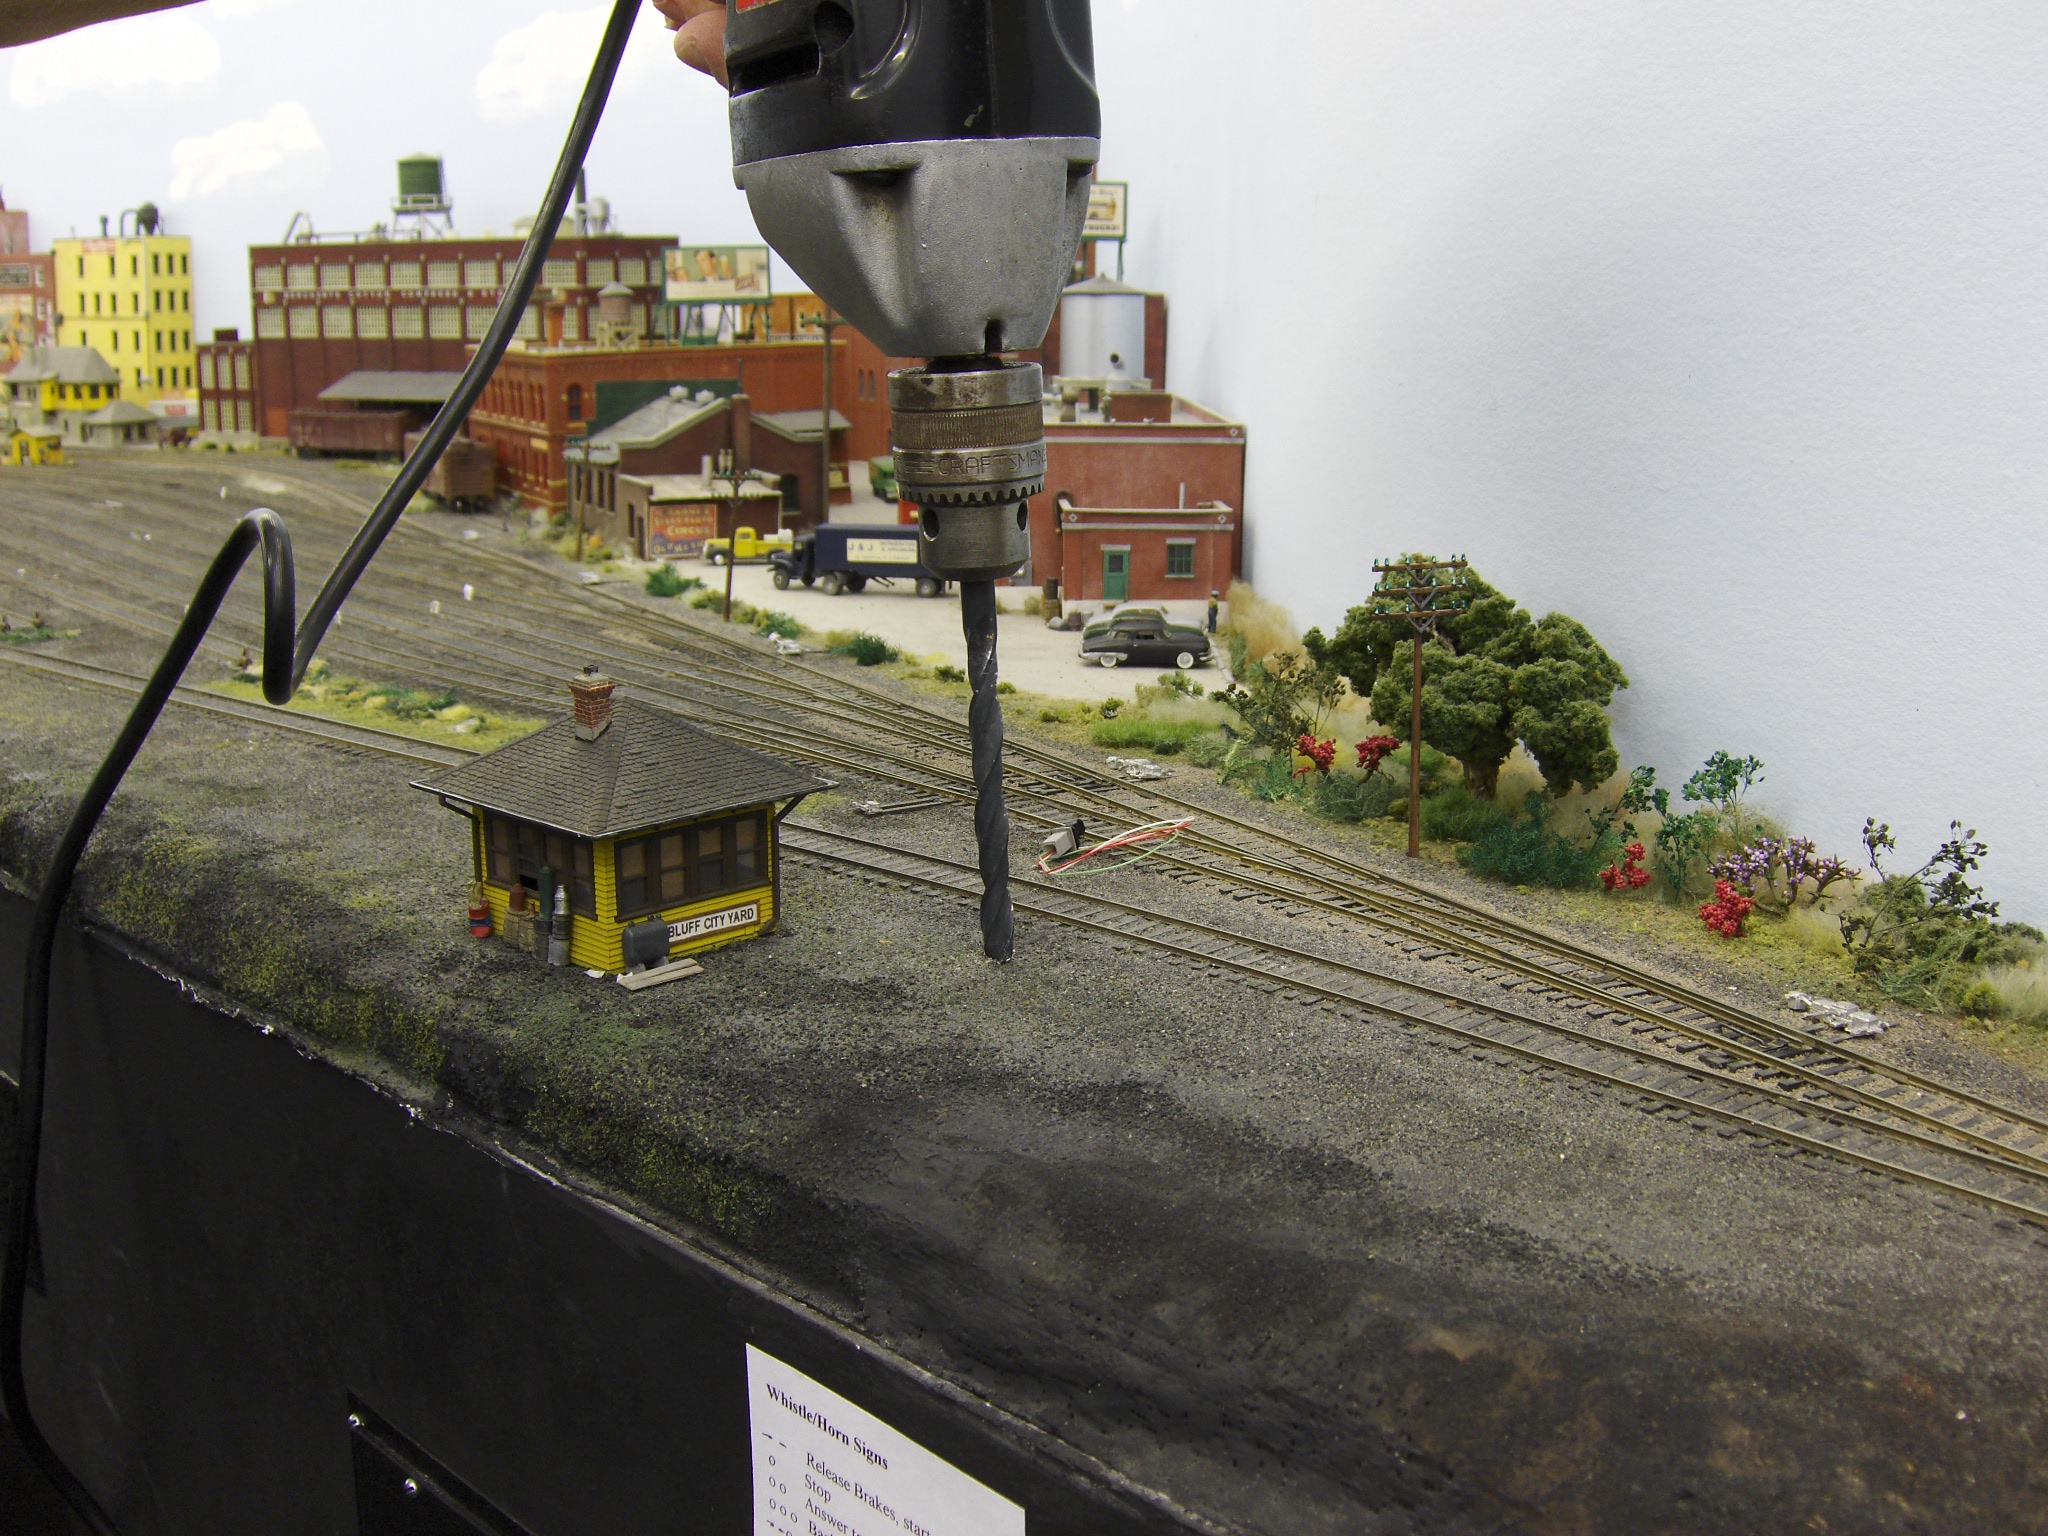 Next, he drills a bigger hole for the wires at all three dwarf signal locations.
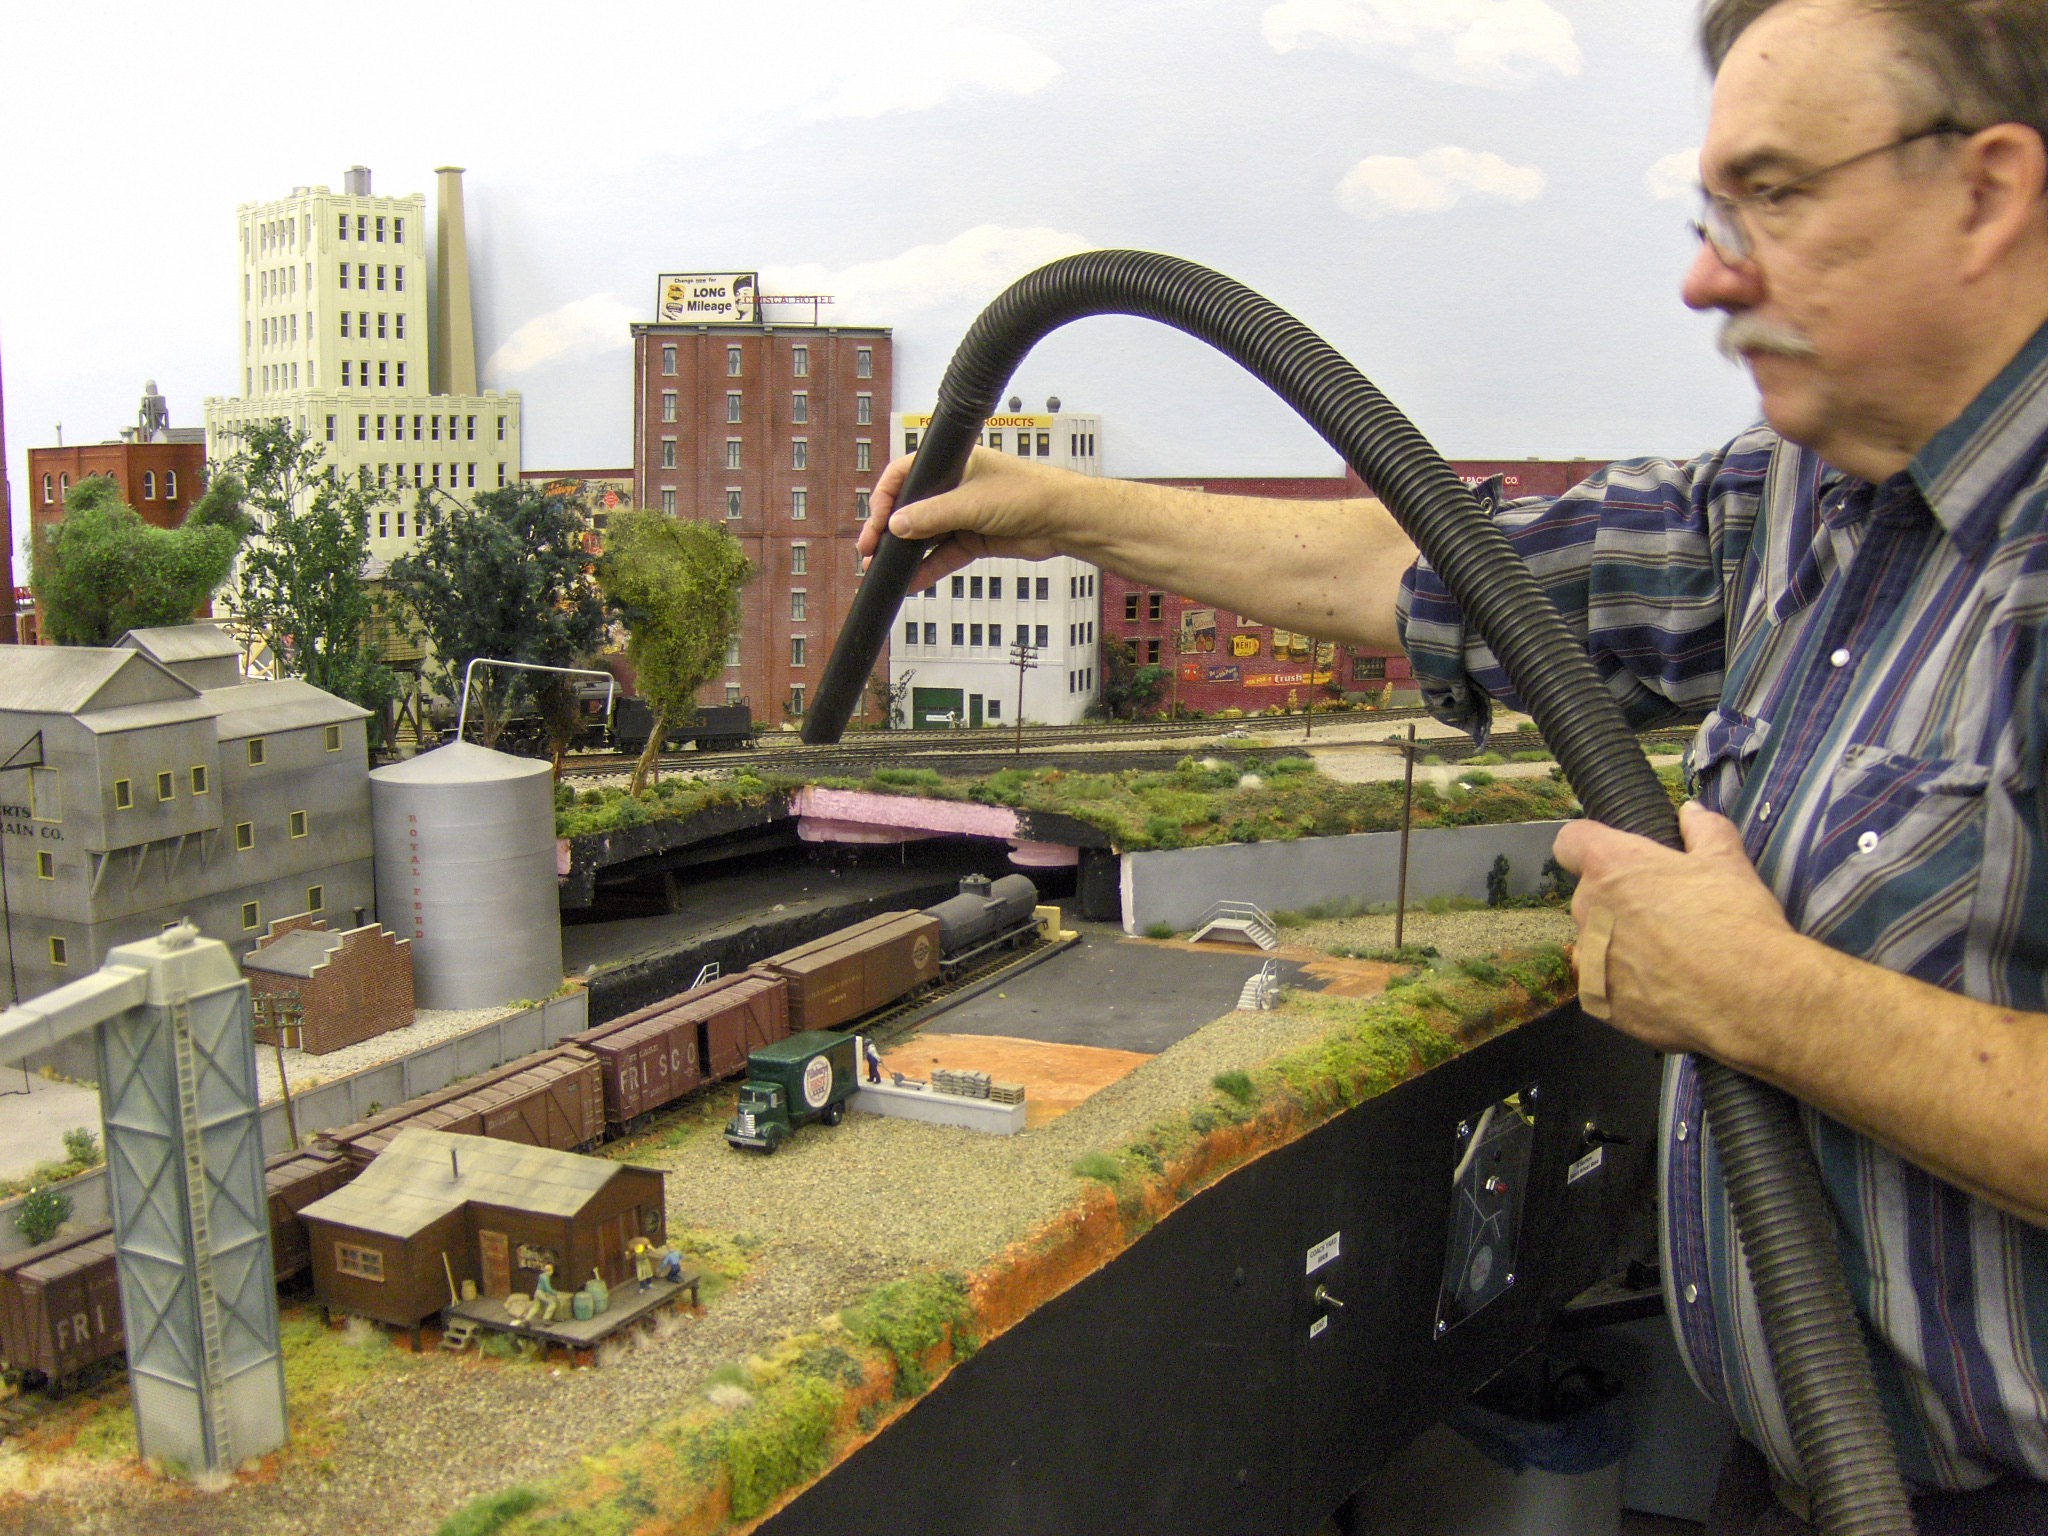 Here Kevin is removing the residue from the drilling at the location of dwarf signal 3 for the coach yard. In the foreground is empty space where the Royal Feed plant was removed. It hides the track going down to the Forrest City staging yard.
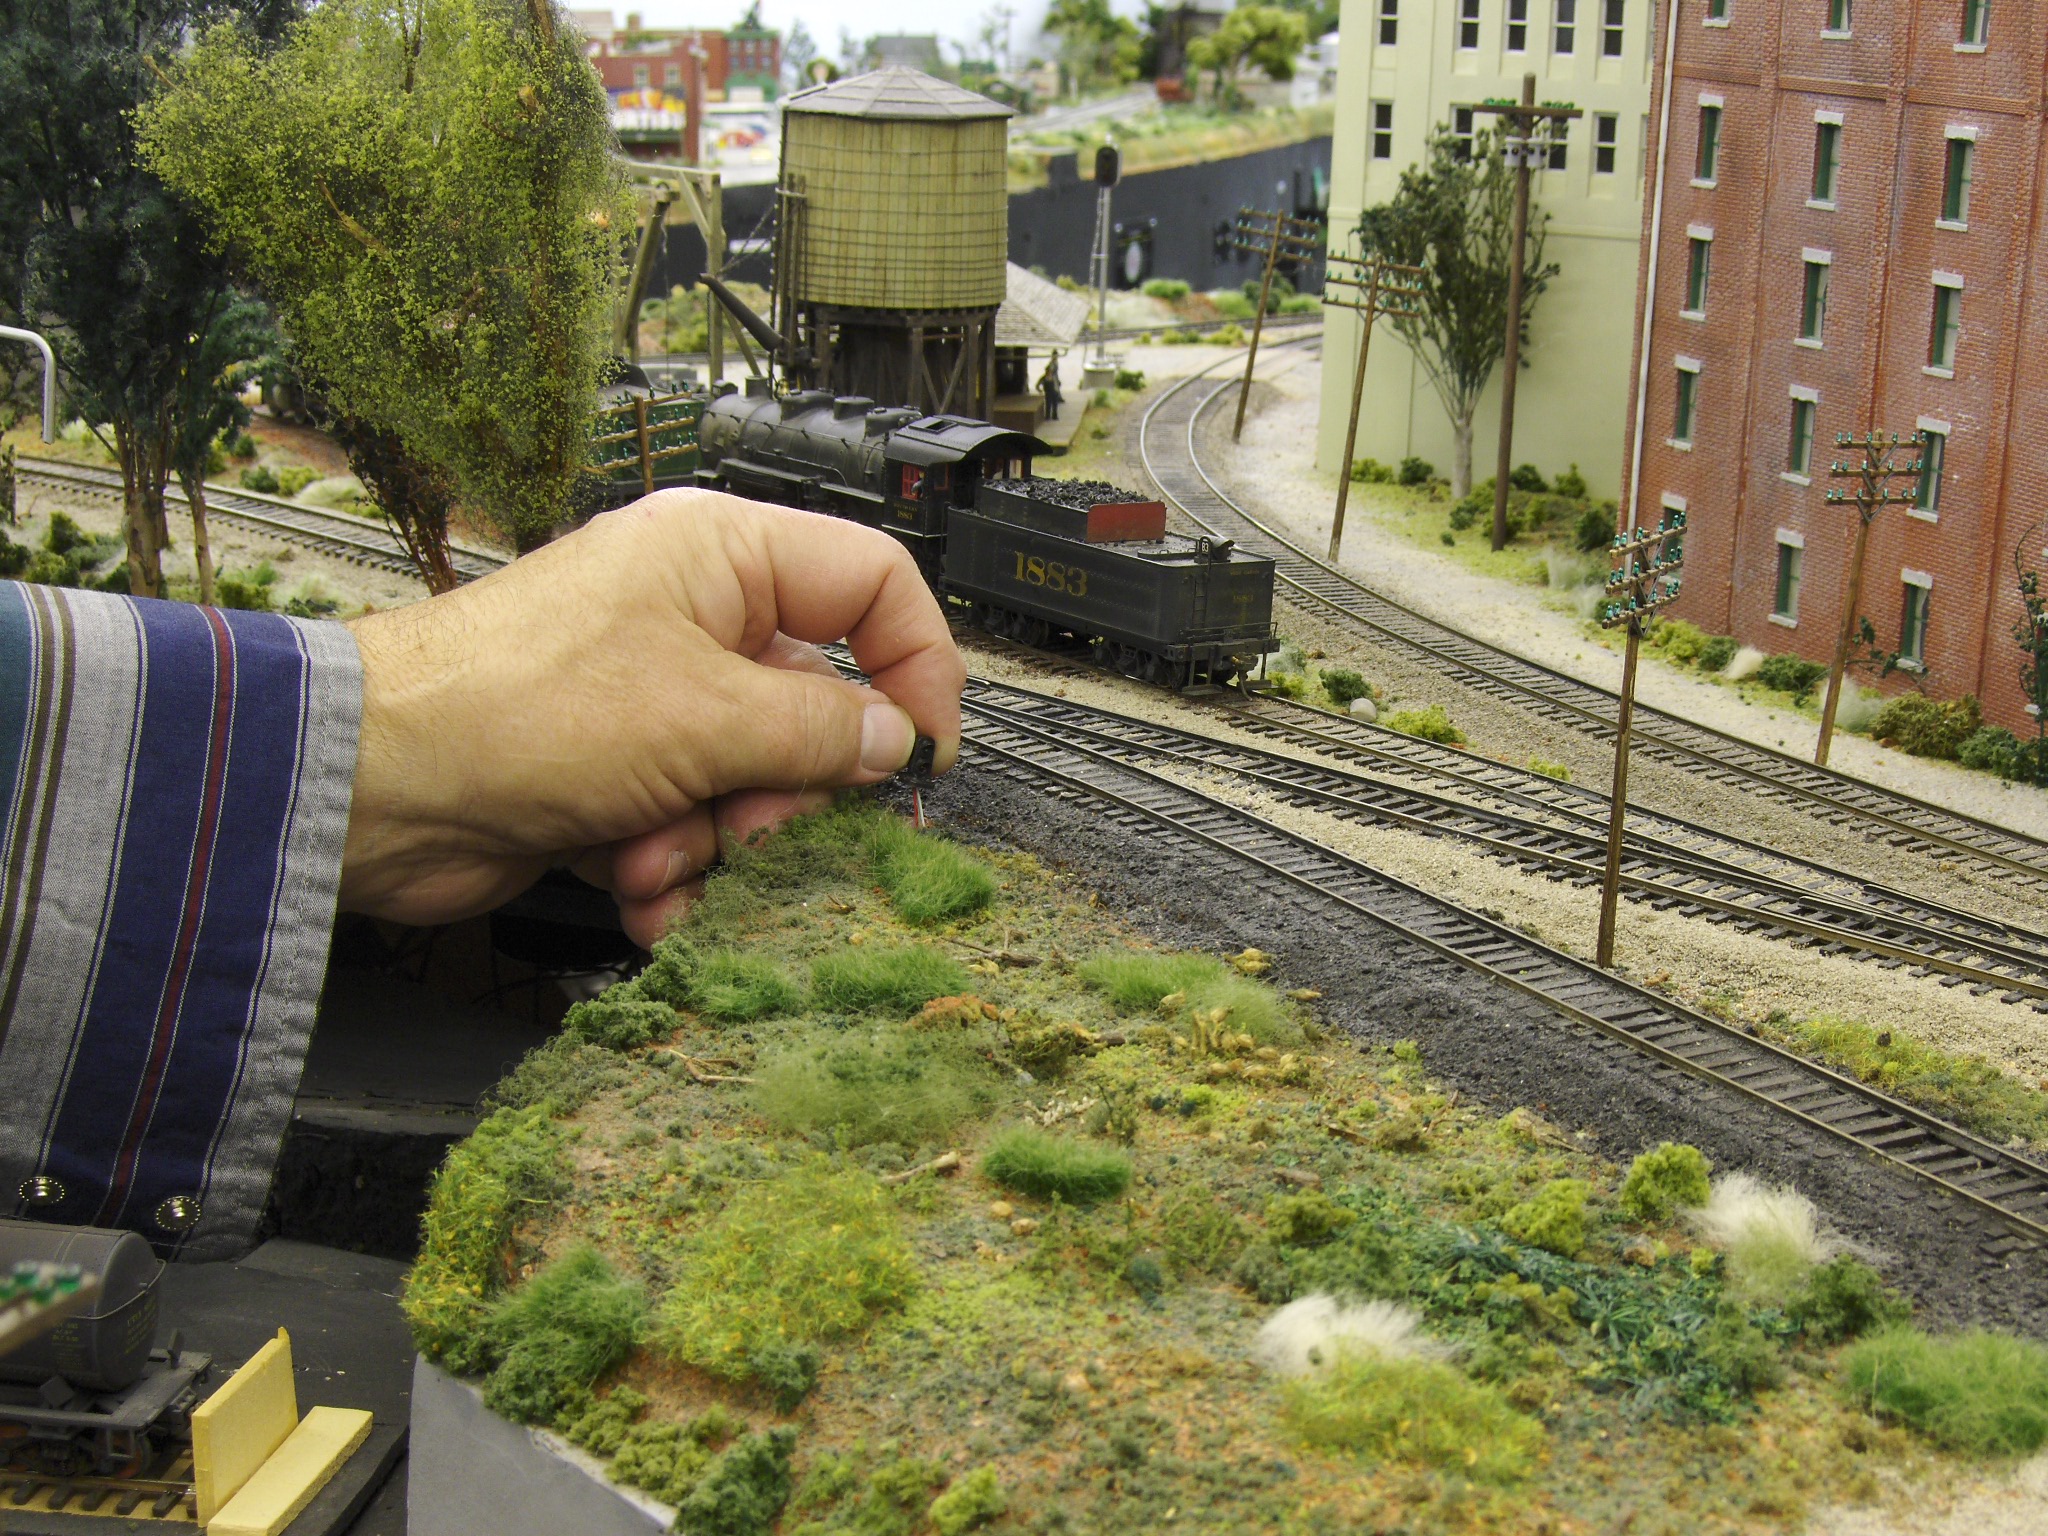 The signal goes here facing the approaching train on the lead to the coach yard.
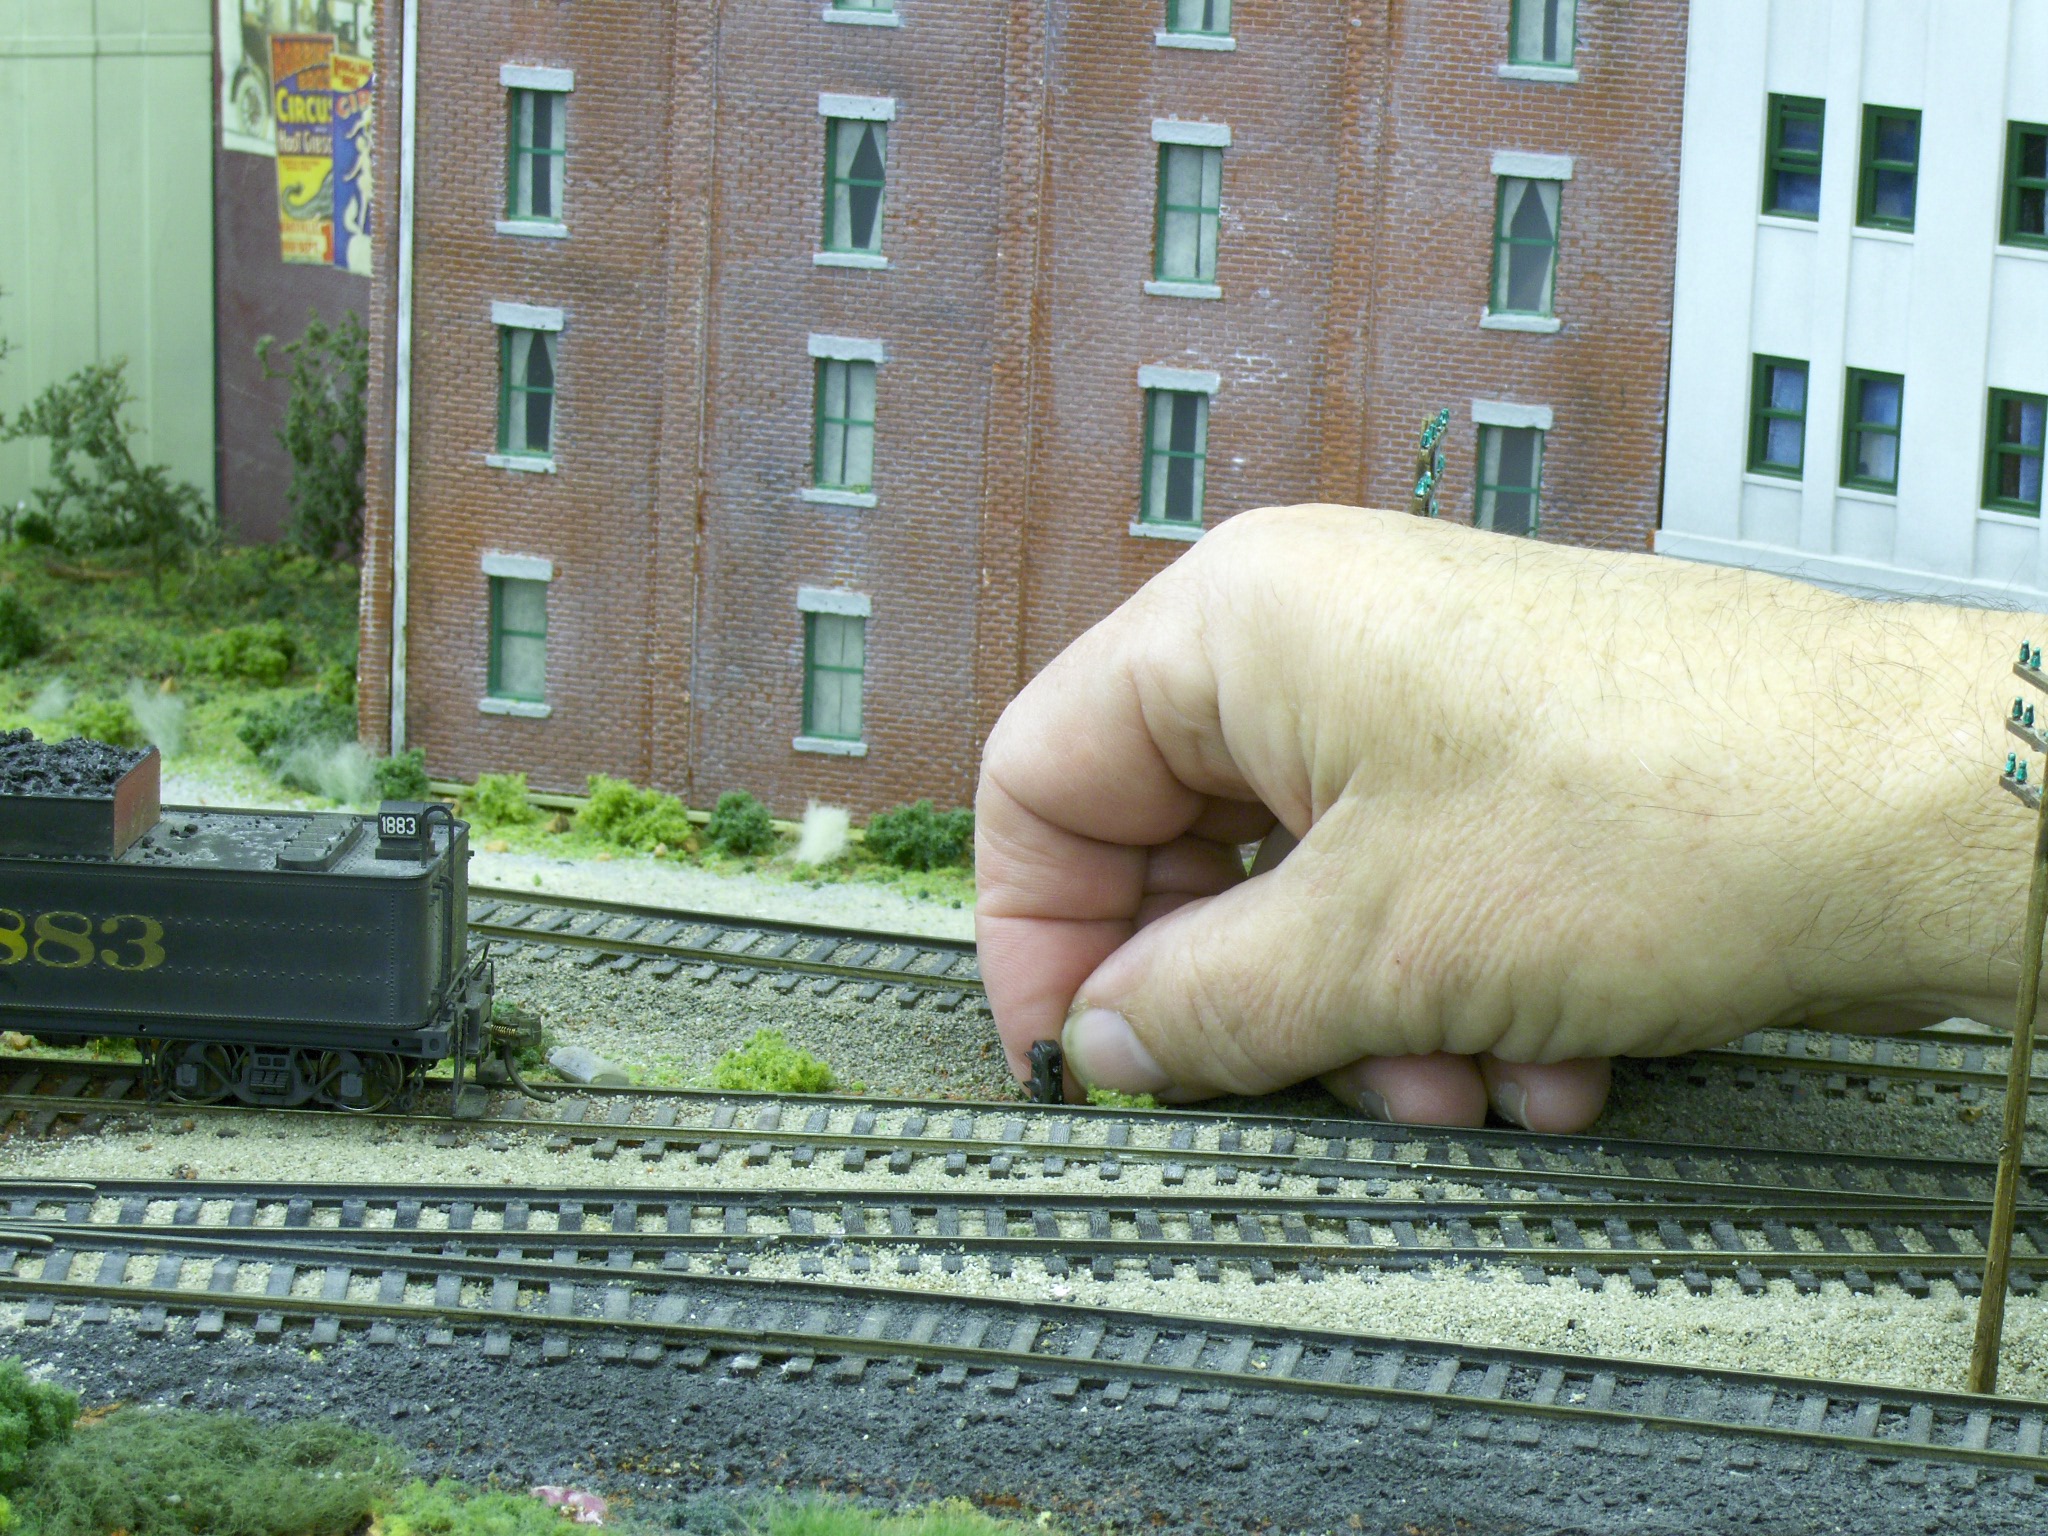 Signal 2 goes here on the lead to the engine facility after we drilled the holes and vacuumed up the mess.
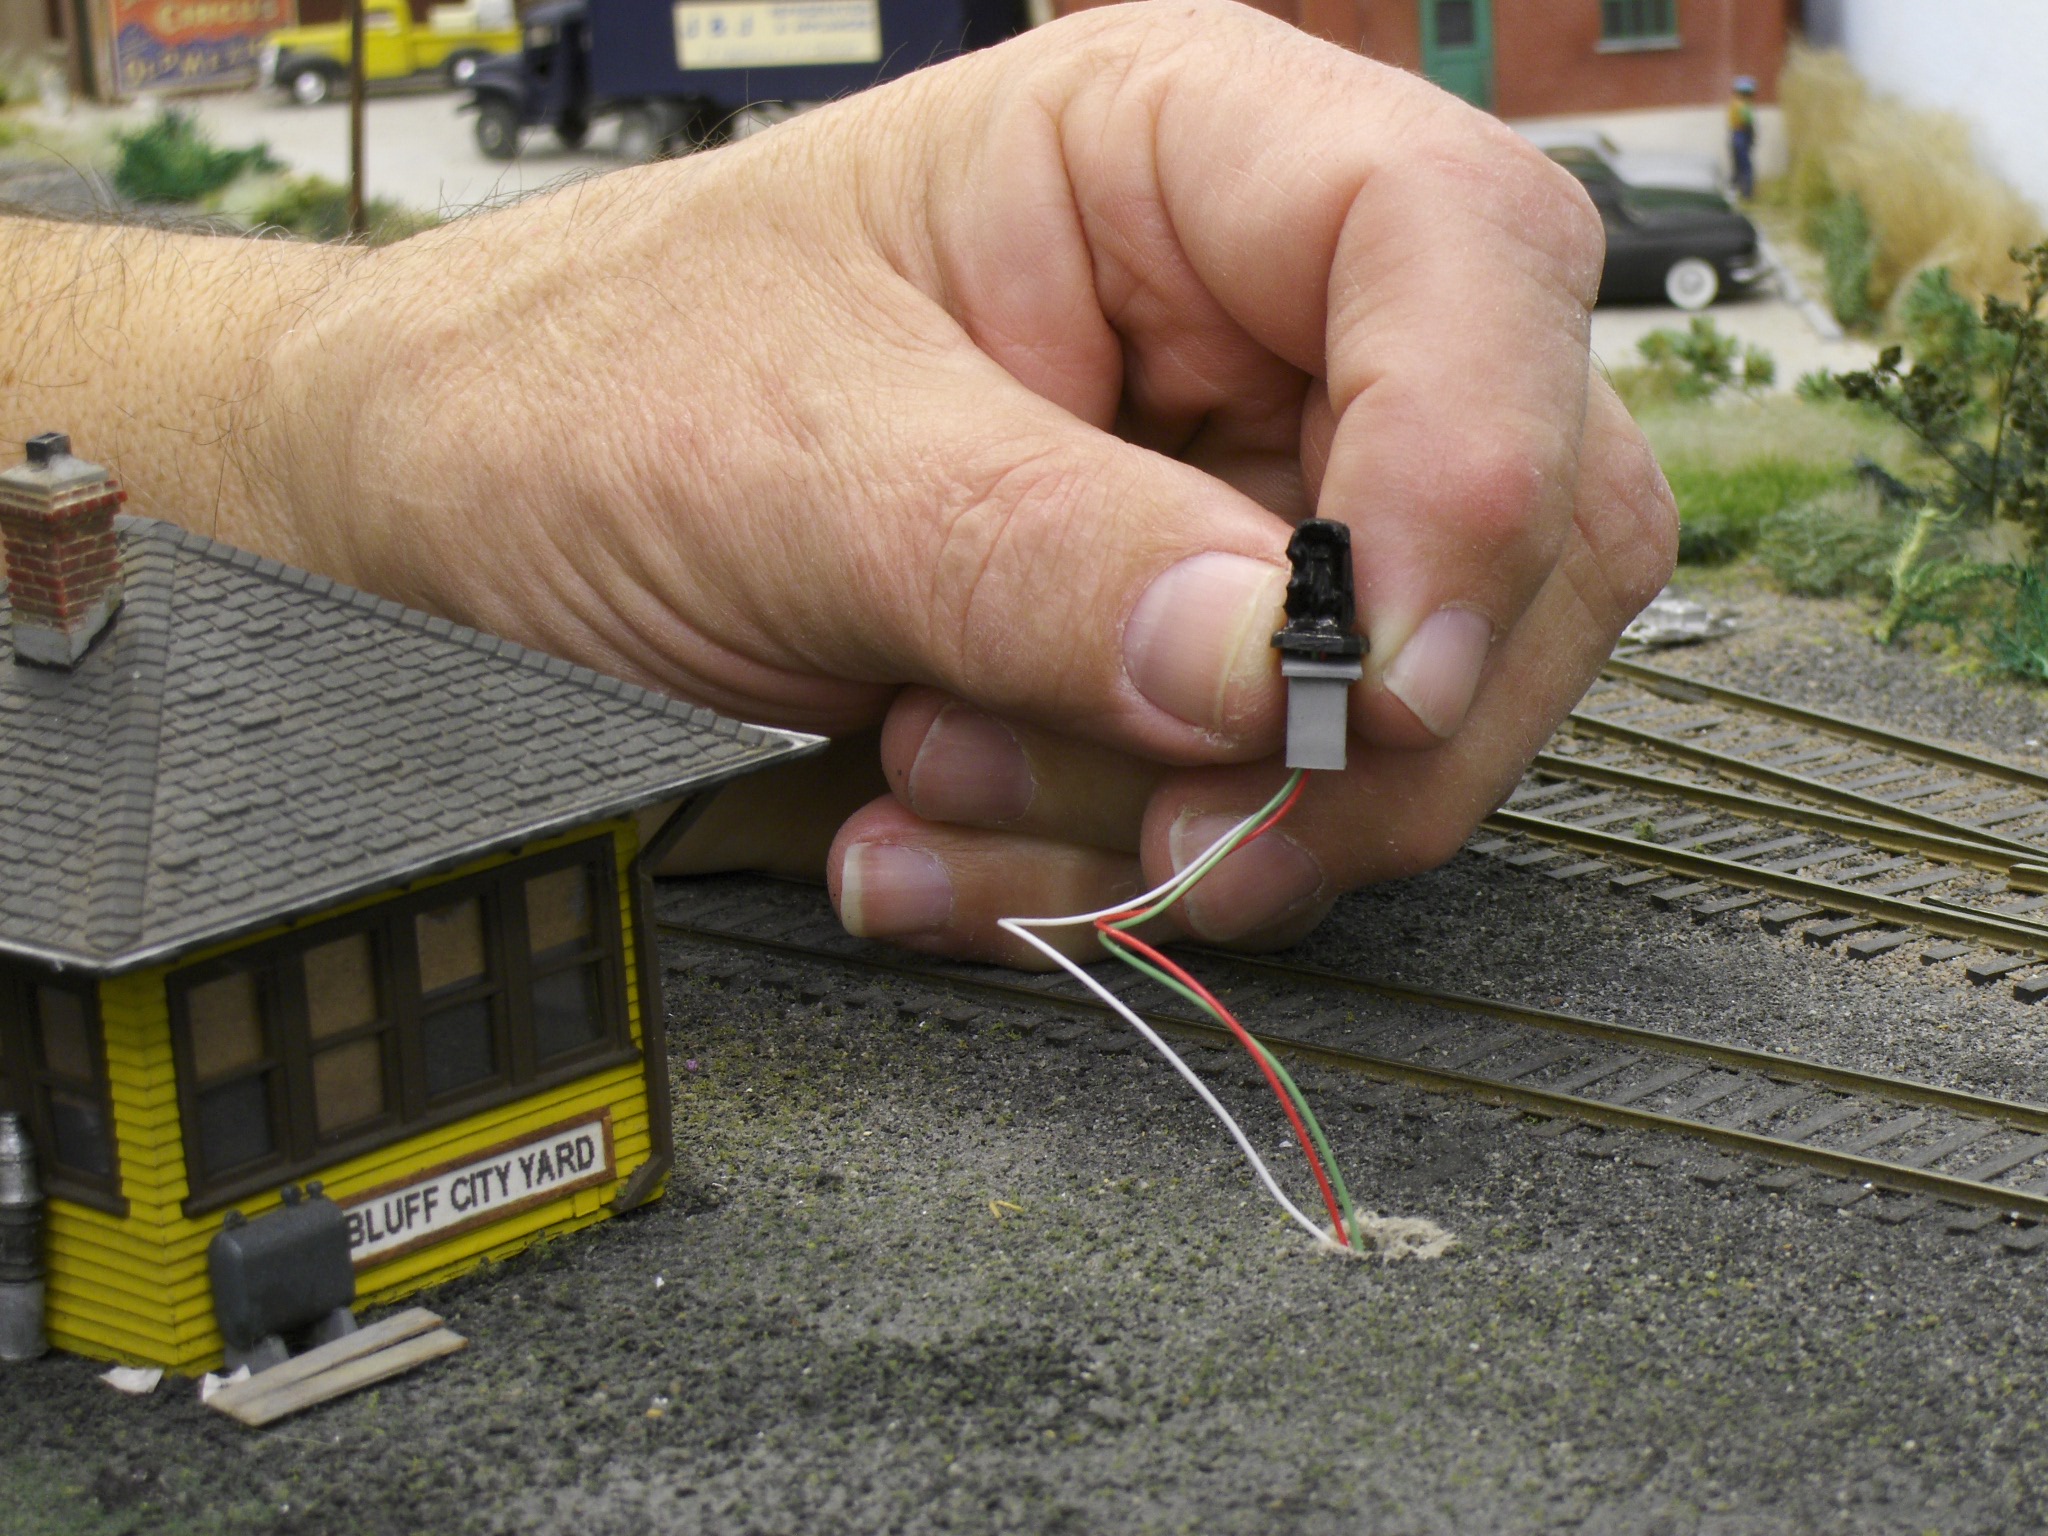 Back at the Bluff City Yard lead we have a good shot of the signal with a base I made out of Plastruct square tubing and painted to look like concrete. We both like the look of the raised signal and Kevin said on the prototype the connections for the signal would be located inside the base.
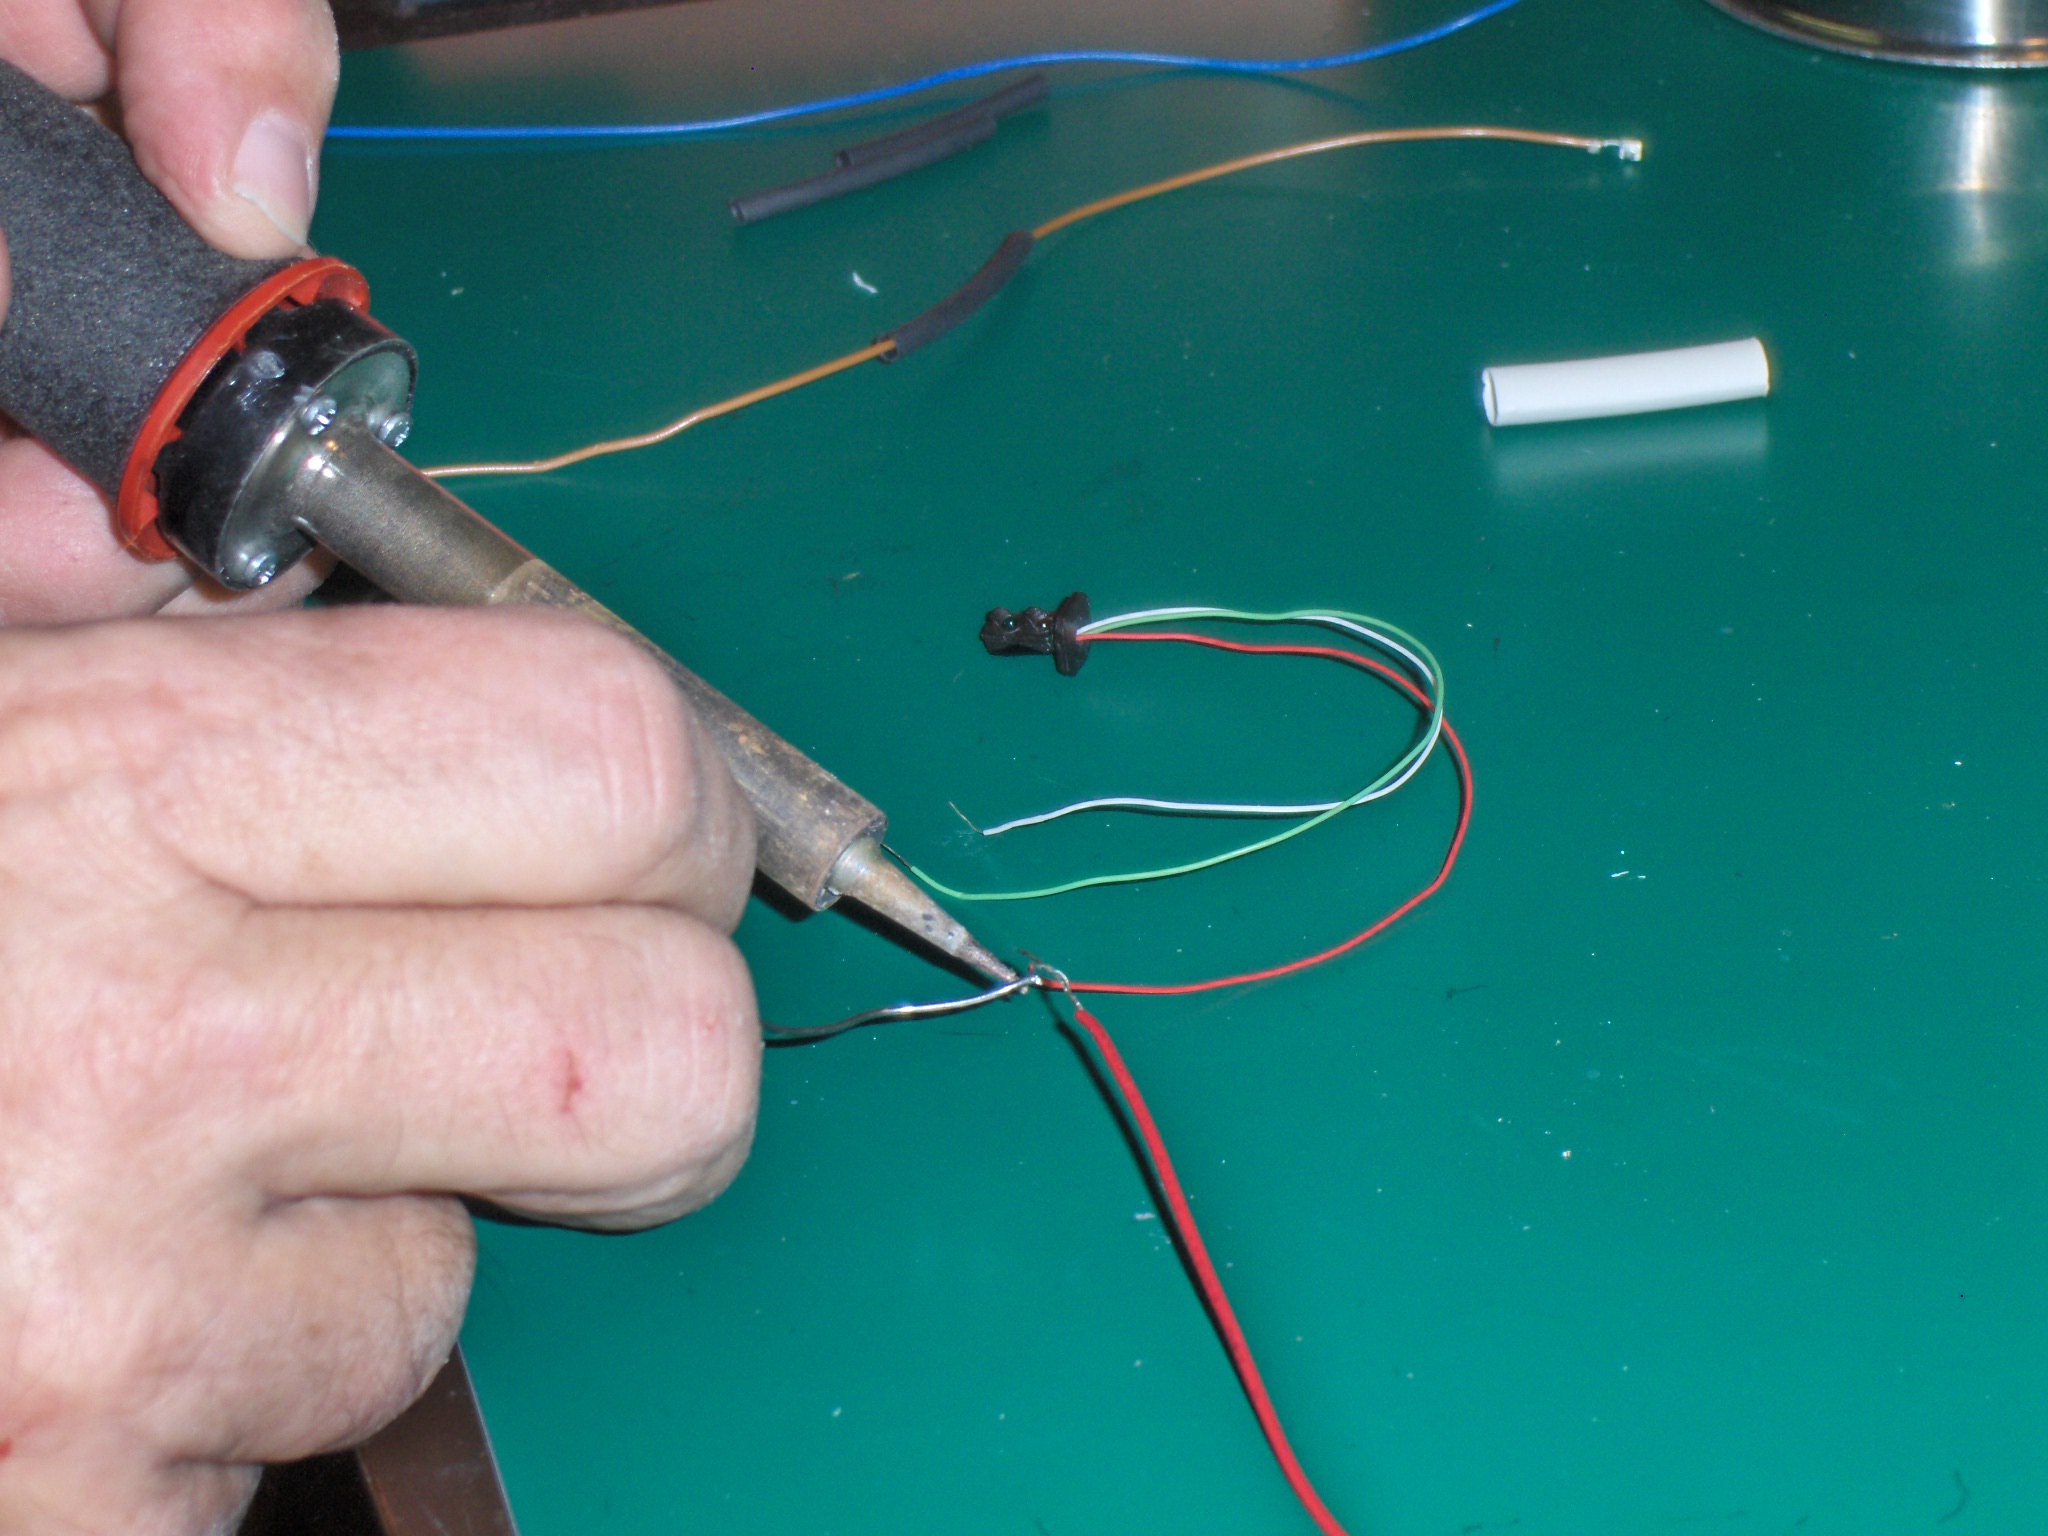 Here is Kevin soldering more wires to the existing signal wires so they will go through the 2” Styrofoam base of my layout. He will also add a connector that will interface with a small circuit board.
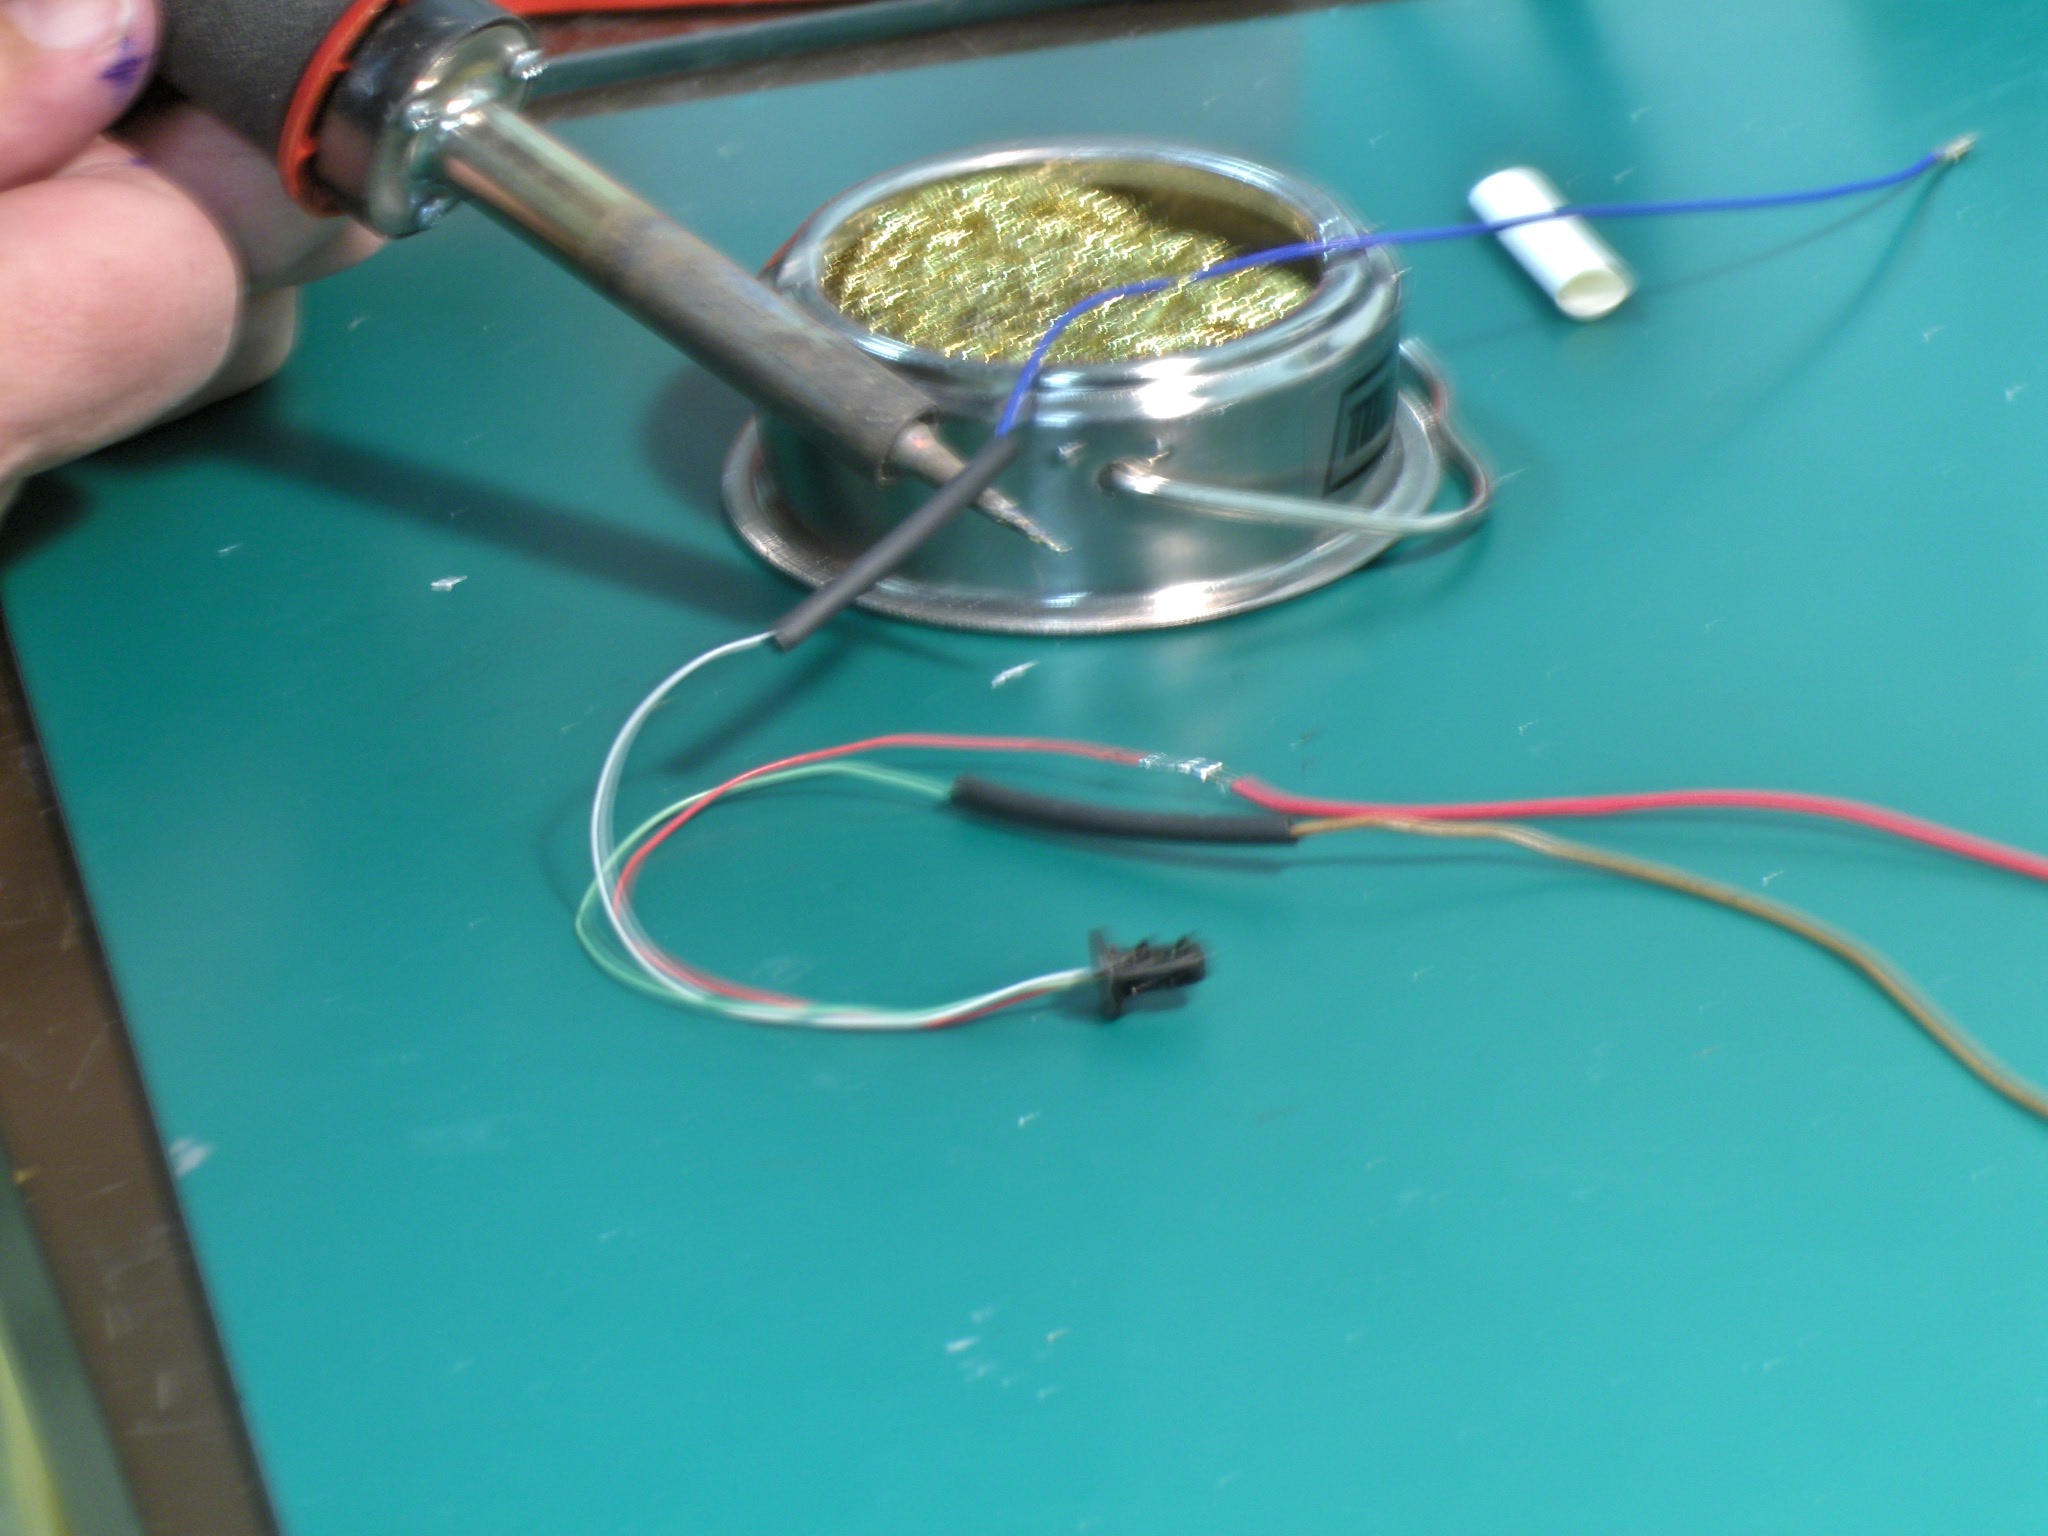 All connections get heat shrink tubing added to both strengthen the joint and to protect the open wires from a short circuit. You could do this shrinking with a heat gun, but a soldering iron works well on such small tubing.
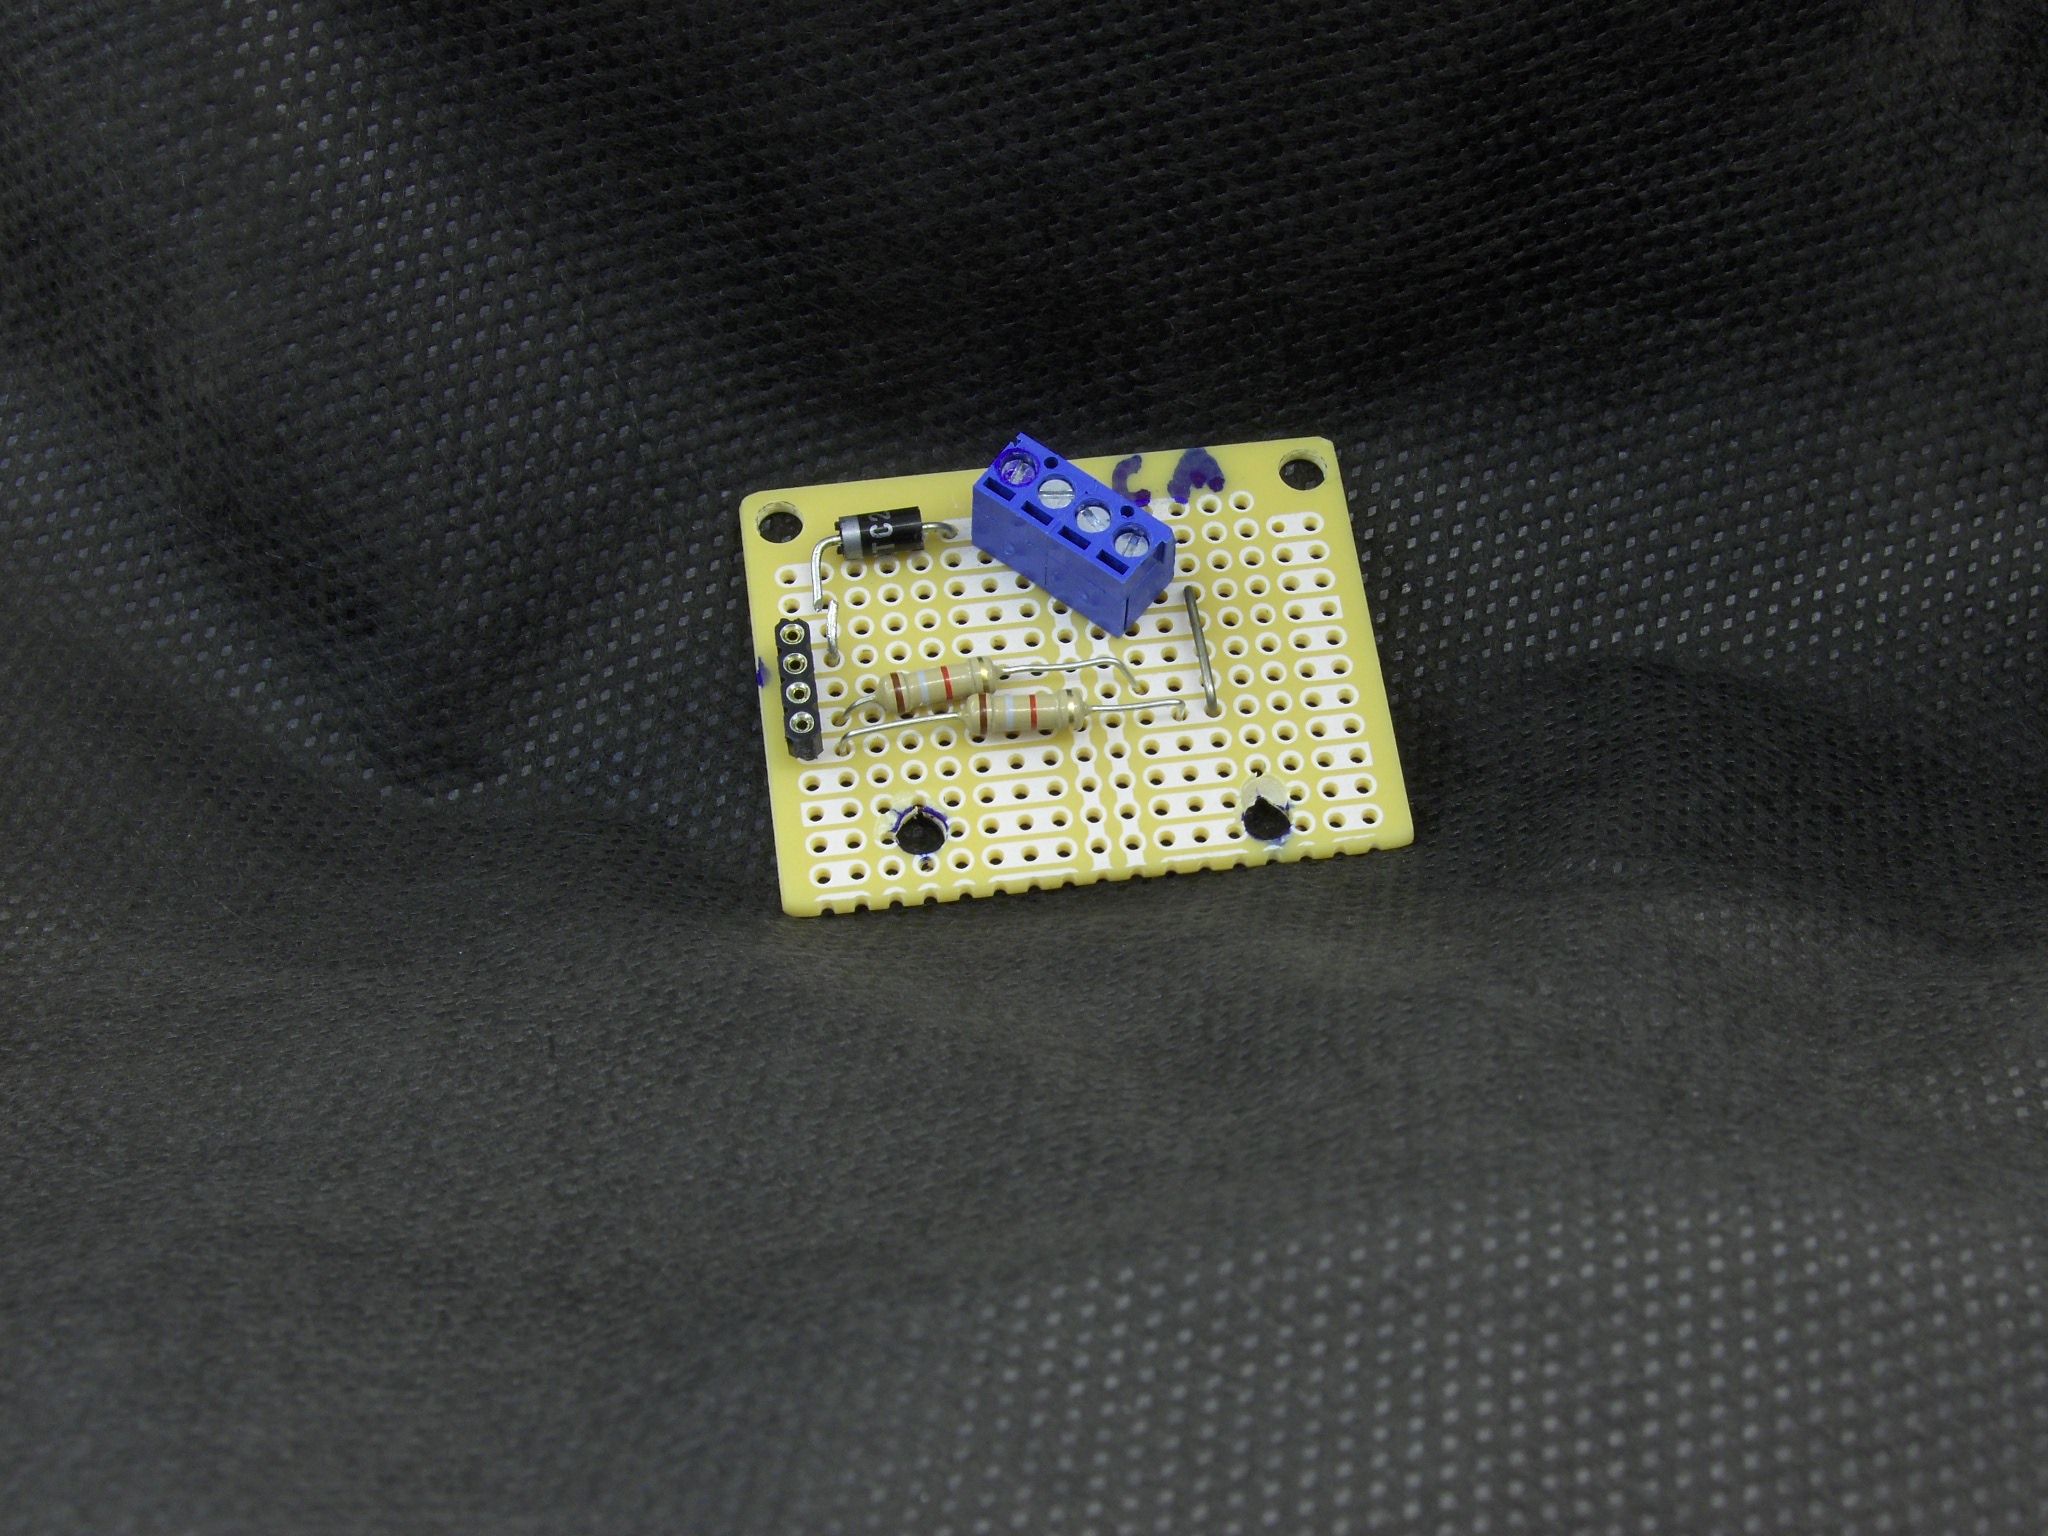 This little board has a connector for the signal wires It also includes a current limiting resistor for the green LED and a current limiting resistor for the red LED plus a protection diode to save the LEDs in case we ever hook the signal up backward. We will install one of these boards under that layout near each of the 3 signals.
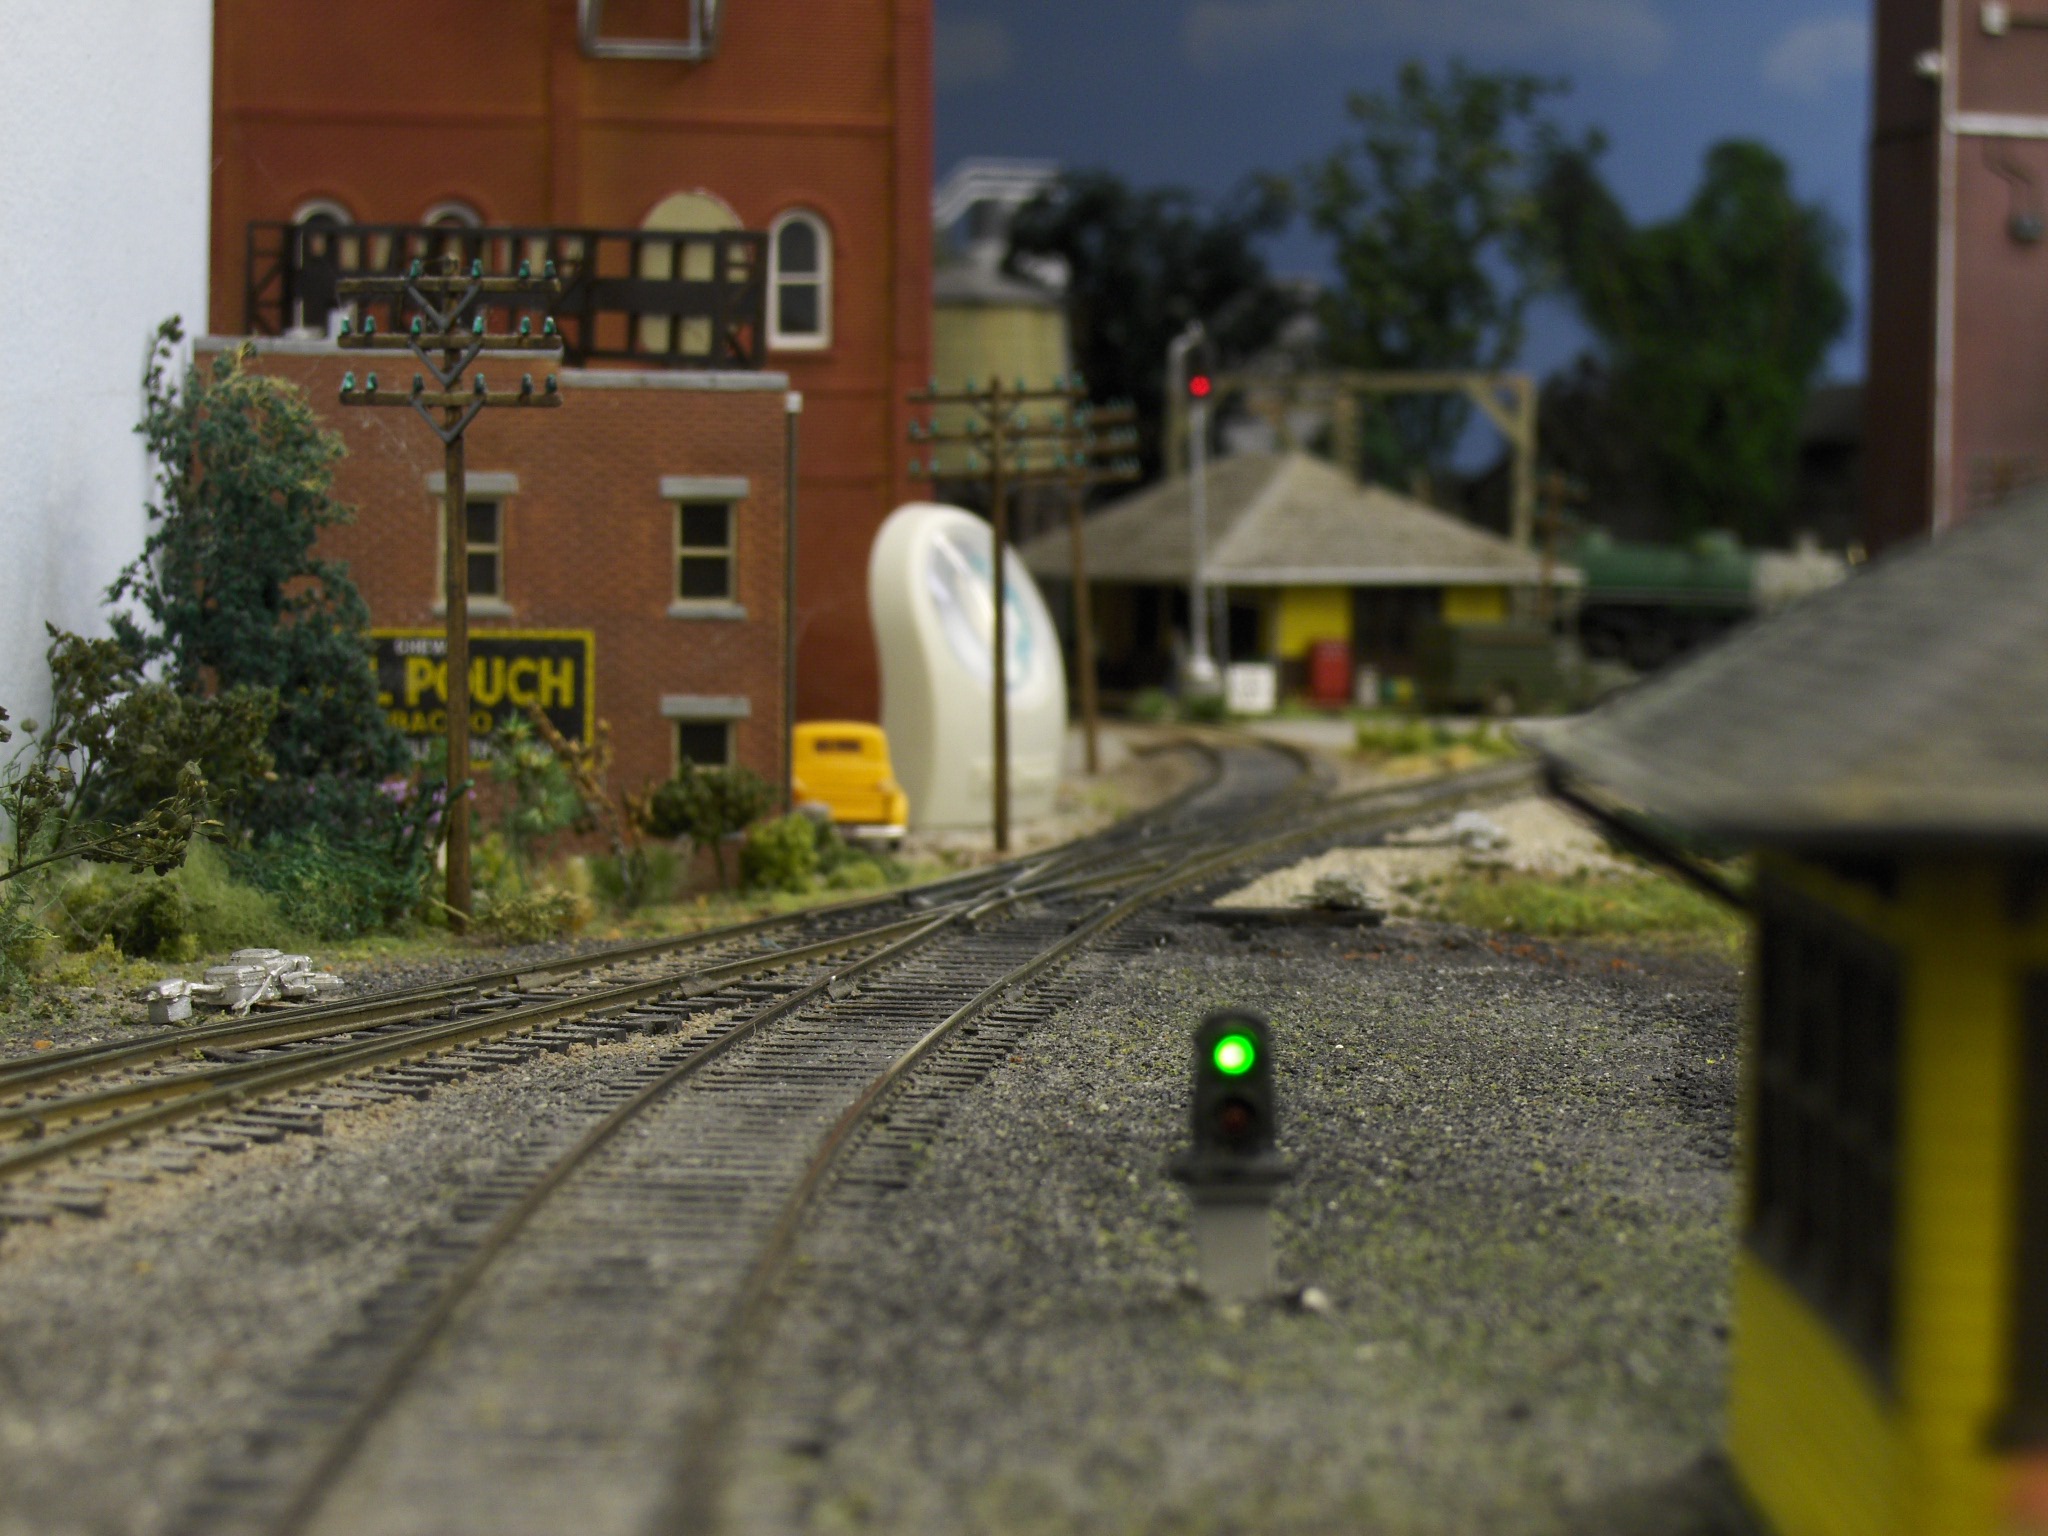 Here at the exit of Bluff City Yard is one of the dwarf signals, There other 2 are similarly installed. In the background you can see the red train order signal that we installed last time. We’ve still got lots more work to do with the home signals and the required circuitry to make a real interlocking plant at Bridge Junction Wye.
You might also be interested in:
Installing Approach Signals for an Interlocking Plant: Part 1
Installing Approach Signals for an Interlocking Plant: Part 2
Installing Approach Signals for an Interlocking Plant: Part 3
Model Railway Signals and Locations
Have something to add to the story? Leave a comment or connect with us on Facebook.
Could you diagram the circuit board that uses the current limiting resistors ? Give us a parts list for this, as well as a source for the prewired dwarf signals.........
Why don't you people use actual and true H0 scale signals? That or honestly remark you are doing "toy trains". You are after all expecting to be taken as "experts". These things depicted here are so oversized as to be larger than an actual "S" scale item. Thank you.
The majority of my layout's turnouts are operated by Tortoise Switch Machines. Each Tortoise has a card edge connector which allows me to soldered the switch machine's power feeders to the card edge connector and then attach it to the Tortoise machine. Also wired to the edge connector are Tomar's dwarf two color LED's signals that indicate the turnout's position. Each LED has a limiting resistor. Easy way to have turnout indicators without a circuit board or a lot of wiring. Greg The Chicago, Milwaukee & Northern Railroad
I’m new to model railways I’m at the stage to instal Signals Do u have to run a seperate bus line to connect all your signals to
Could you do a complete wiring diagram of the board for the dwarf signal. I am installing signals using ISS .And dwarfs would look great on the Northern division of PRR.