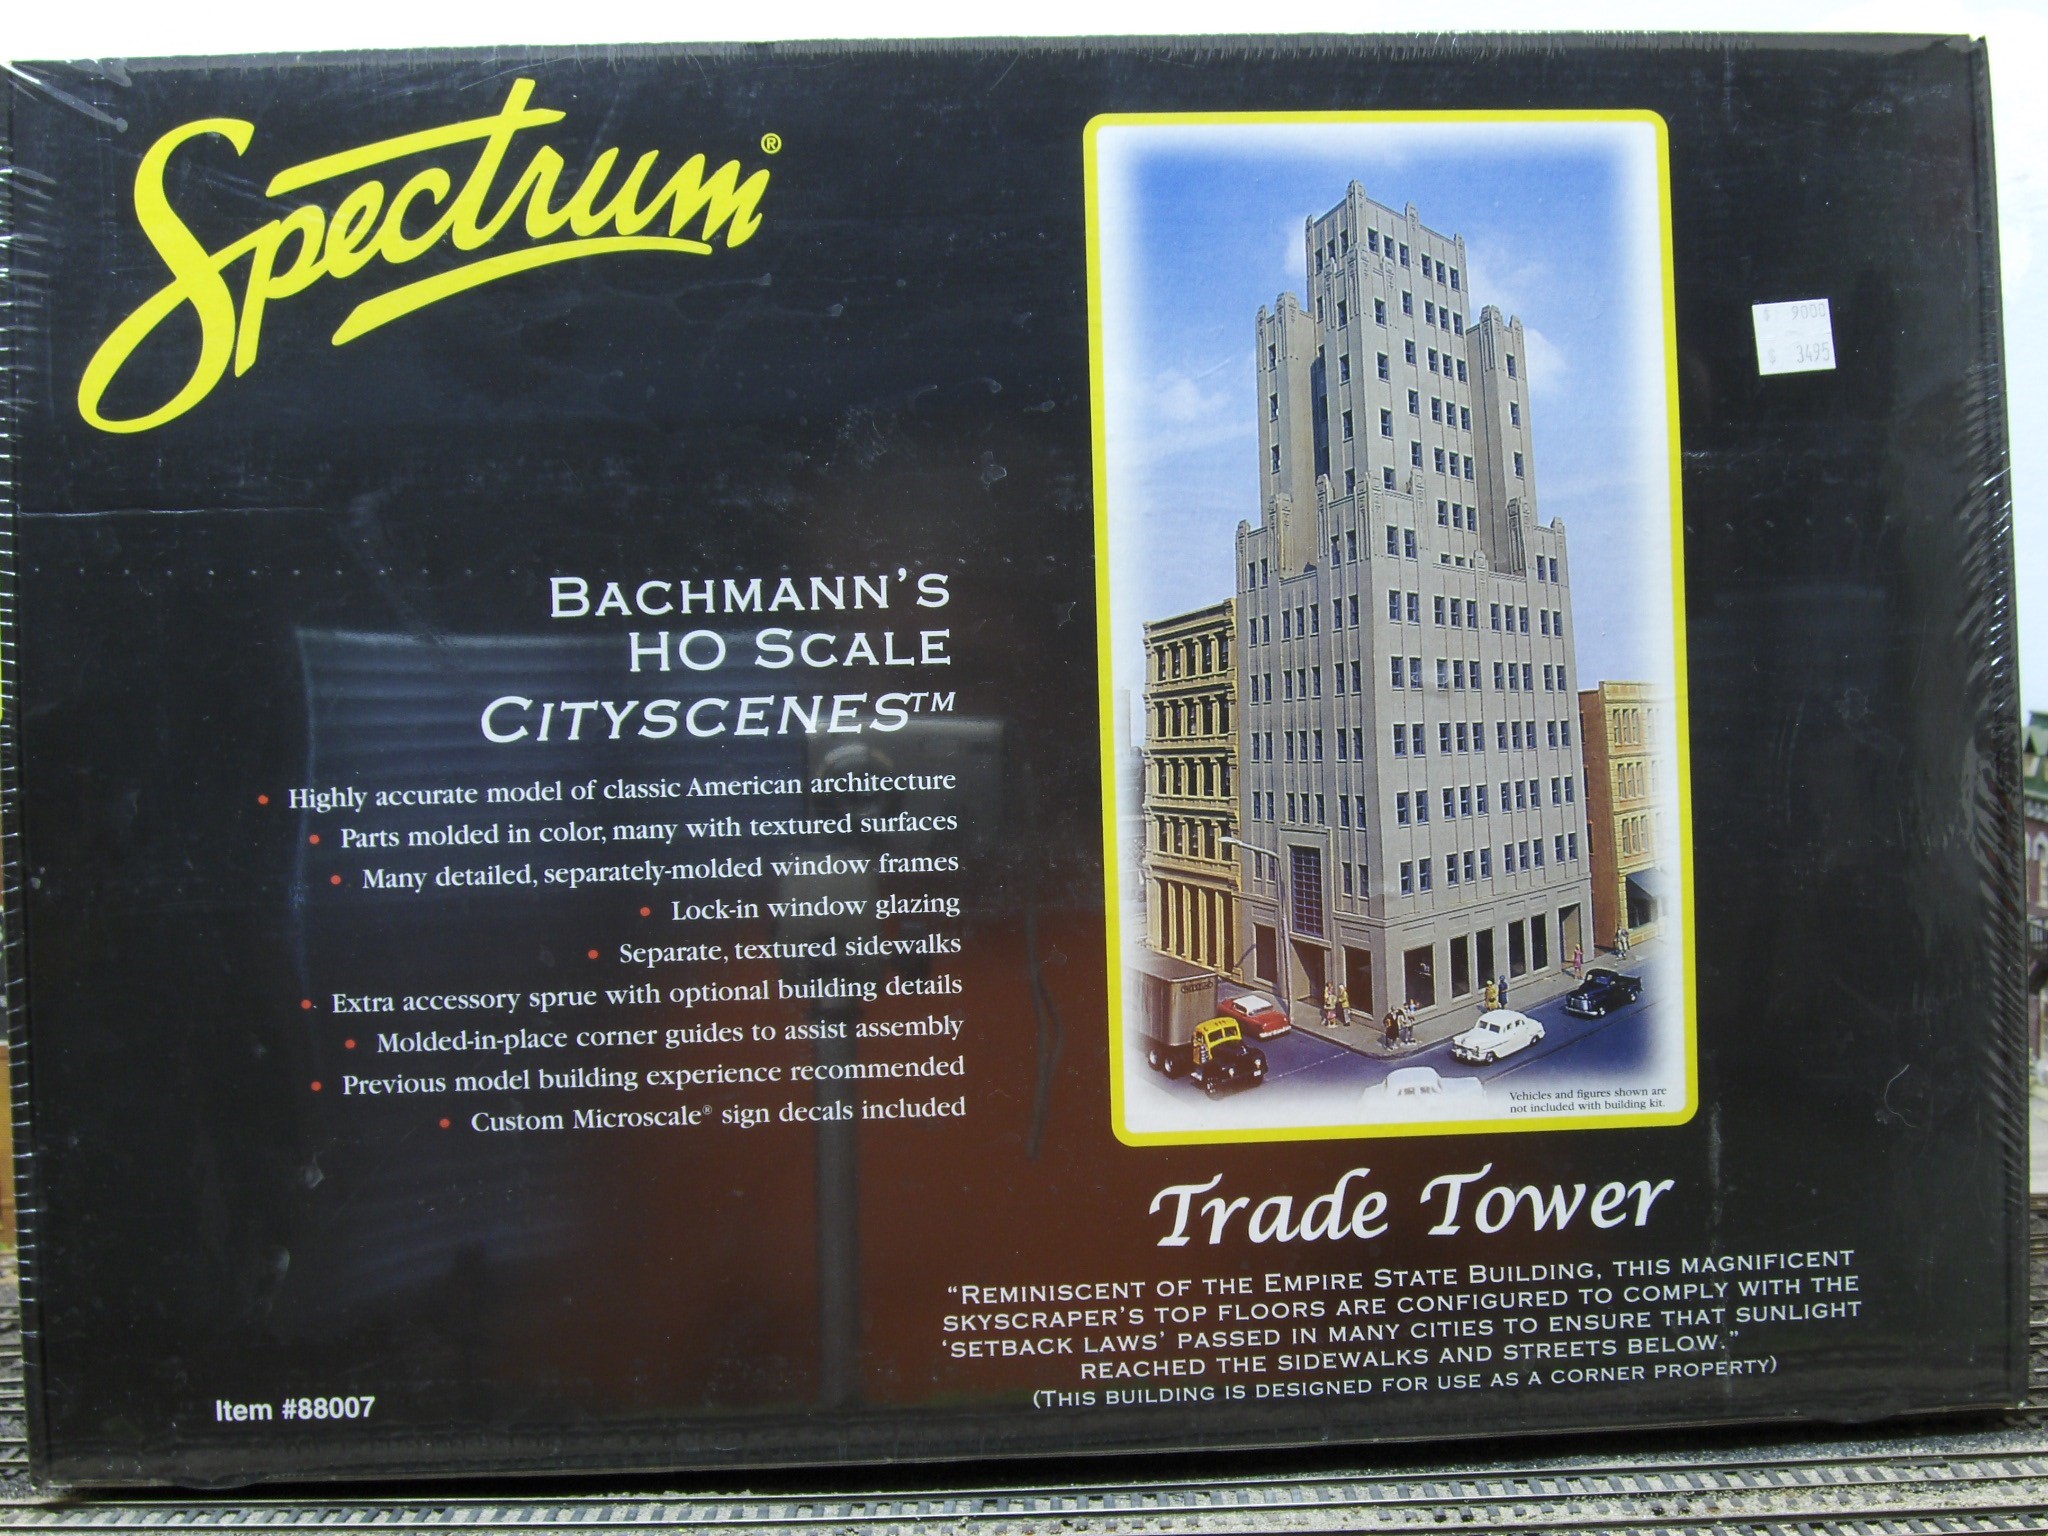
 You may remember in the first two segments (part one and part two) of the construction of the Oakland Block for my friend’s Chicago, Denver and Pacific. I built the Department store and the Metropolitan Building from Bachmann. In this the final segment, you will learn about how I built the Trade Tower. Although, be aware that I will modify it so that it doesn’t look exactly like this box art.
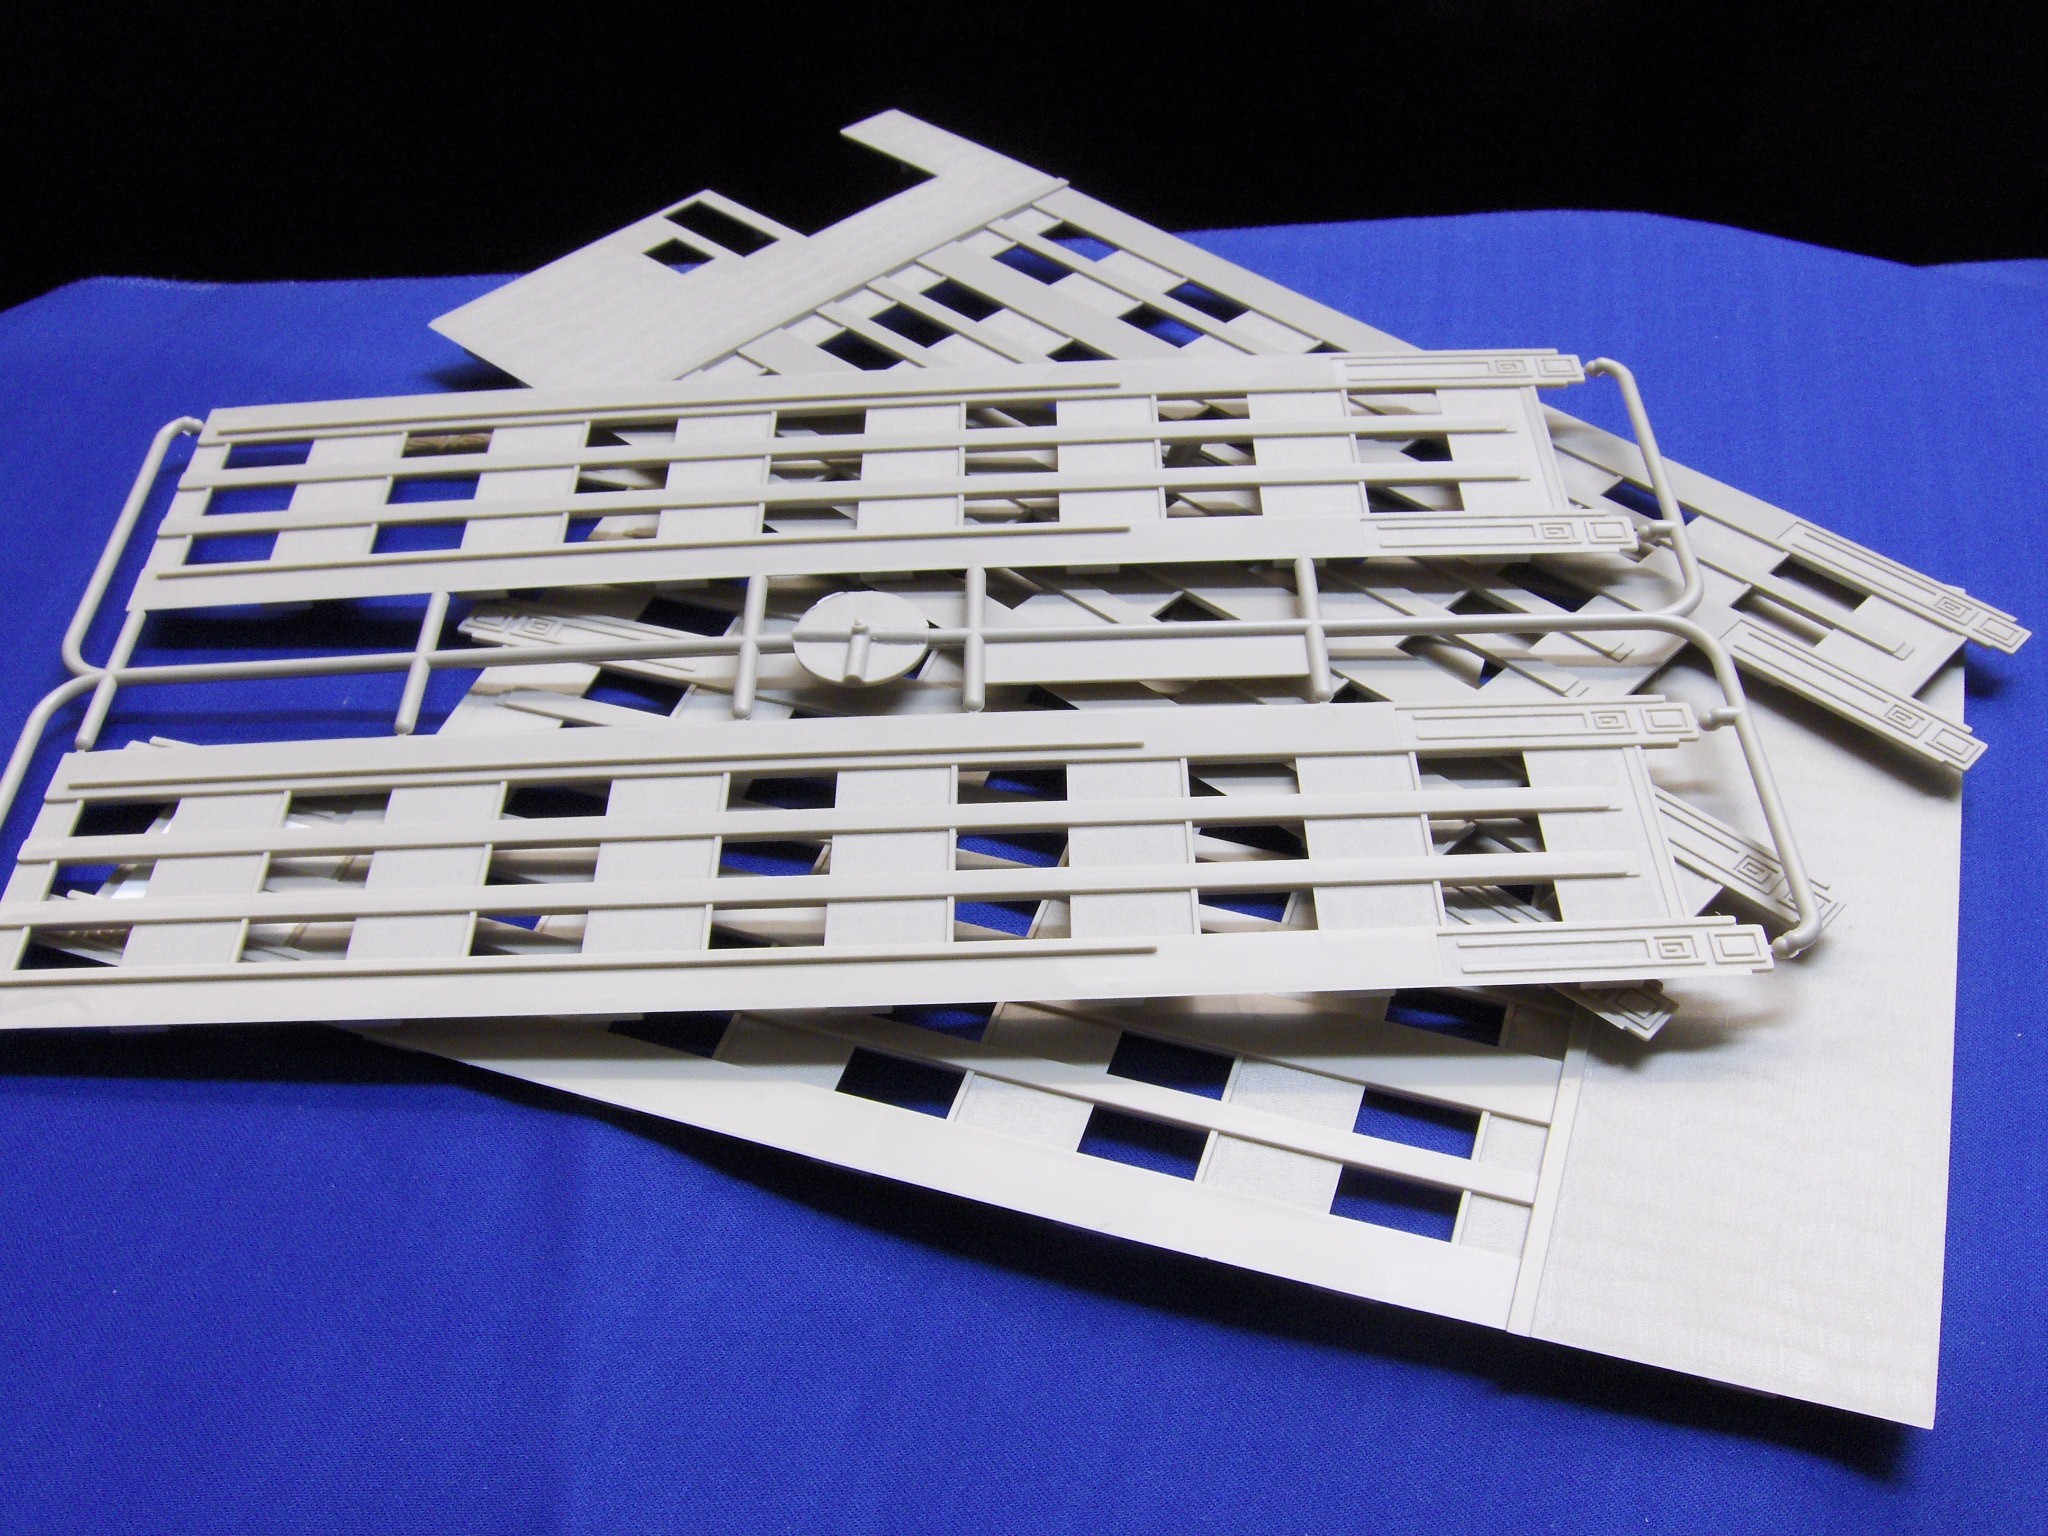 Here are the parts for the walls of the building. The larger ones are the main body of the structure, and the smaller ones are for the actual tower. I will show you how to shorten this tower, so the finished building looks different.
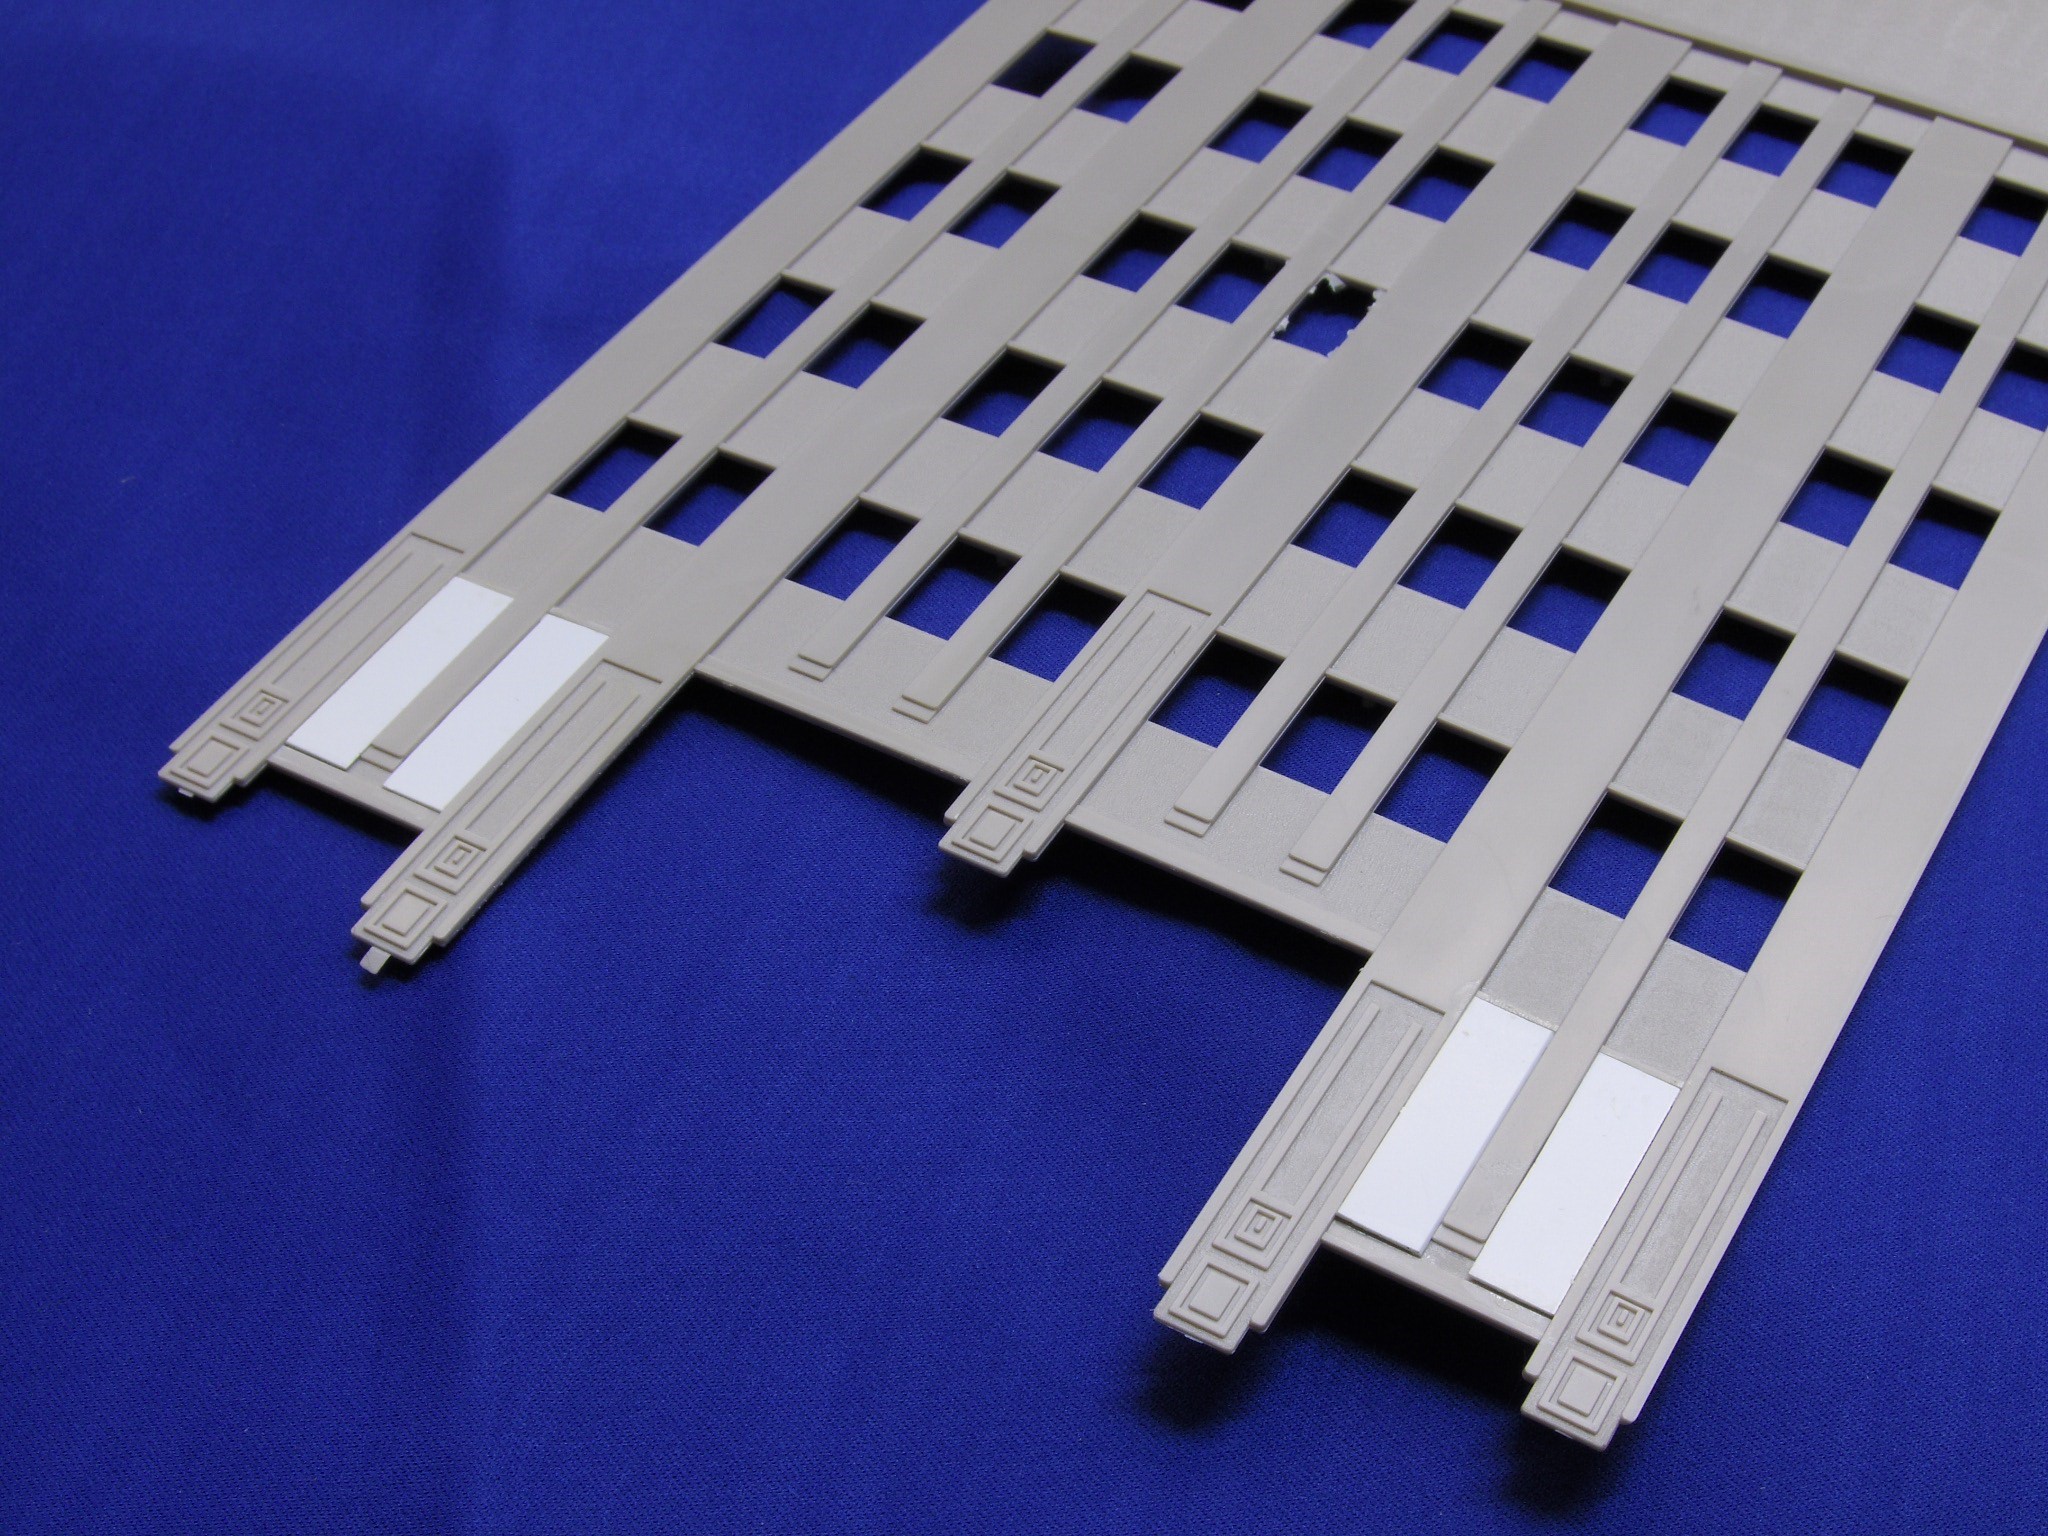 First, I decided to block out the upper windows on the side of the building next to the Metropolitan that I built last time. I just used some thin styrene to fill the blank spots. Since the lower windows can’t be seen, I decided to not even cover them.
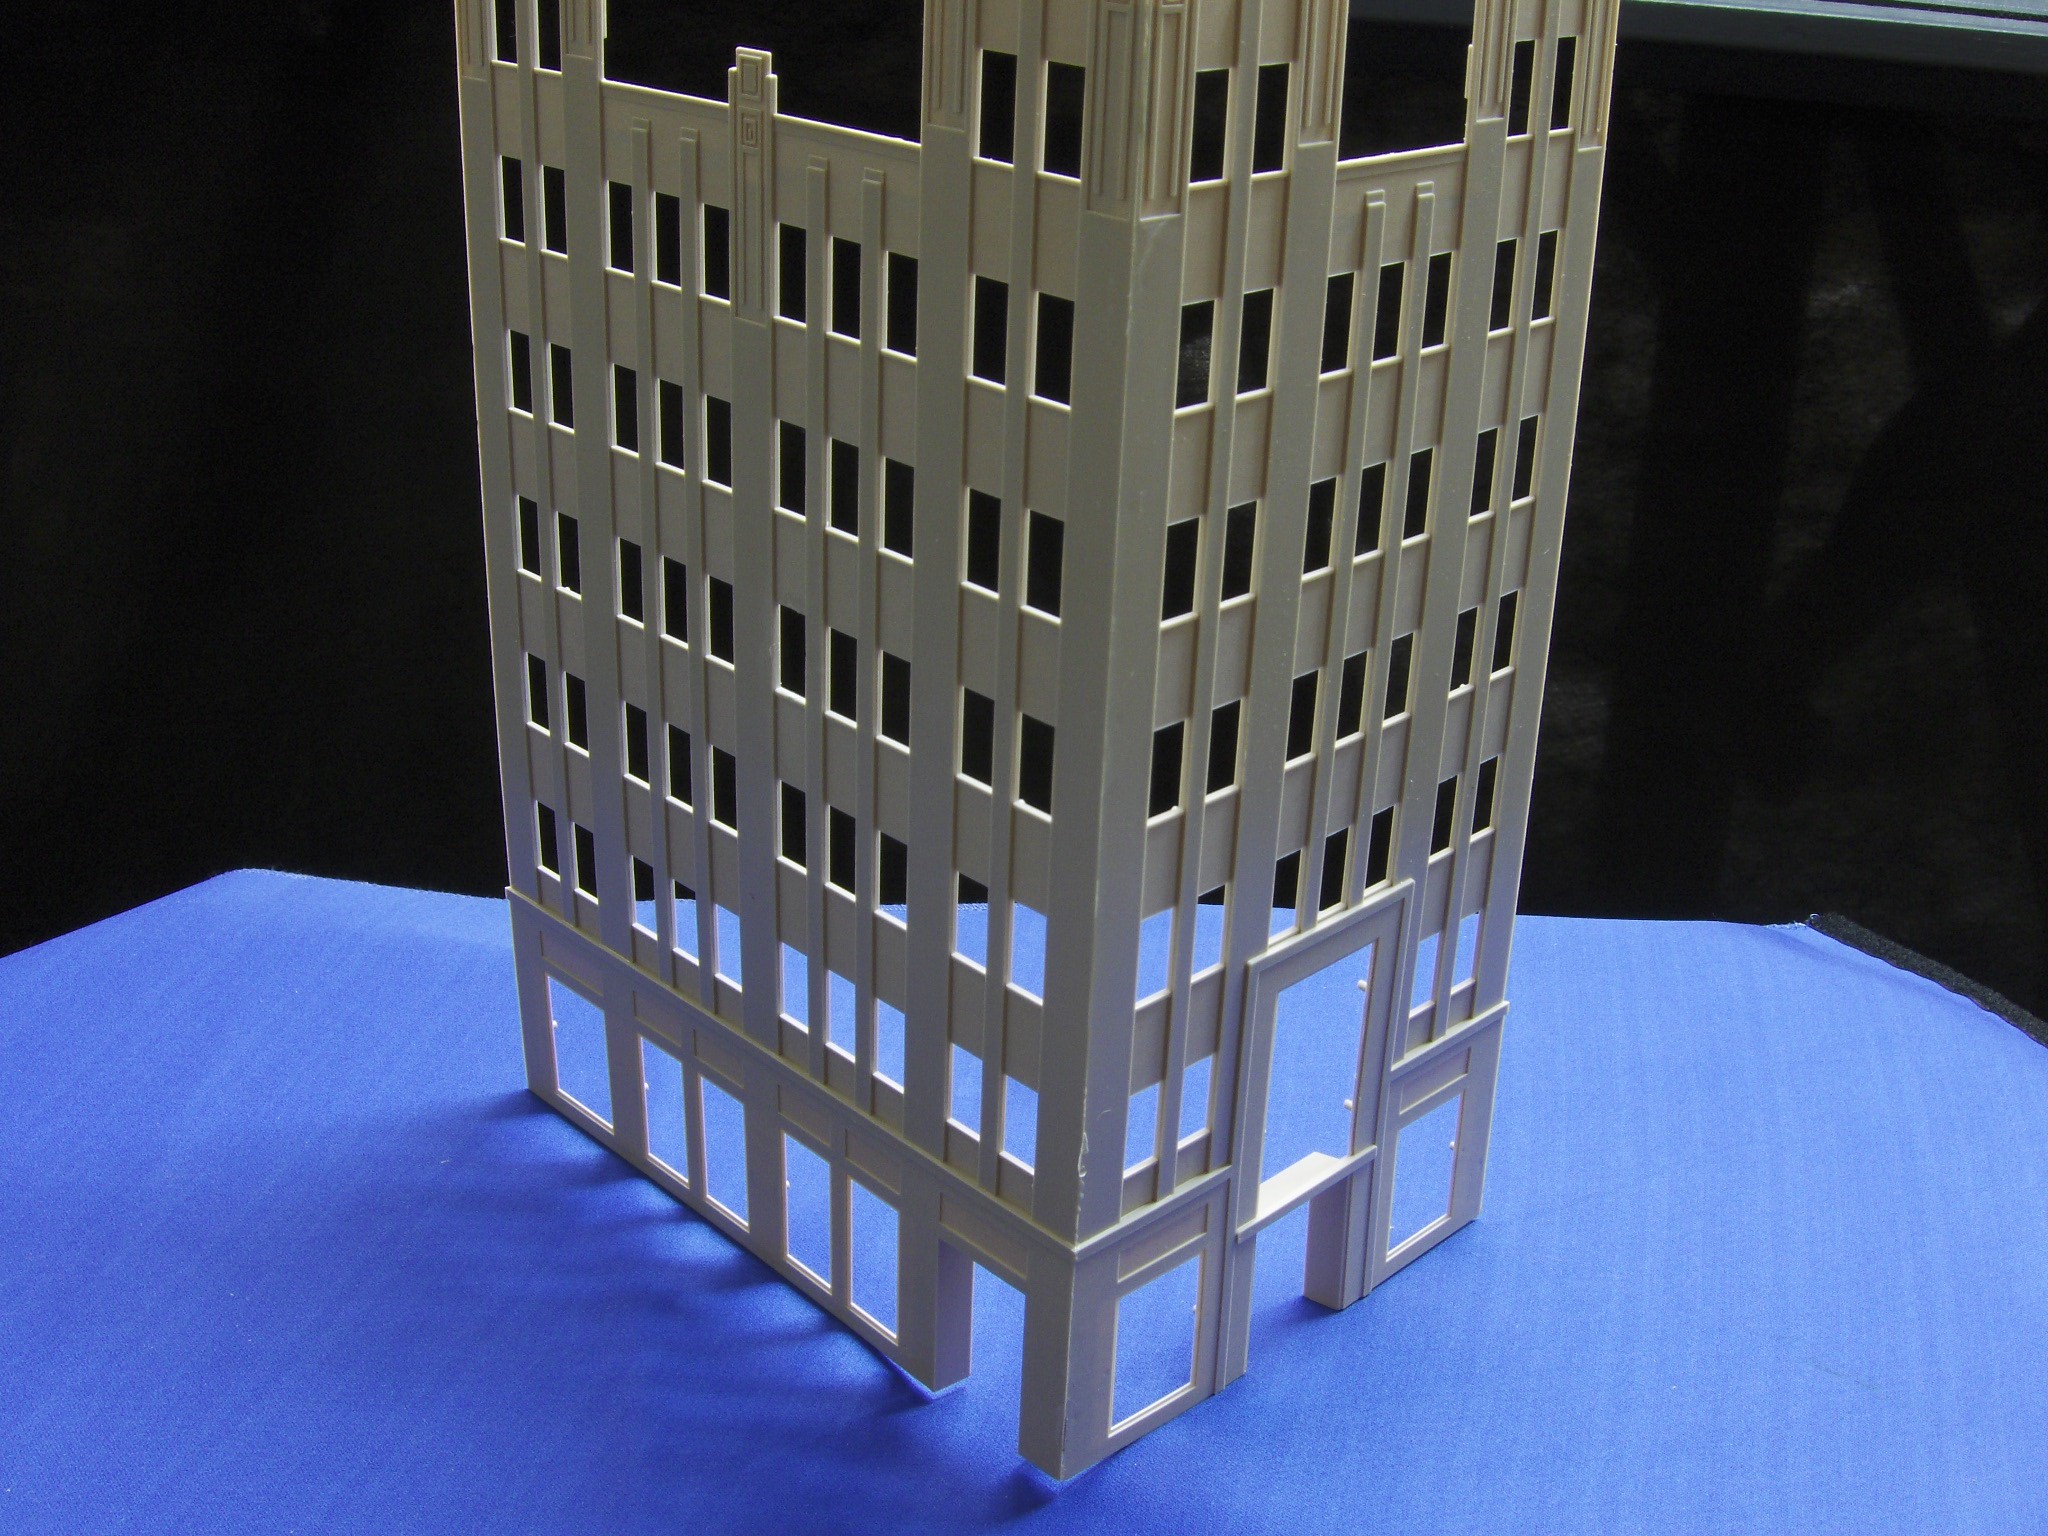 Next, I glued the main walls together with liquid cement and let them dry. Make sure you have a good solid joint with no gaping holes. I recommend specially modified clothespins, as they make great corner clamps.
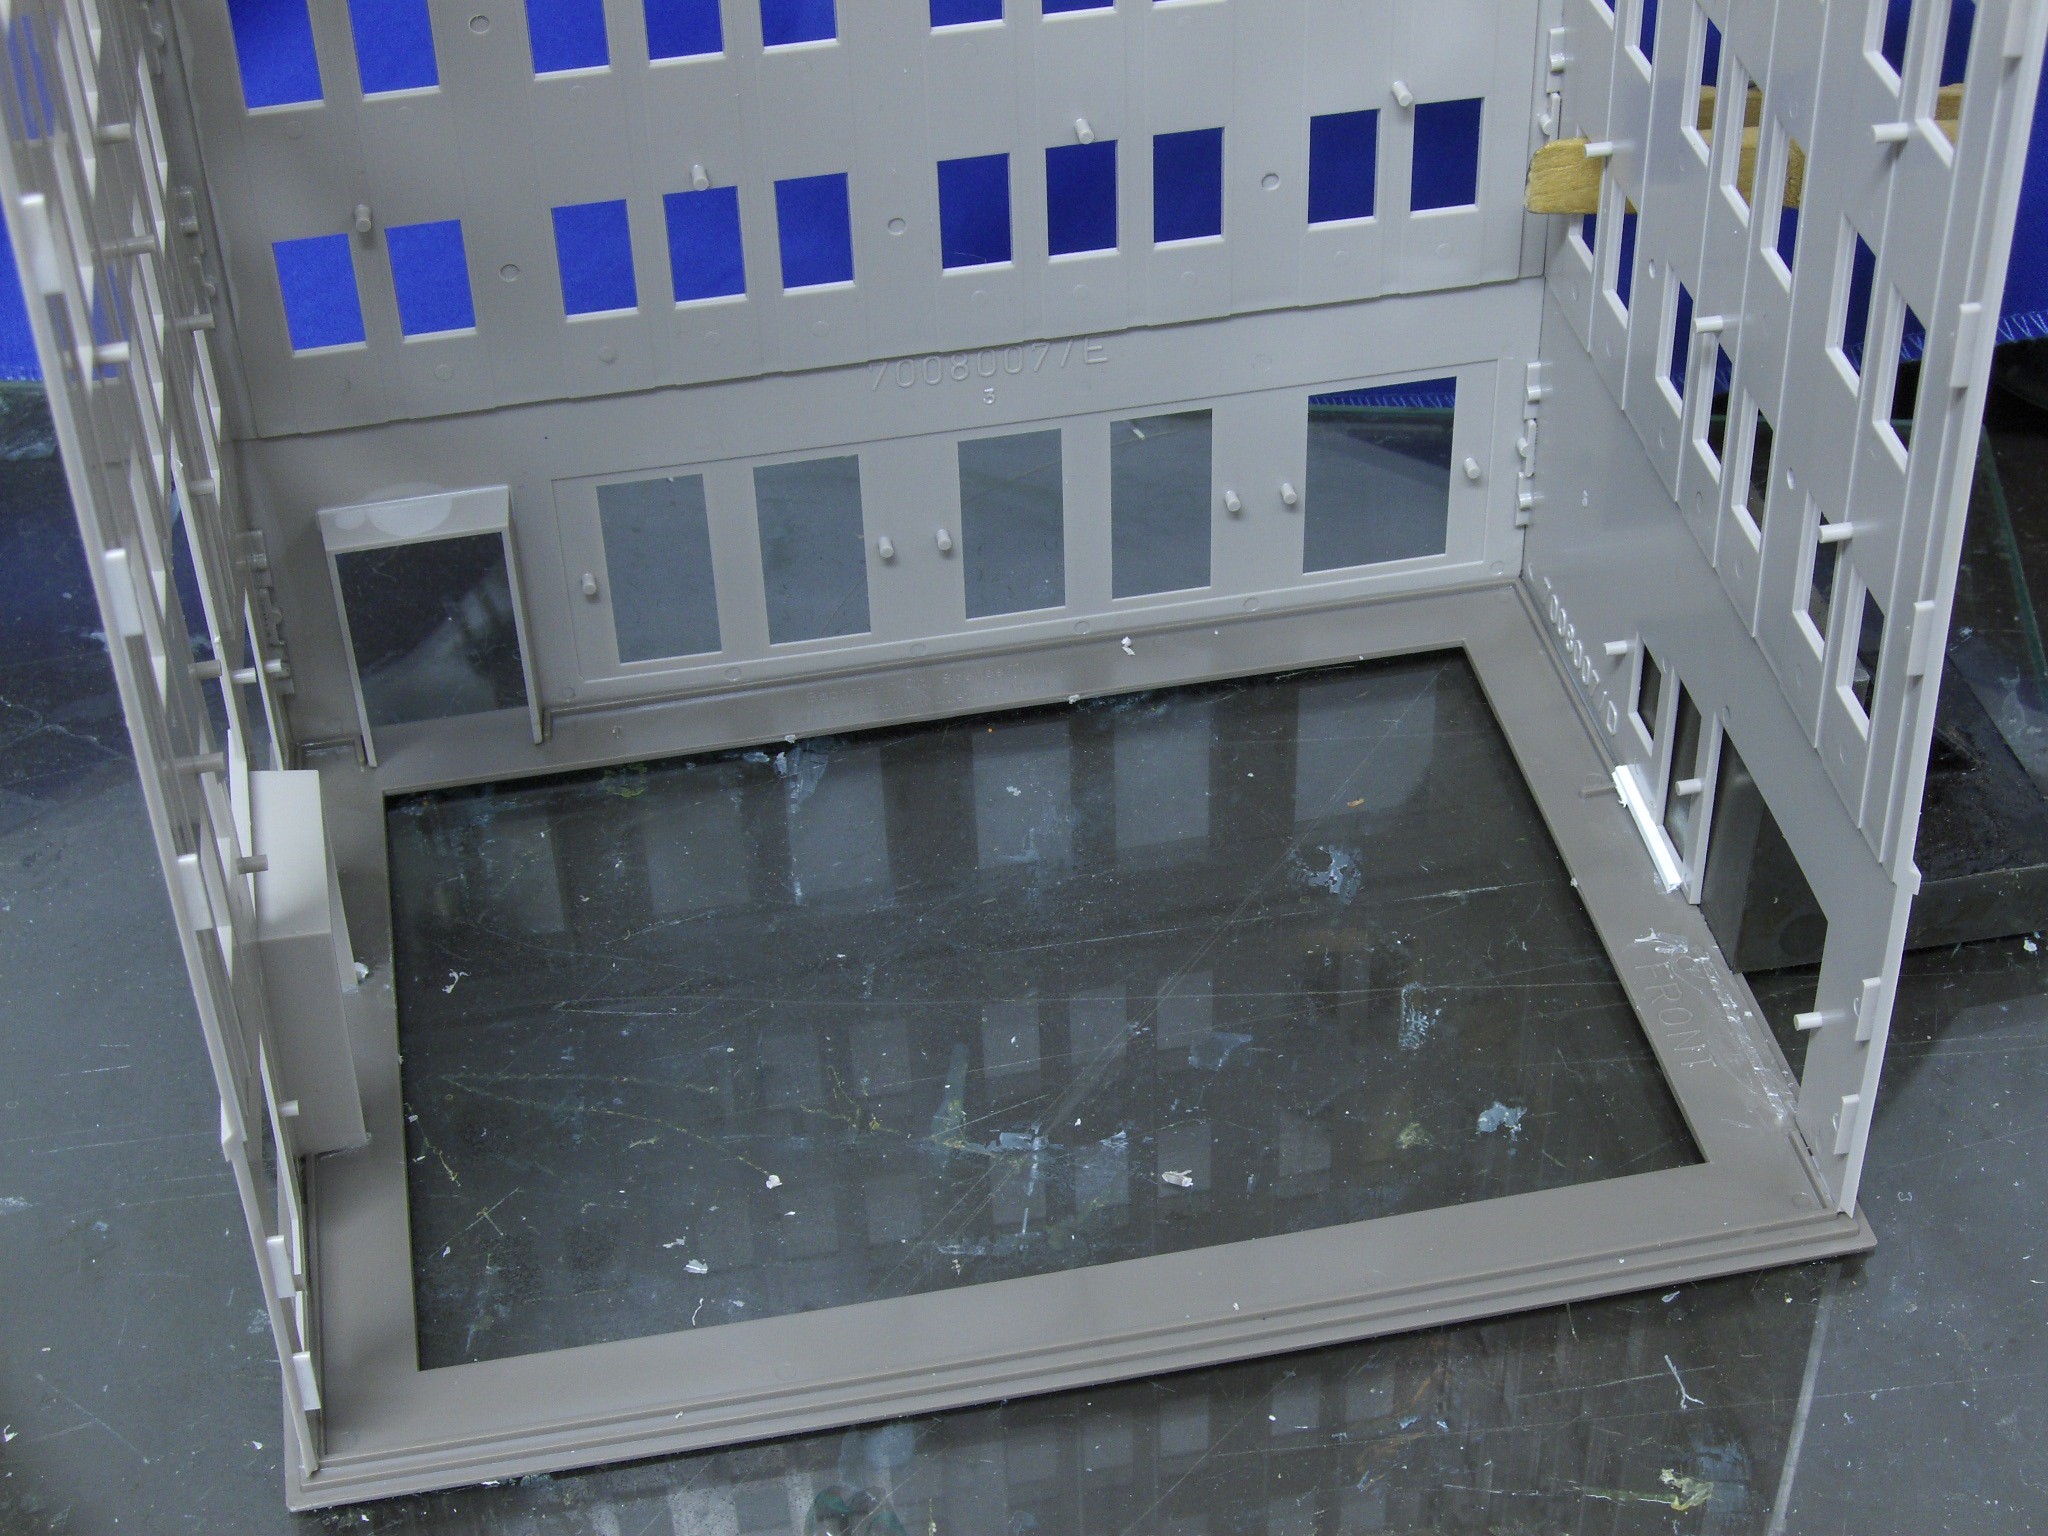 I next added the foundation piece from the kit to help line it all up. I also reversed the side pieces so the door can be seen from the new street. If I had built the building as intended, the door would have been hidden against the walls of the Metropolitan Building. In the middle right, you can see one of the clothespin clamps mentioned earlier.
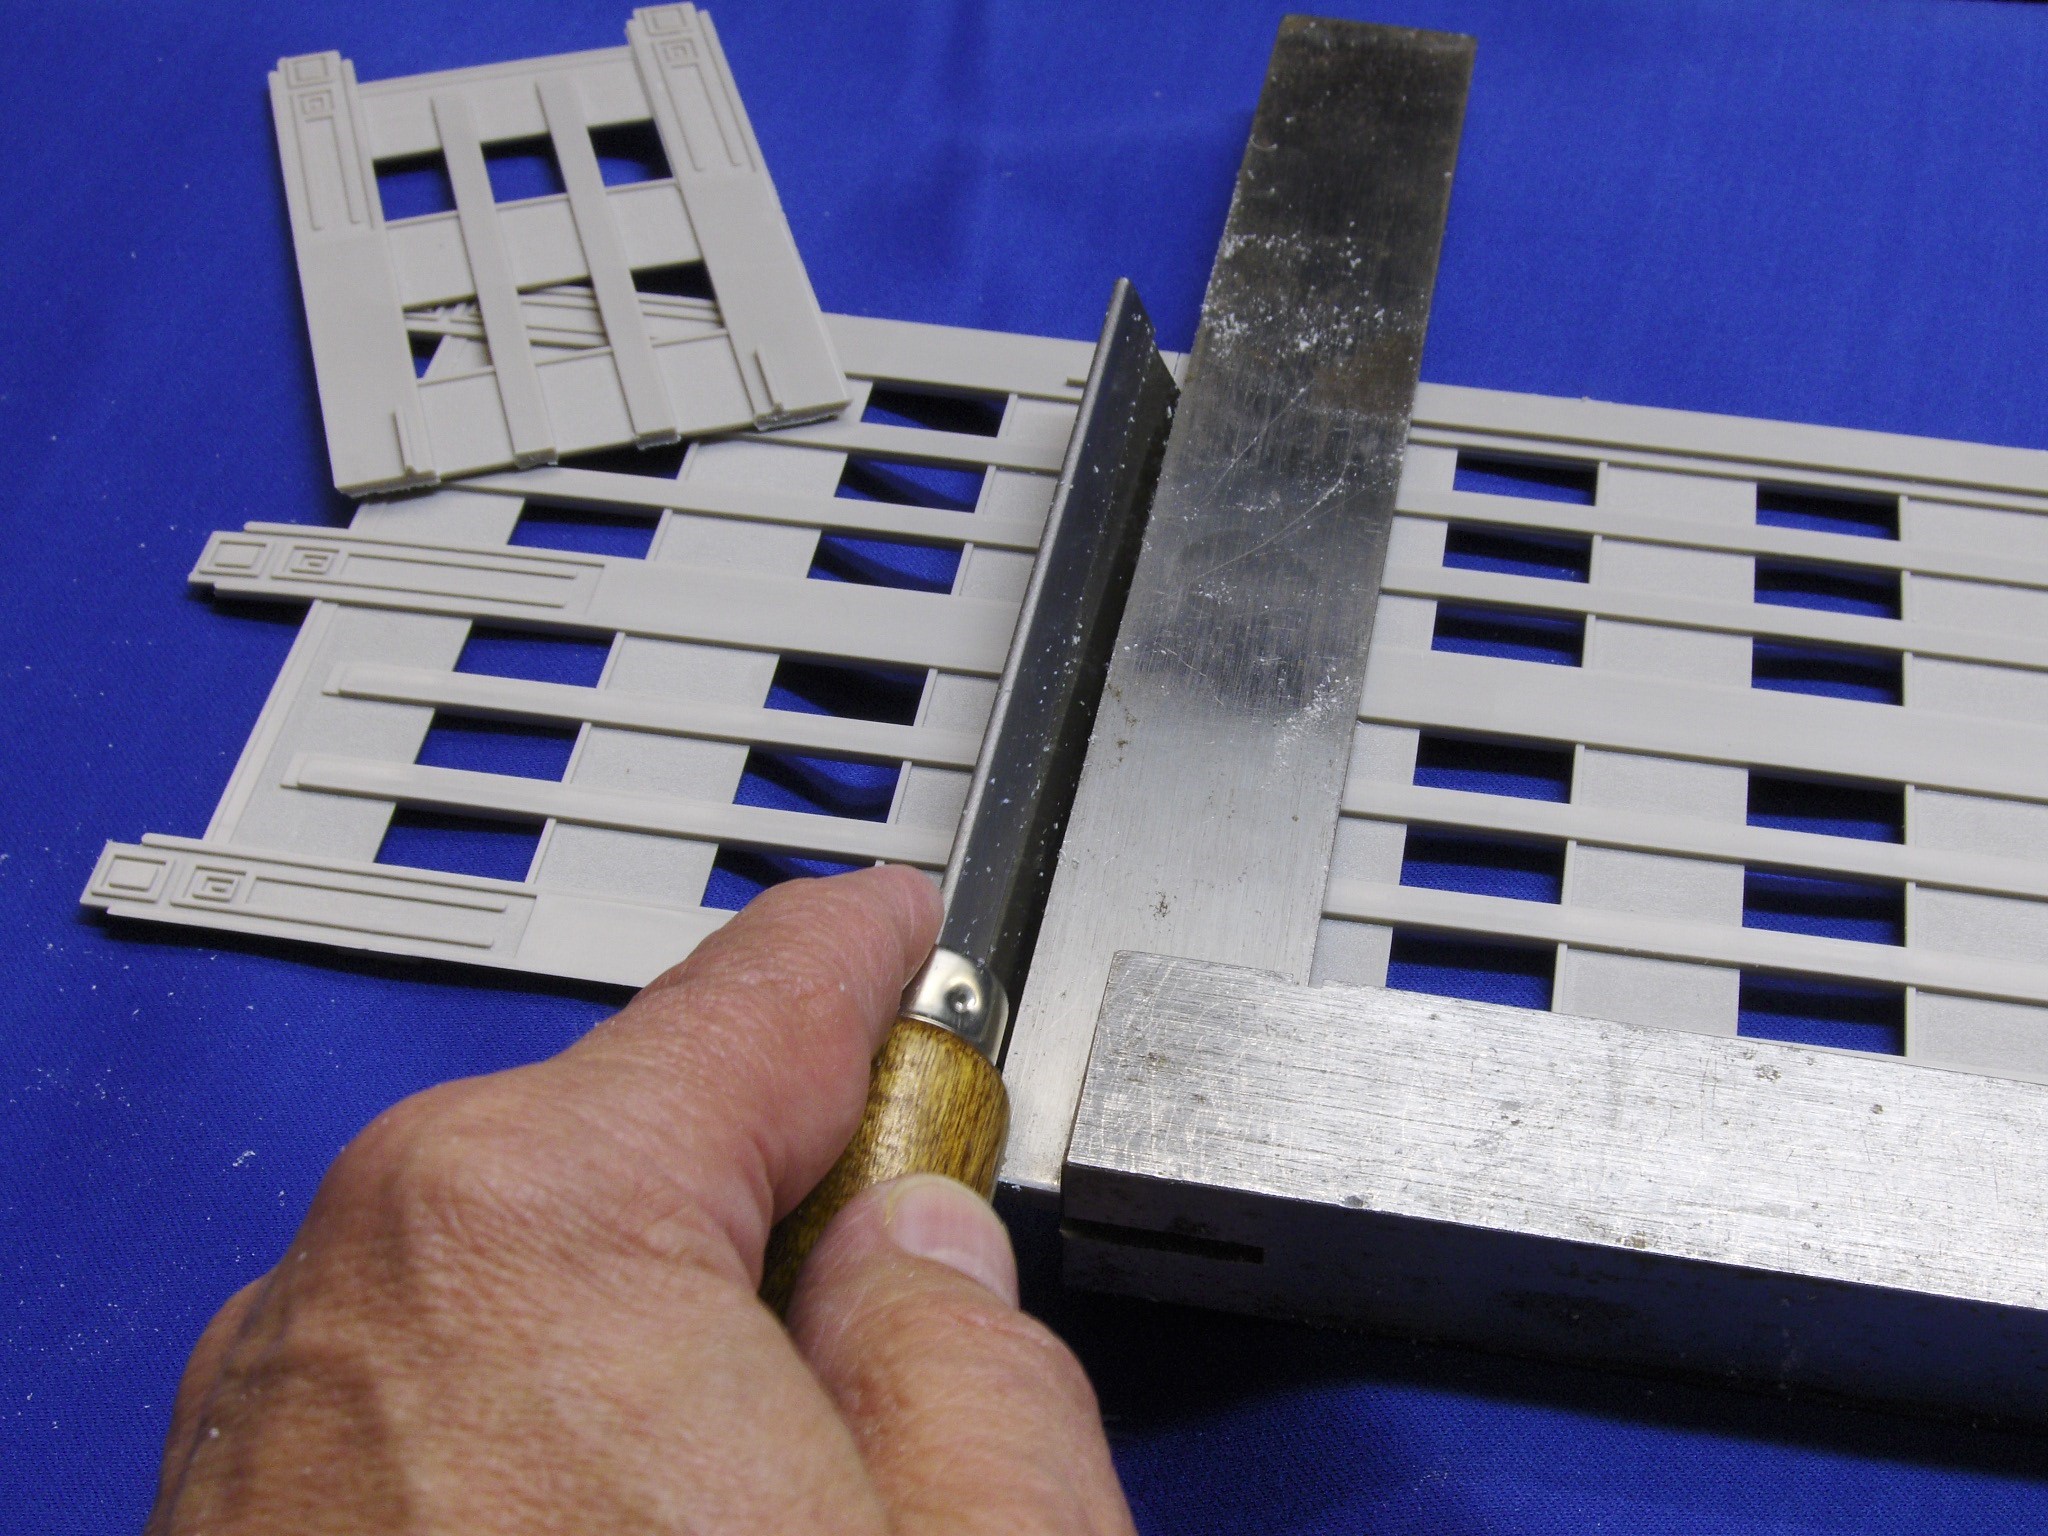 Once the basic structure was made, it was time to change the look of the tower section by reducing its height. With a razor saw, I cut off the two top floors and then glued them all together.
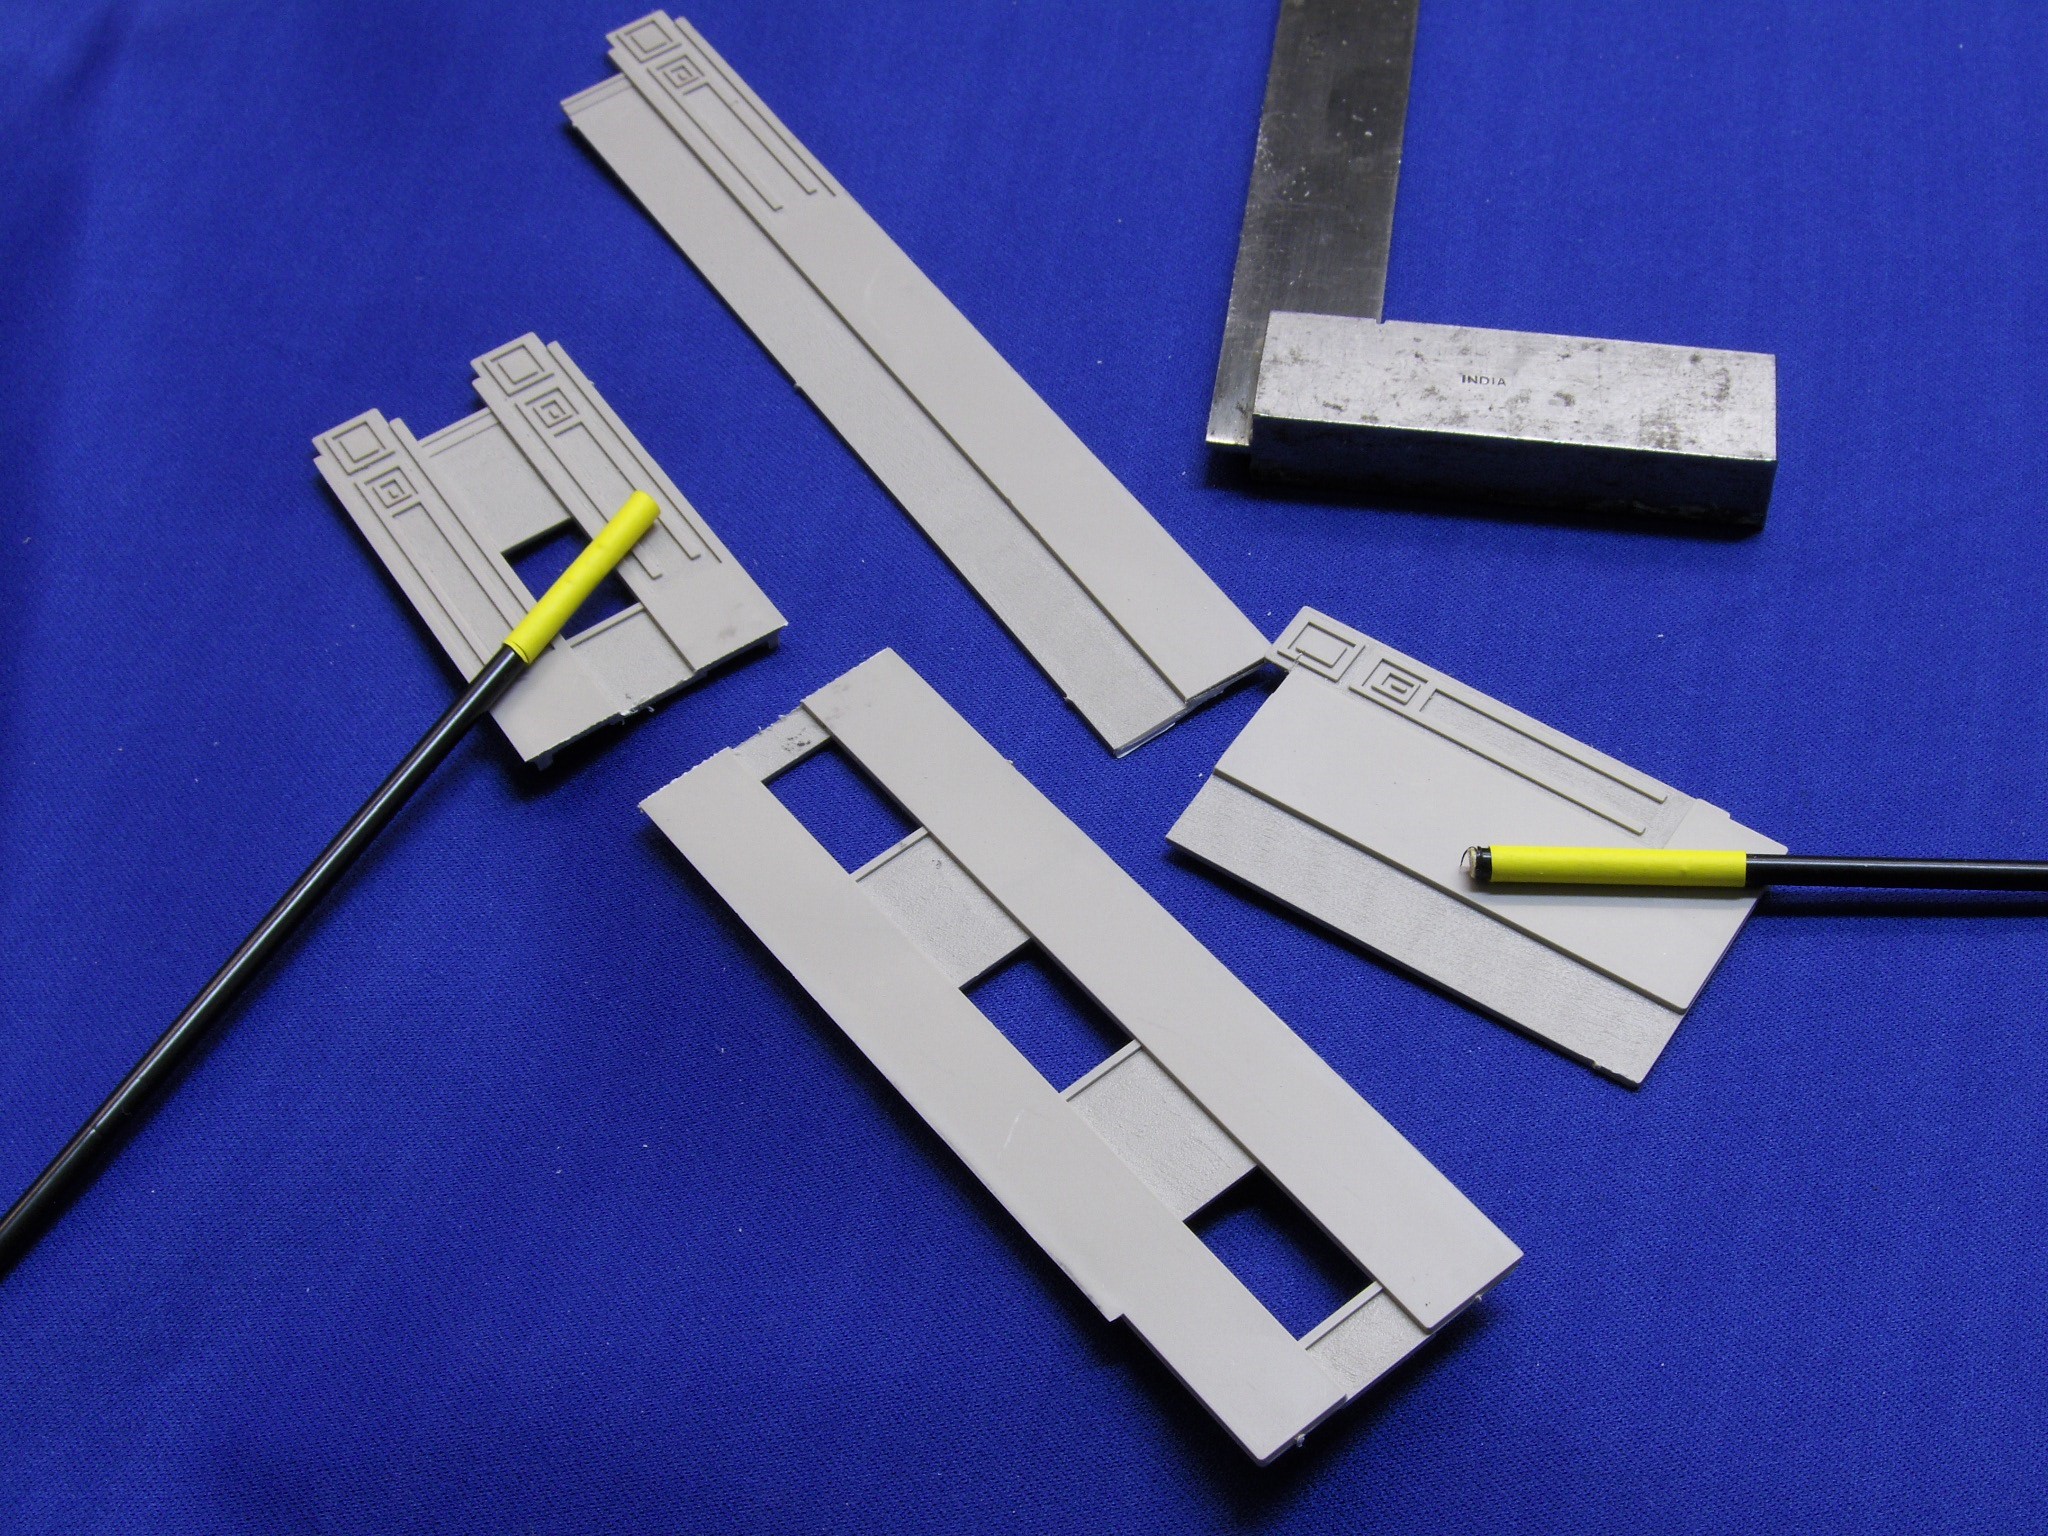 I did the same work with the smaller tower pieces (with the yellow markers) that make up part of the main building. The leftover parts are kept in a box with other leftover parts for use in perhaps another building.
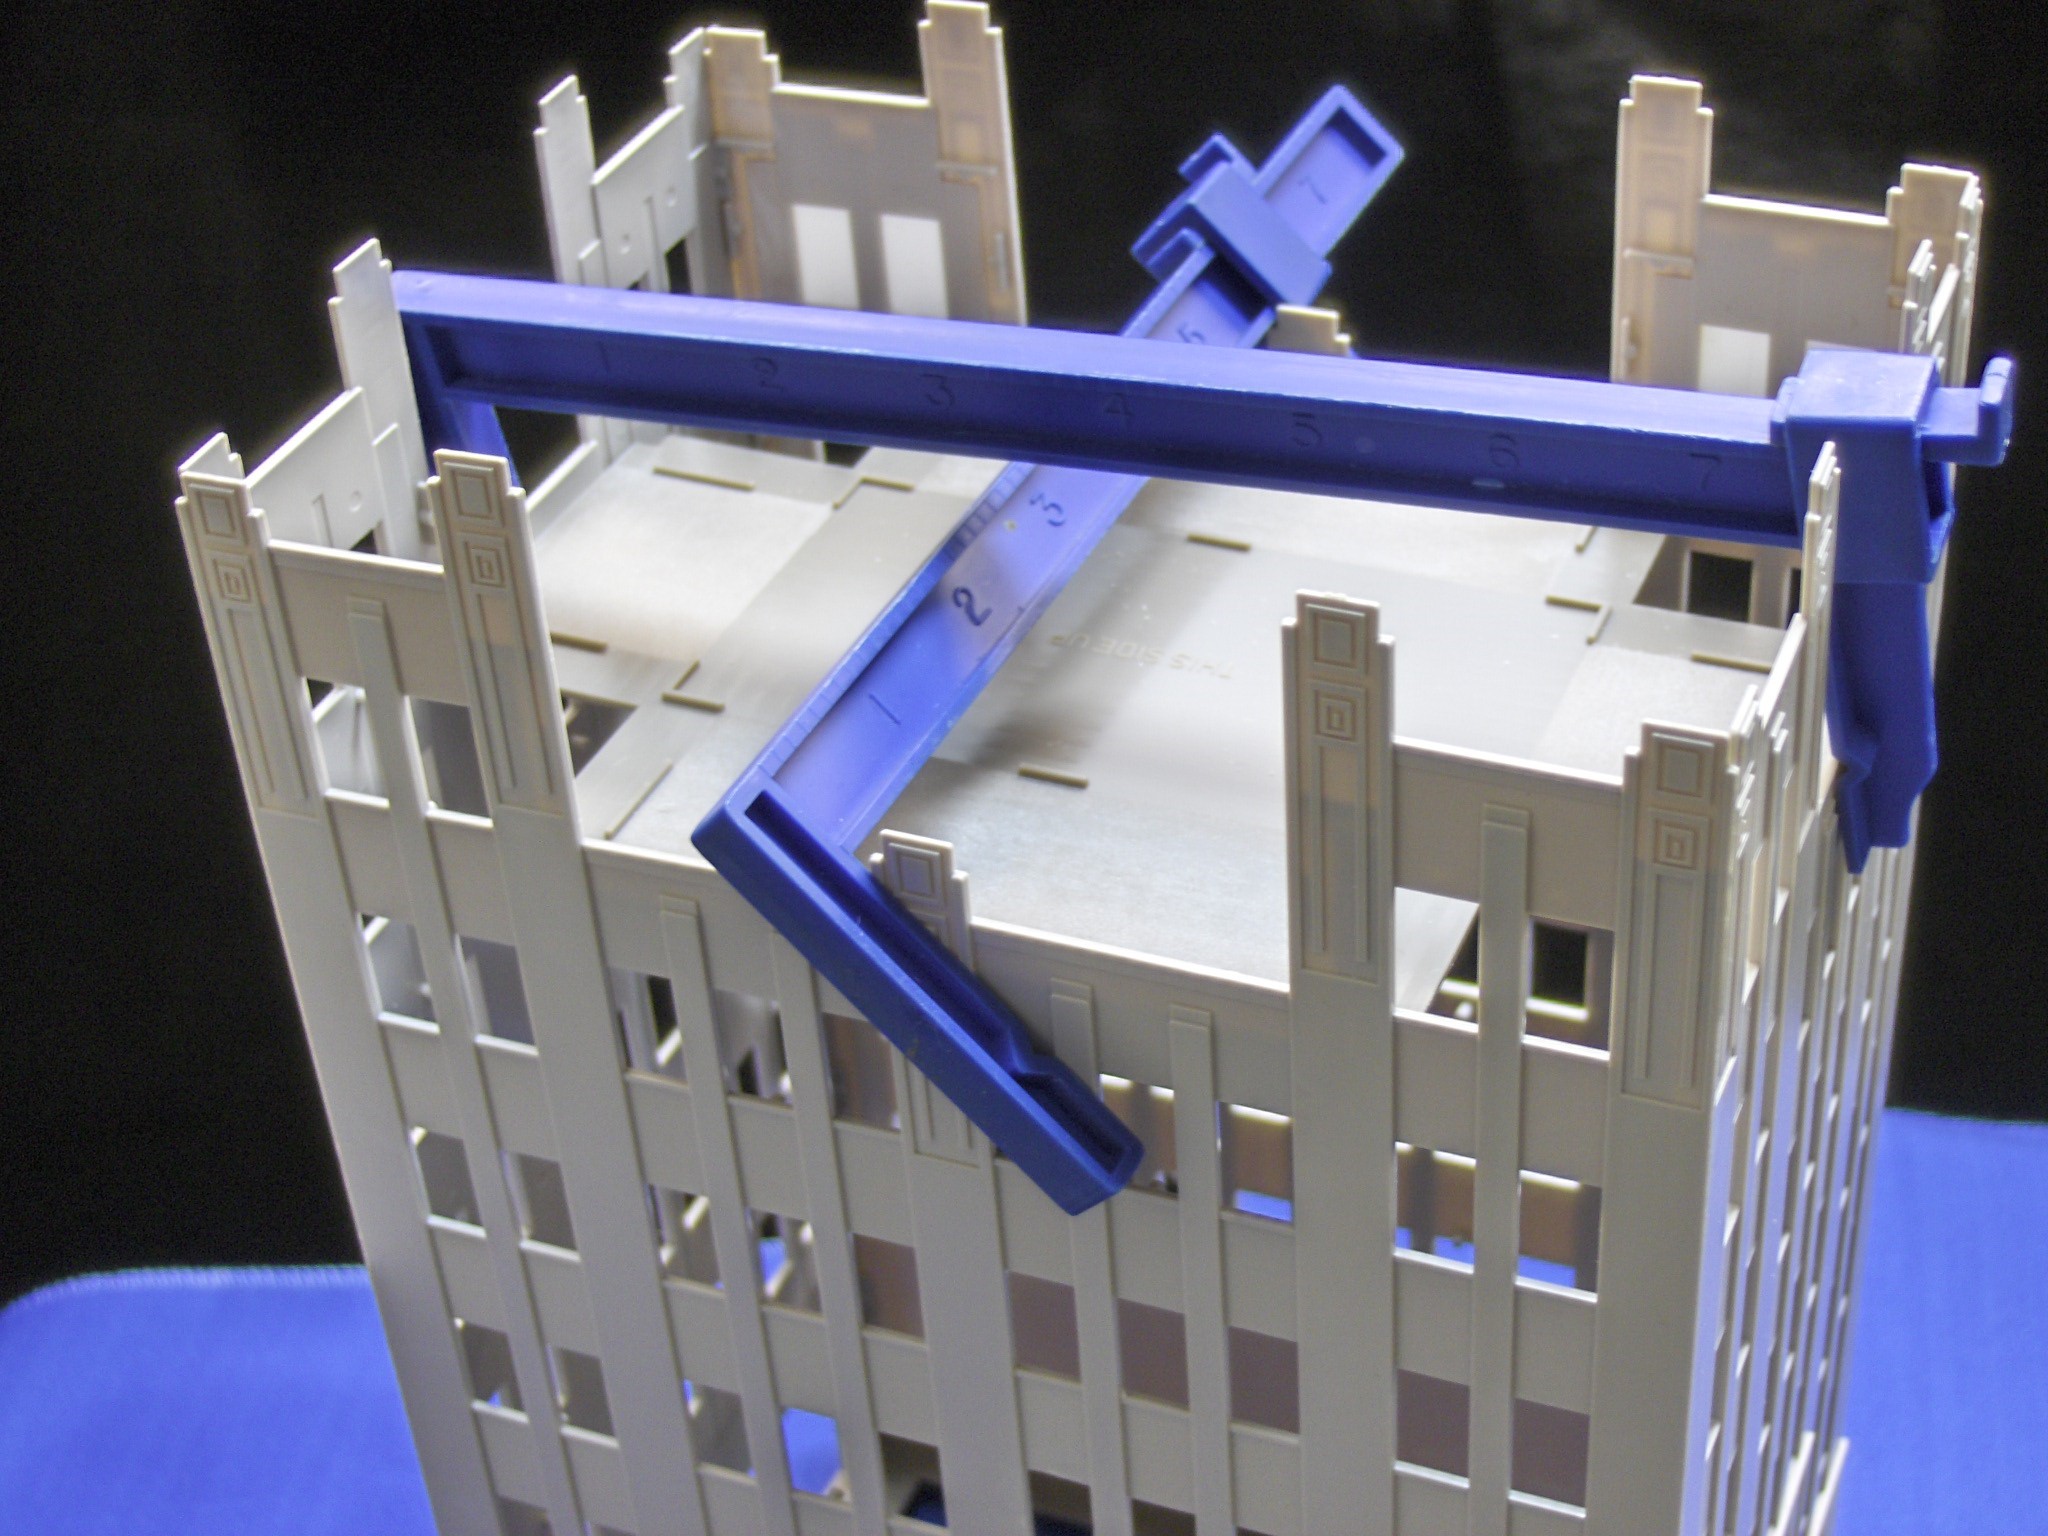 Here is the main building with the floor added. Clamps help make this a good, solid structure.
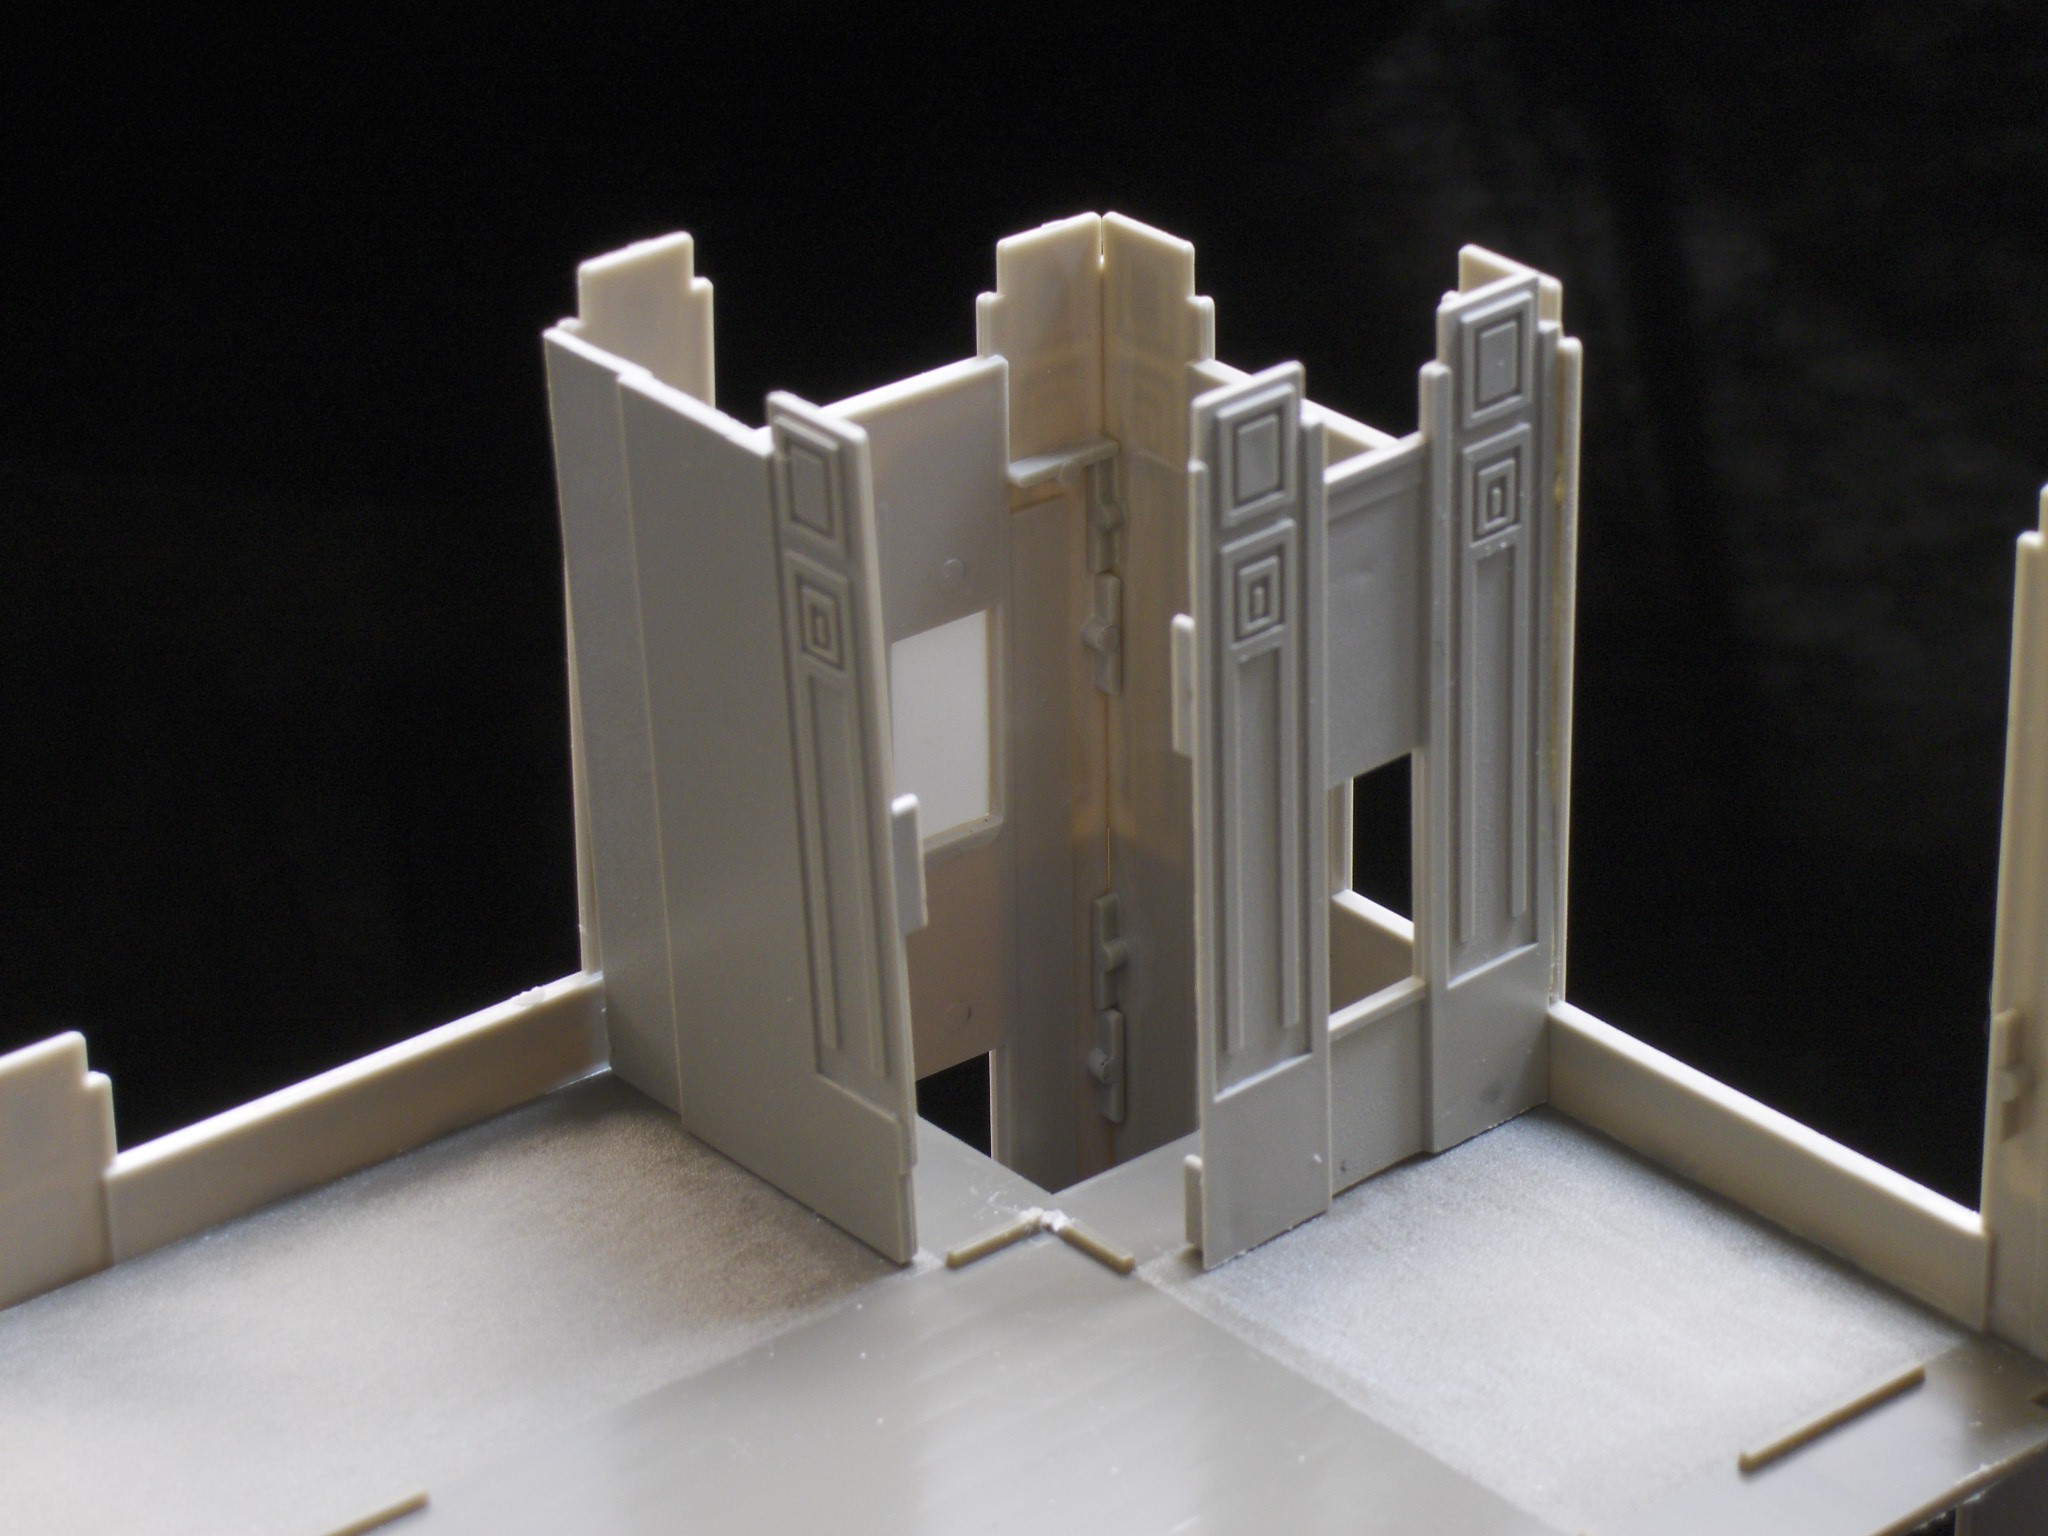 Here is a shot of one of the smaller towers at a building corner. The pieces are set in temporarily prior to the addition of the shortened central tower.
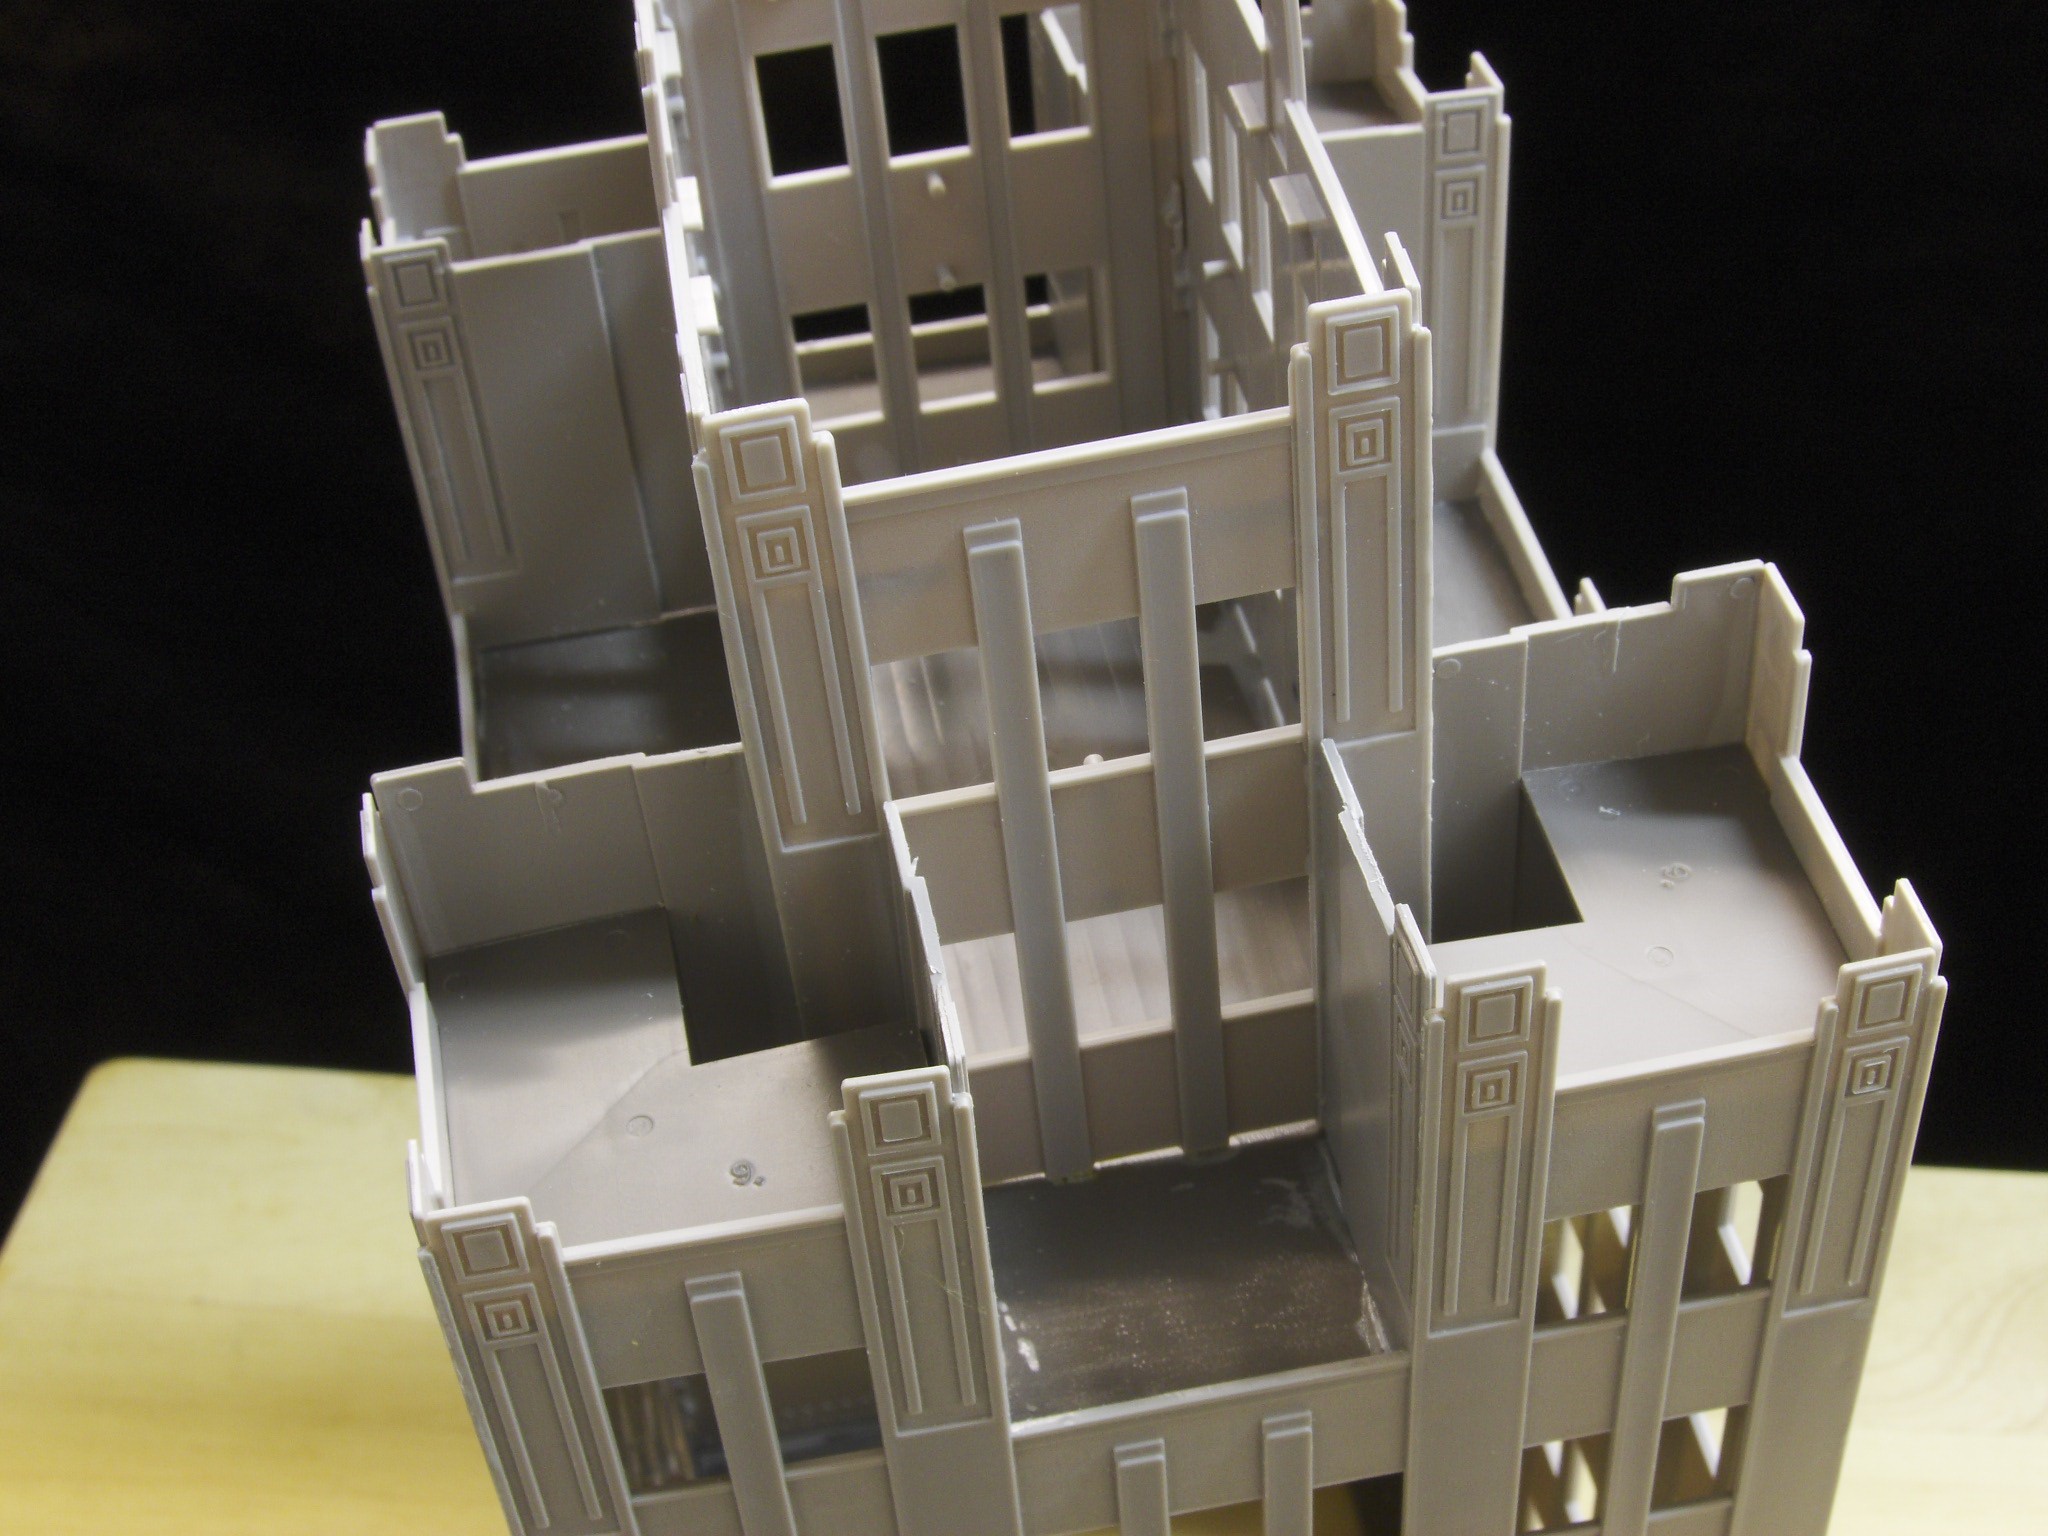 Here, the central tower is test-fitted into place and the walls of the smaller towers are glued into place. Thus, the profile of the whole structure has been changed by shortening the corner and central towers.
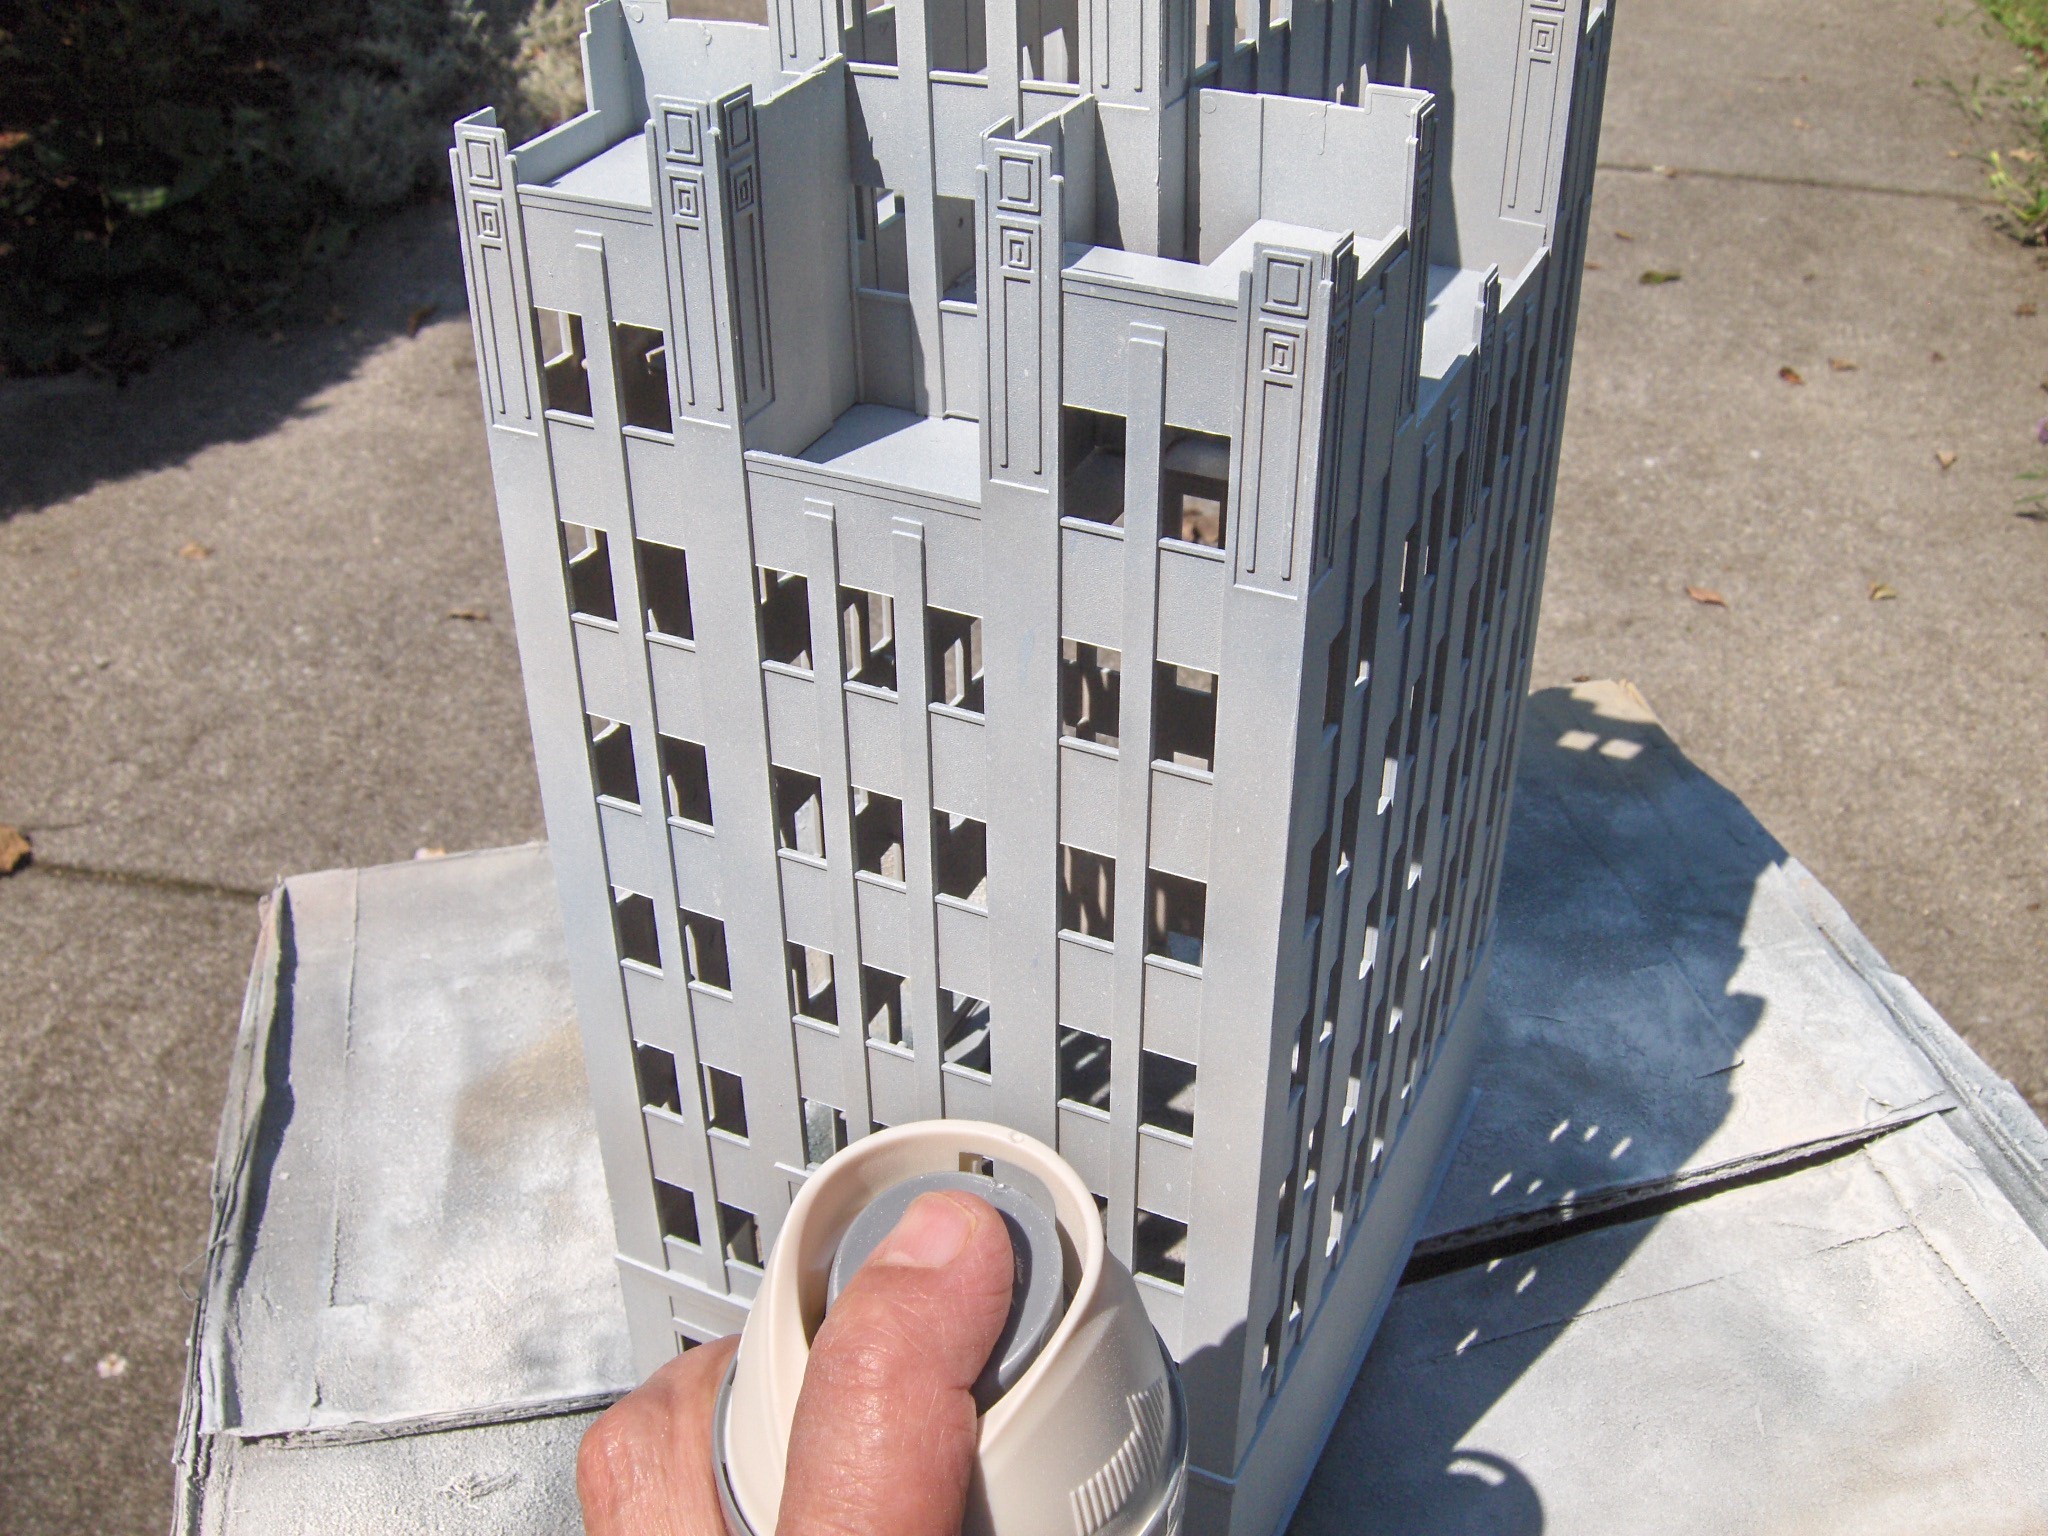 Next, I sprayed the building an off-white. This was followed with an application of gray chalk and then sprayed with a fine mist of water to set the coloring. You really want some sort of mottled shading on a structure rather than a consistent color.
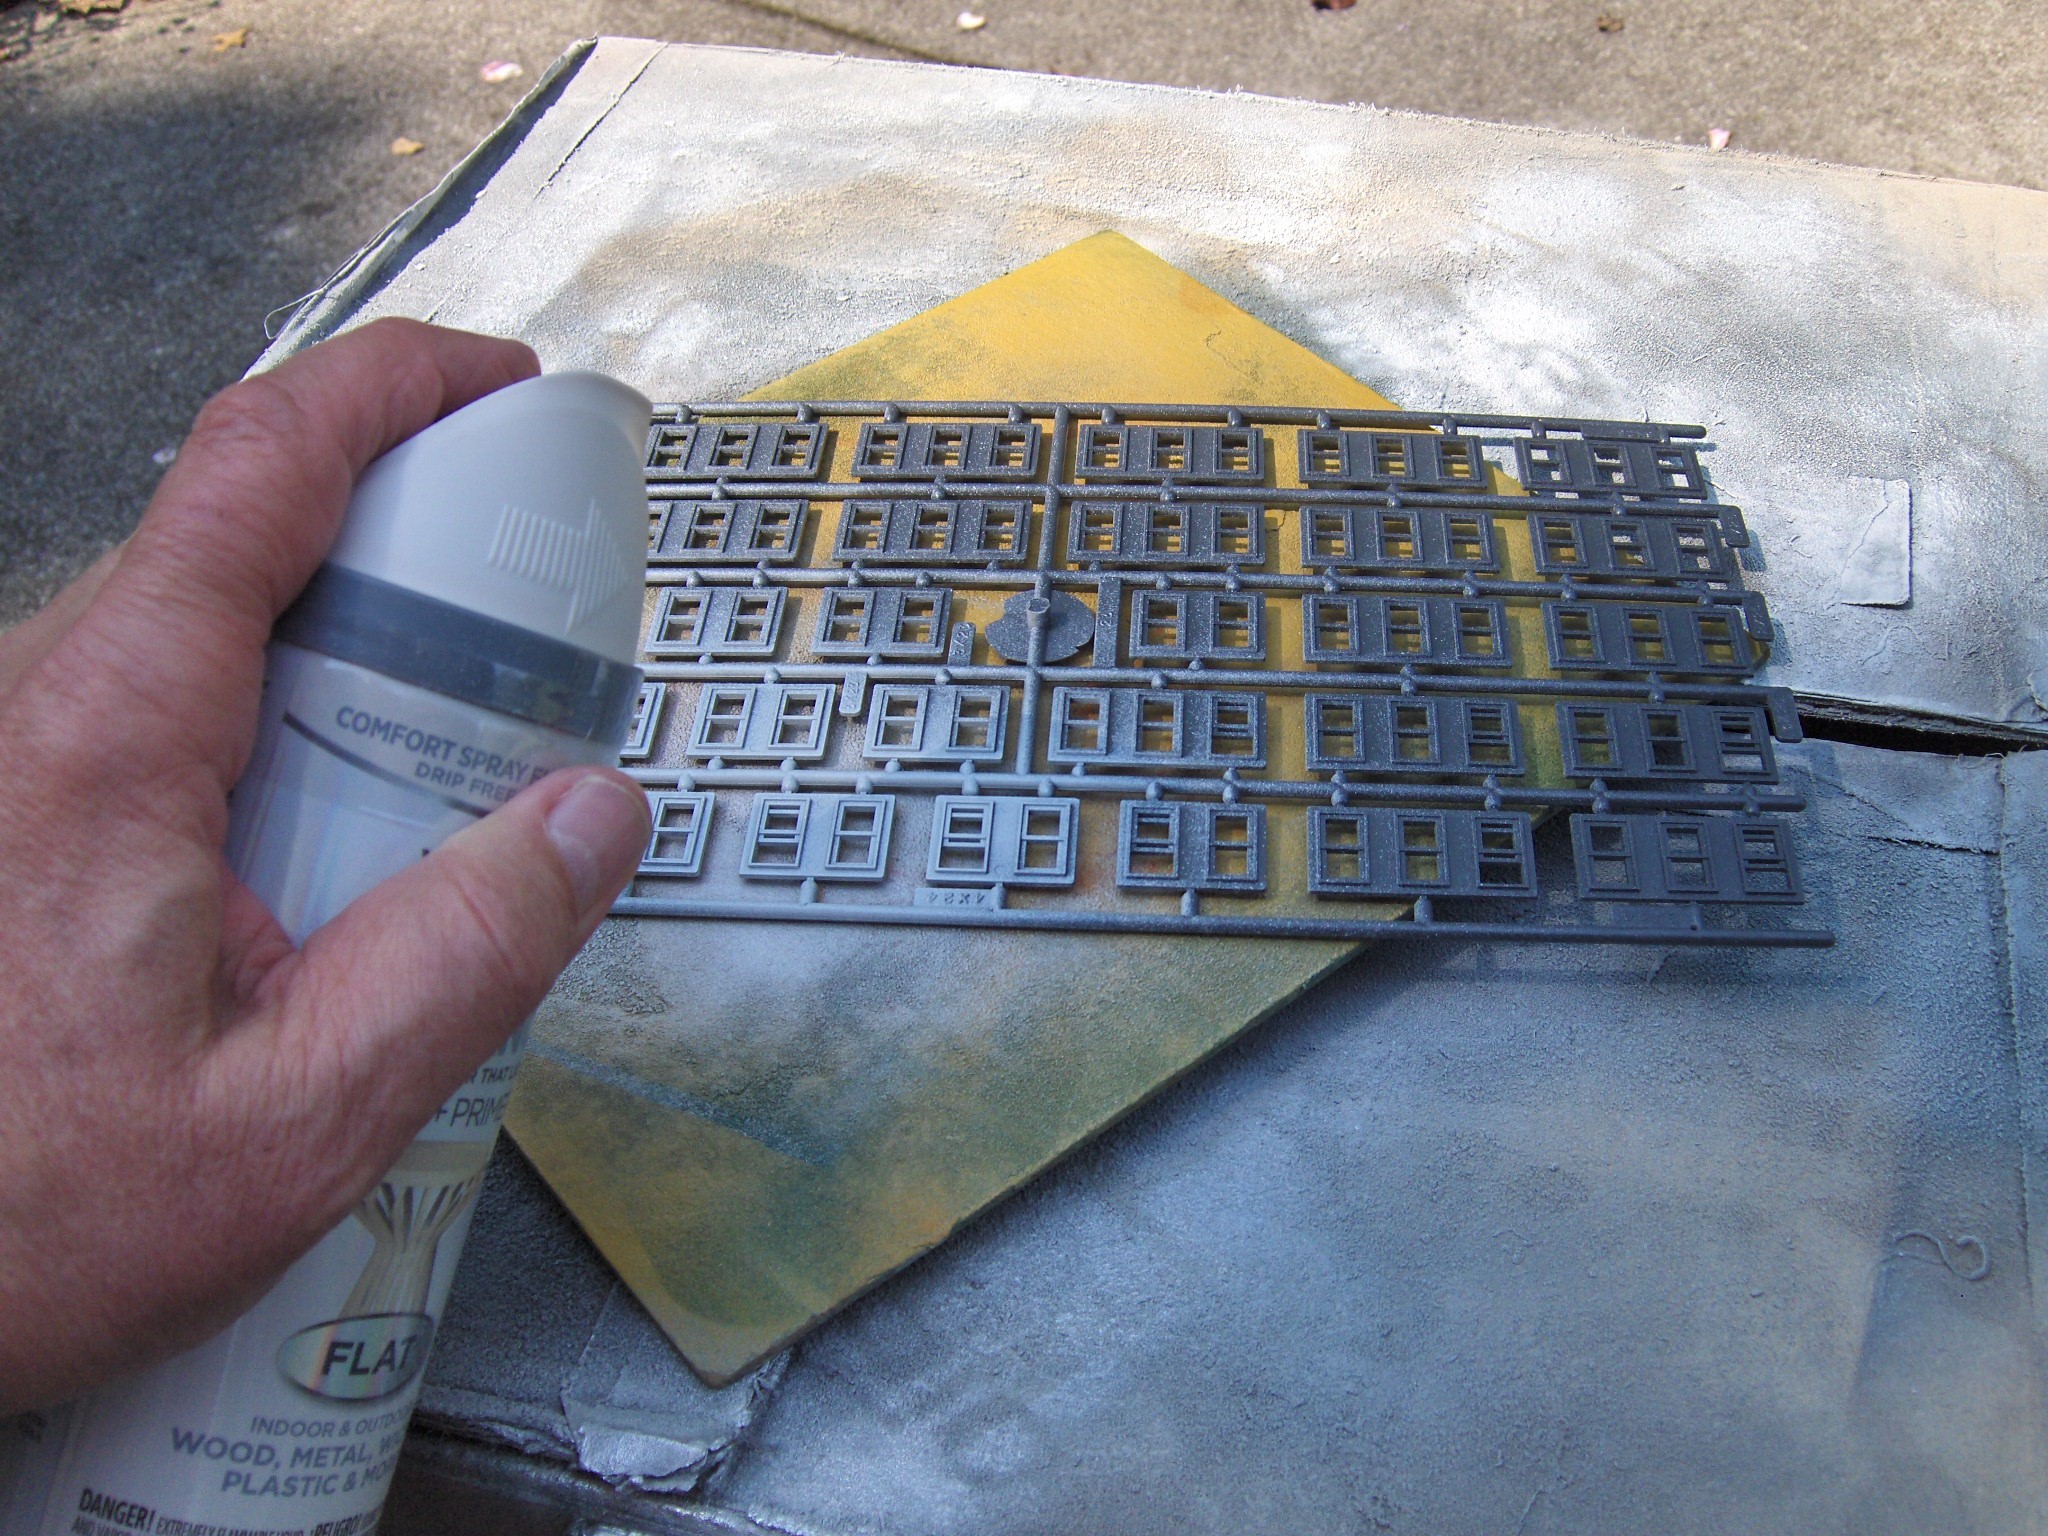 I sprayed the windows a pure white so they would stand out from the walls.
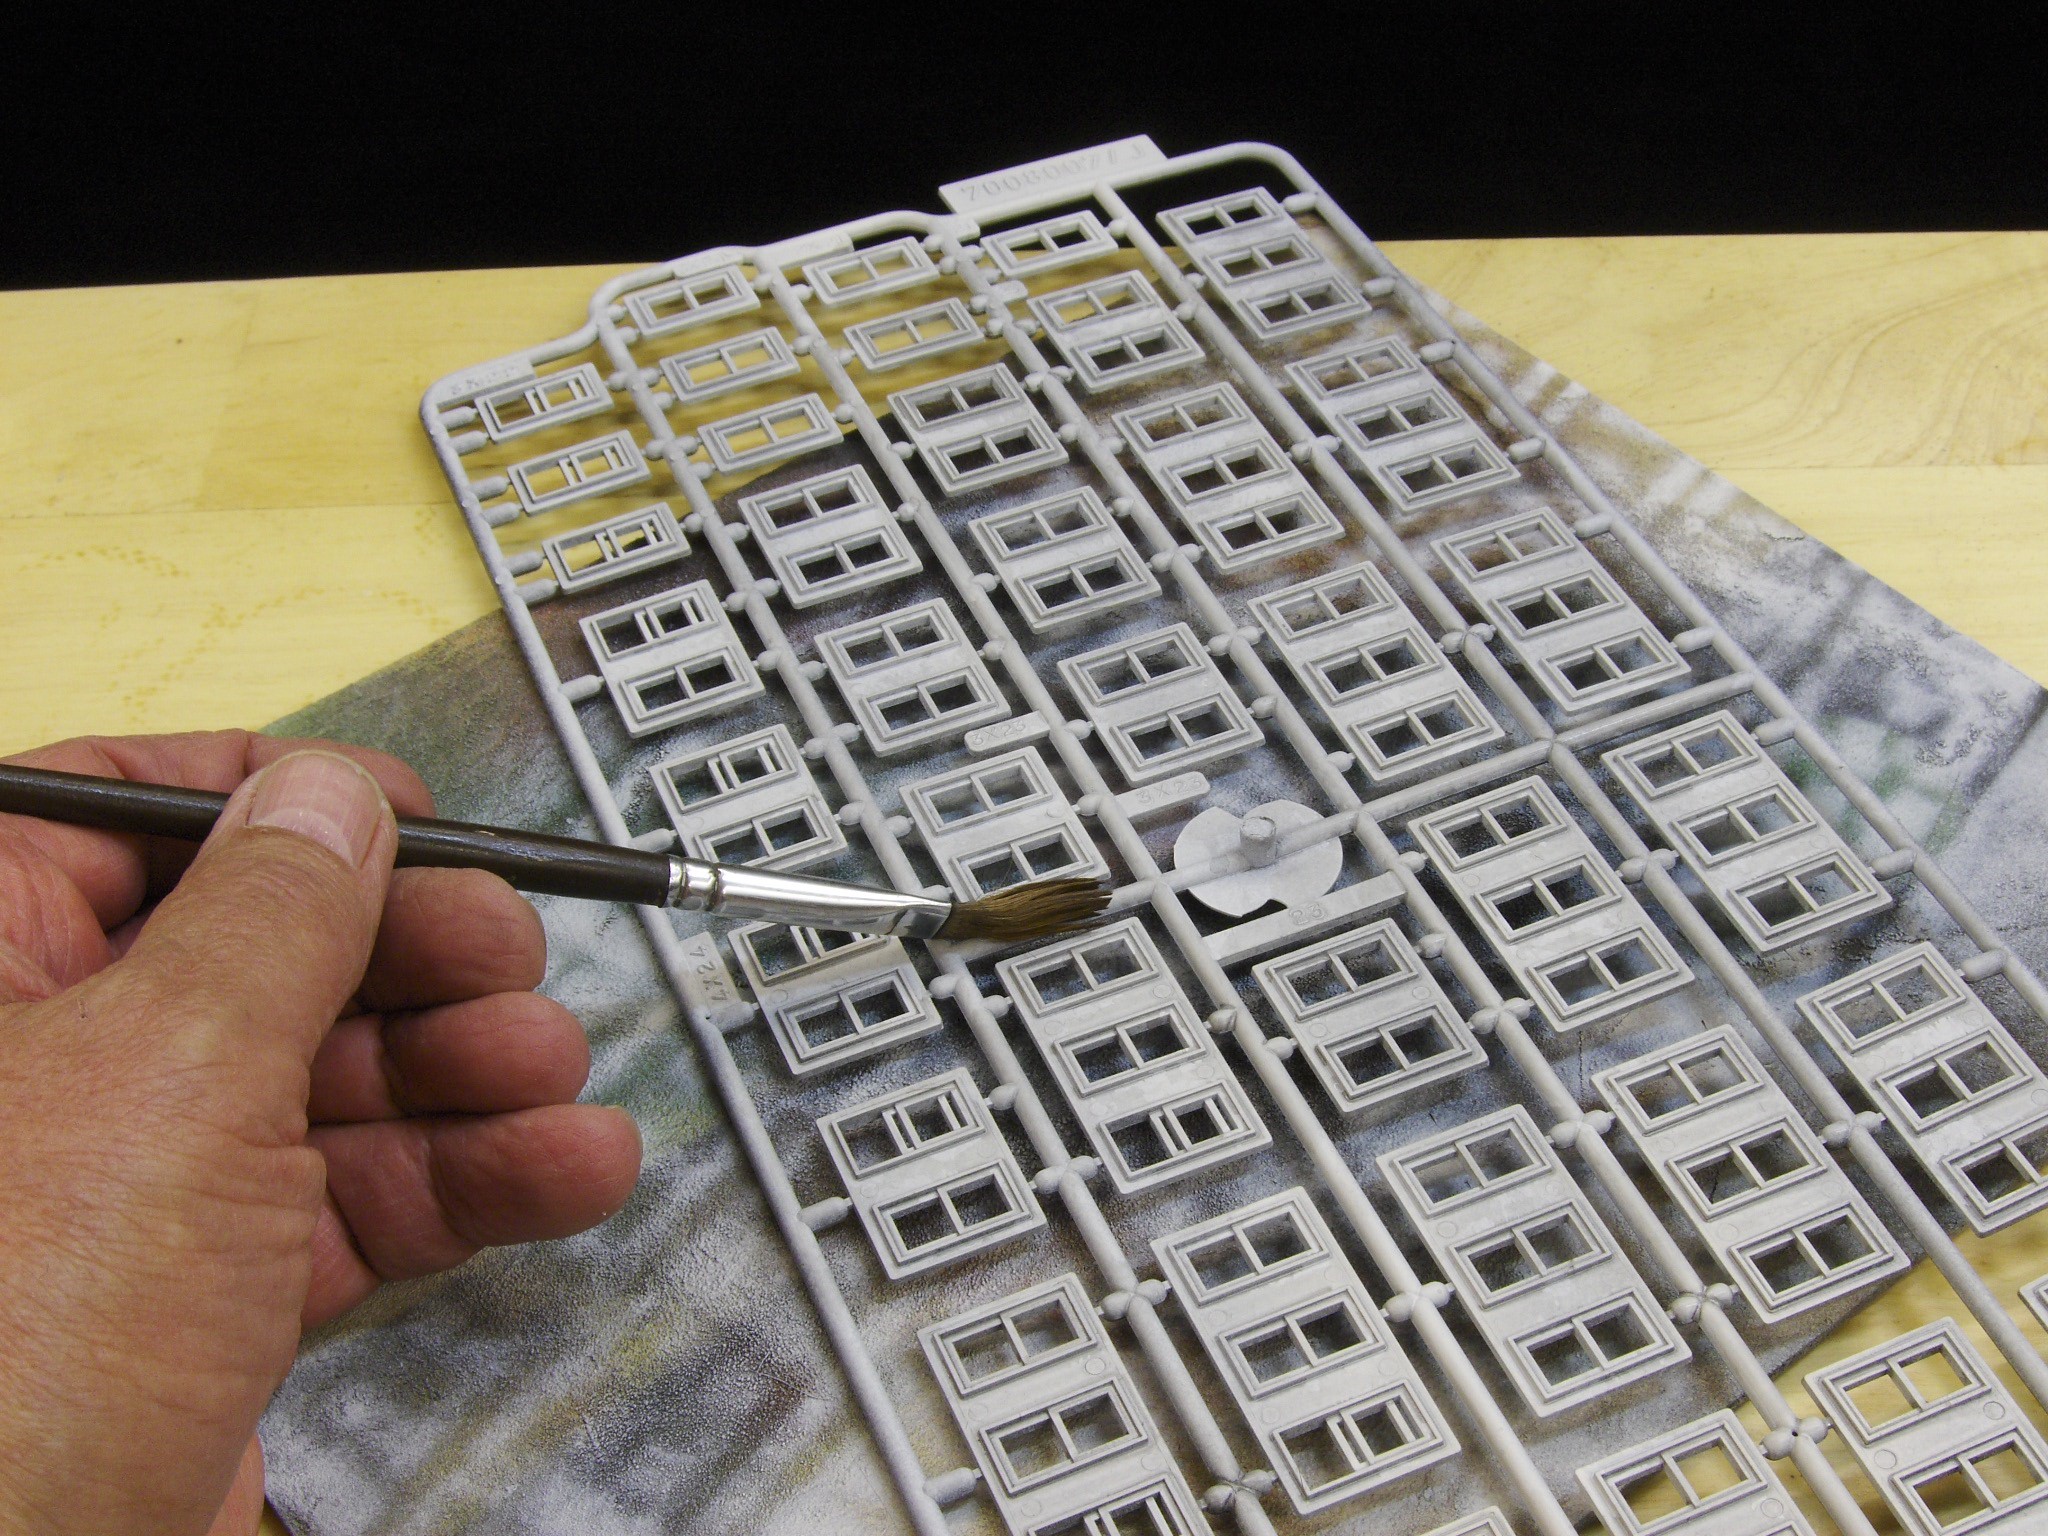 A wash of India ink and alcohol gives the windows some depth and texture. I also used the same wash on the whole building.
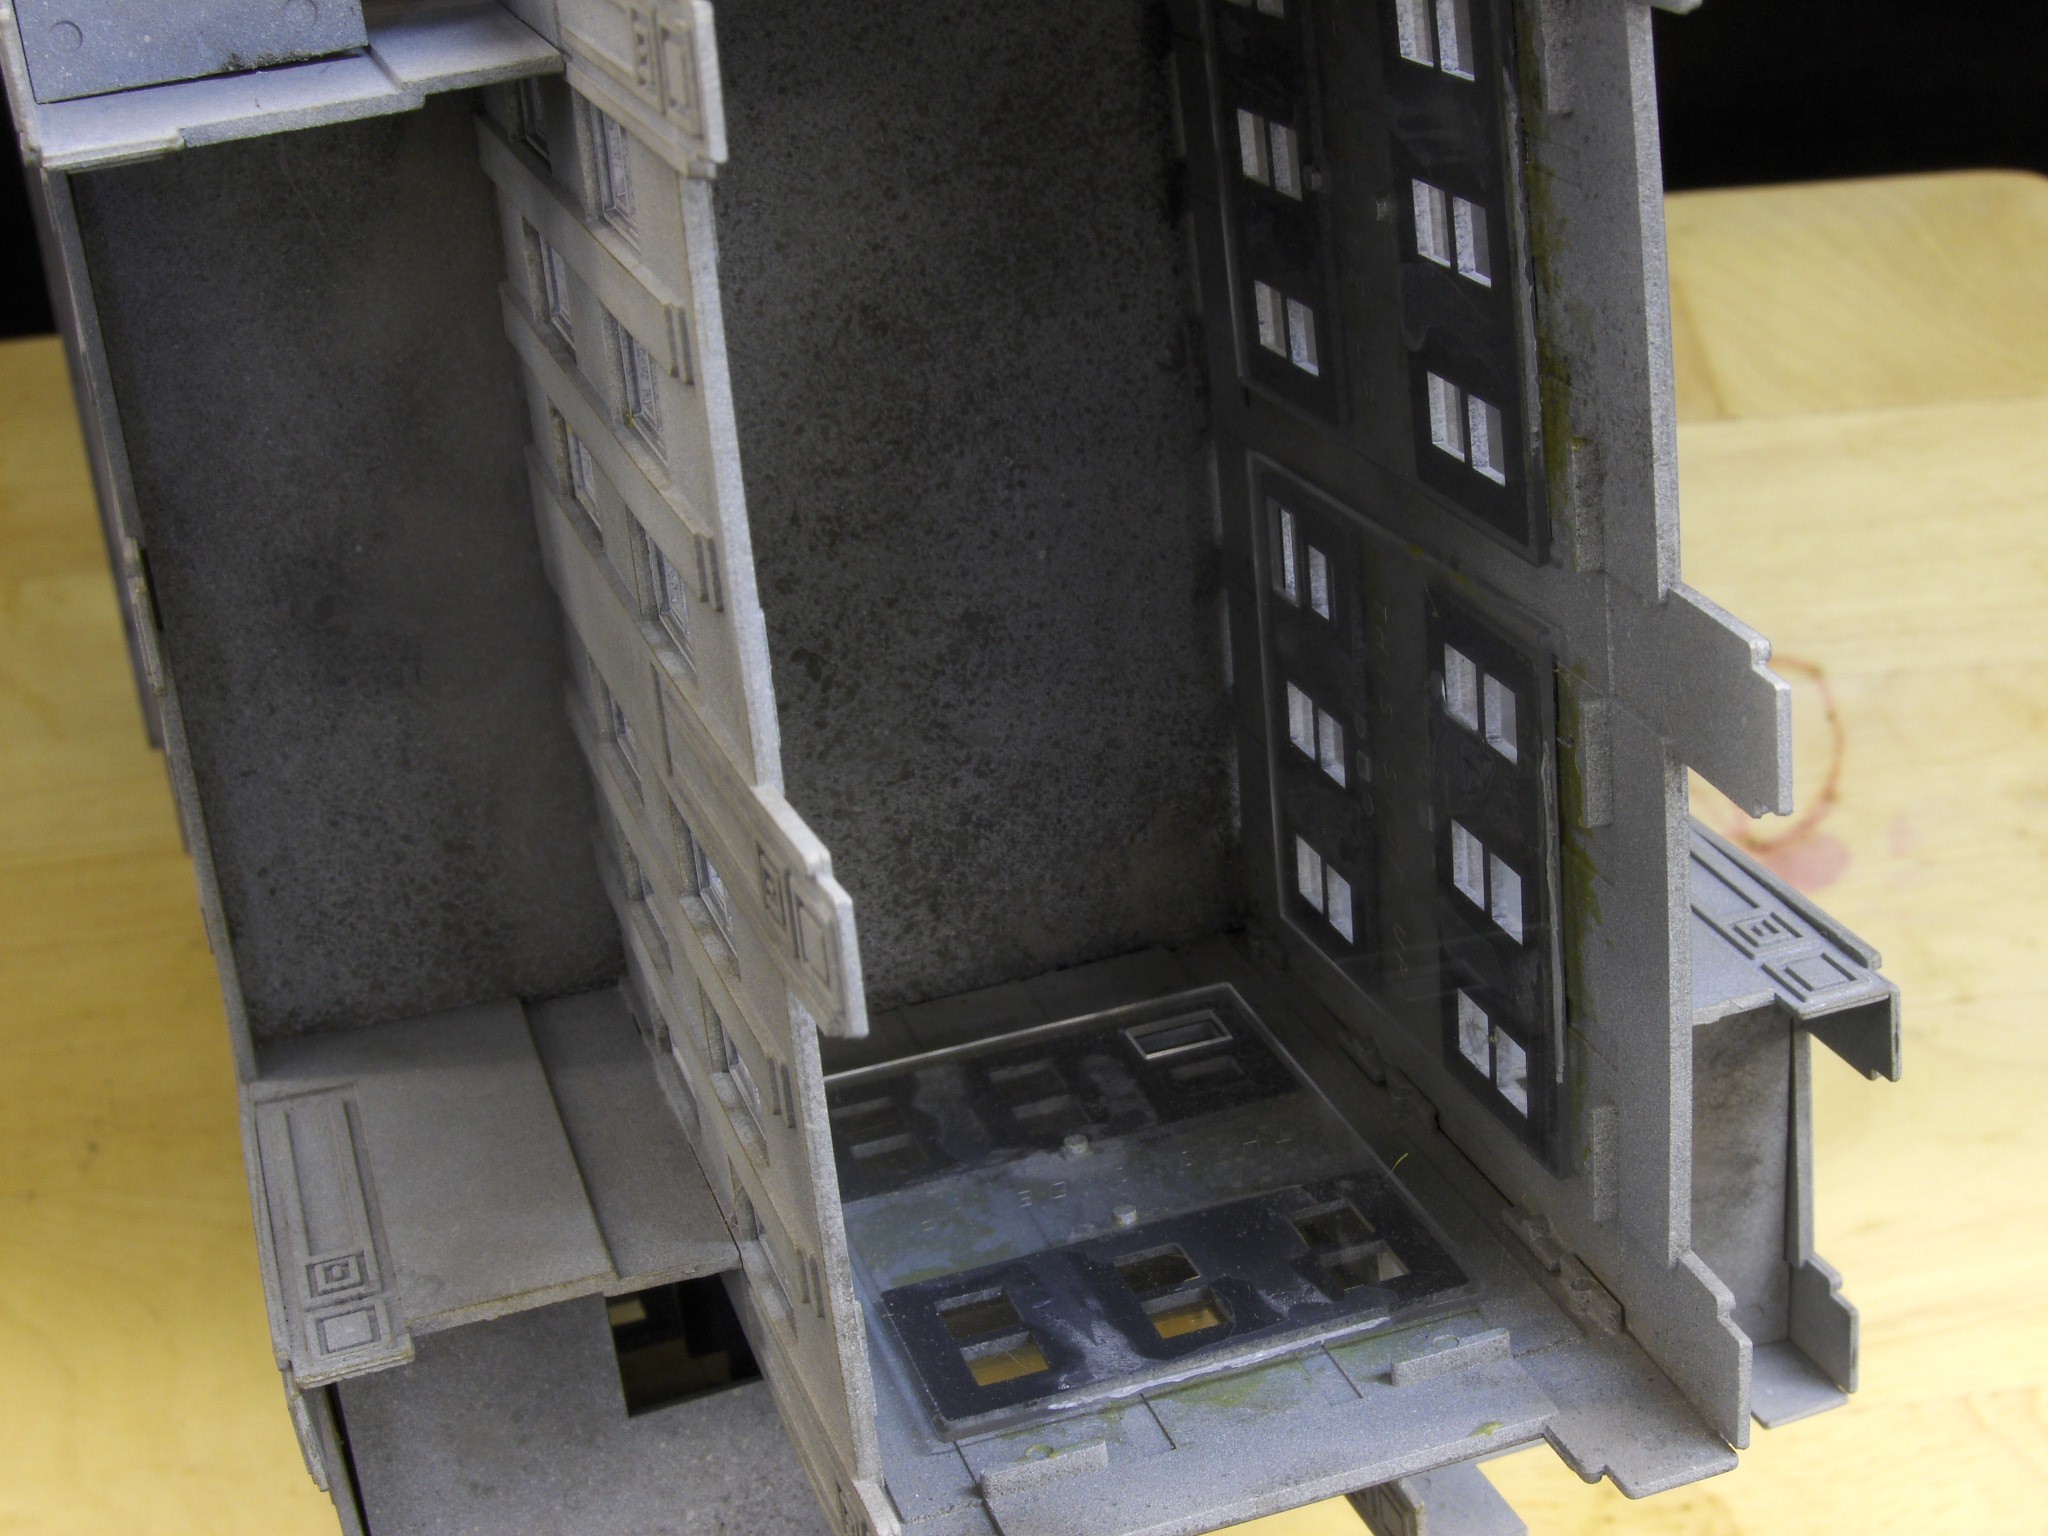 Here, the windows and “glass” have been attached to the upper towers. This is because they will soon be sealed and inaccessible from below after the curtains and window dressings are applied.
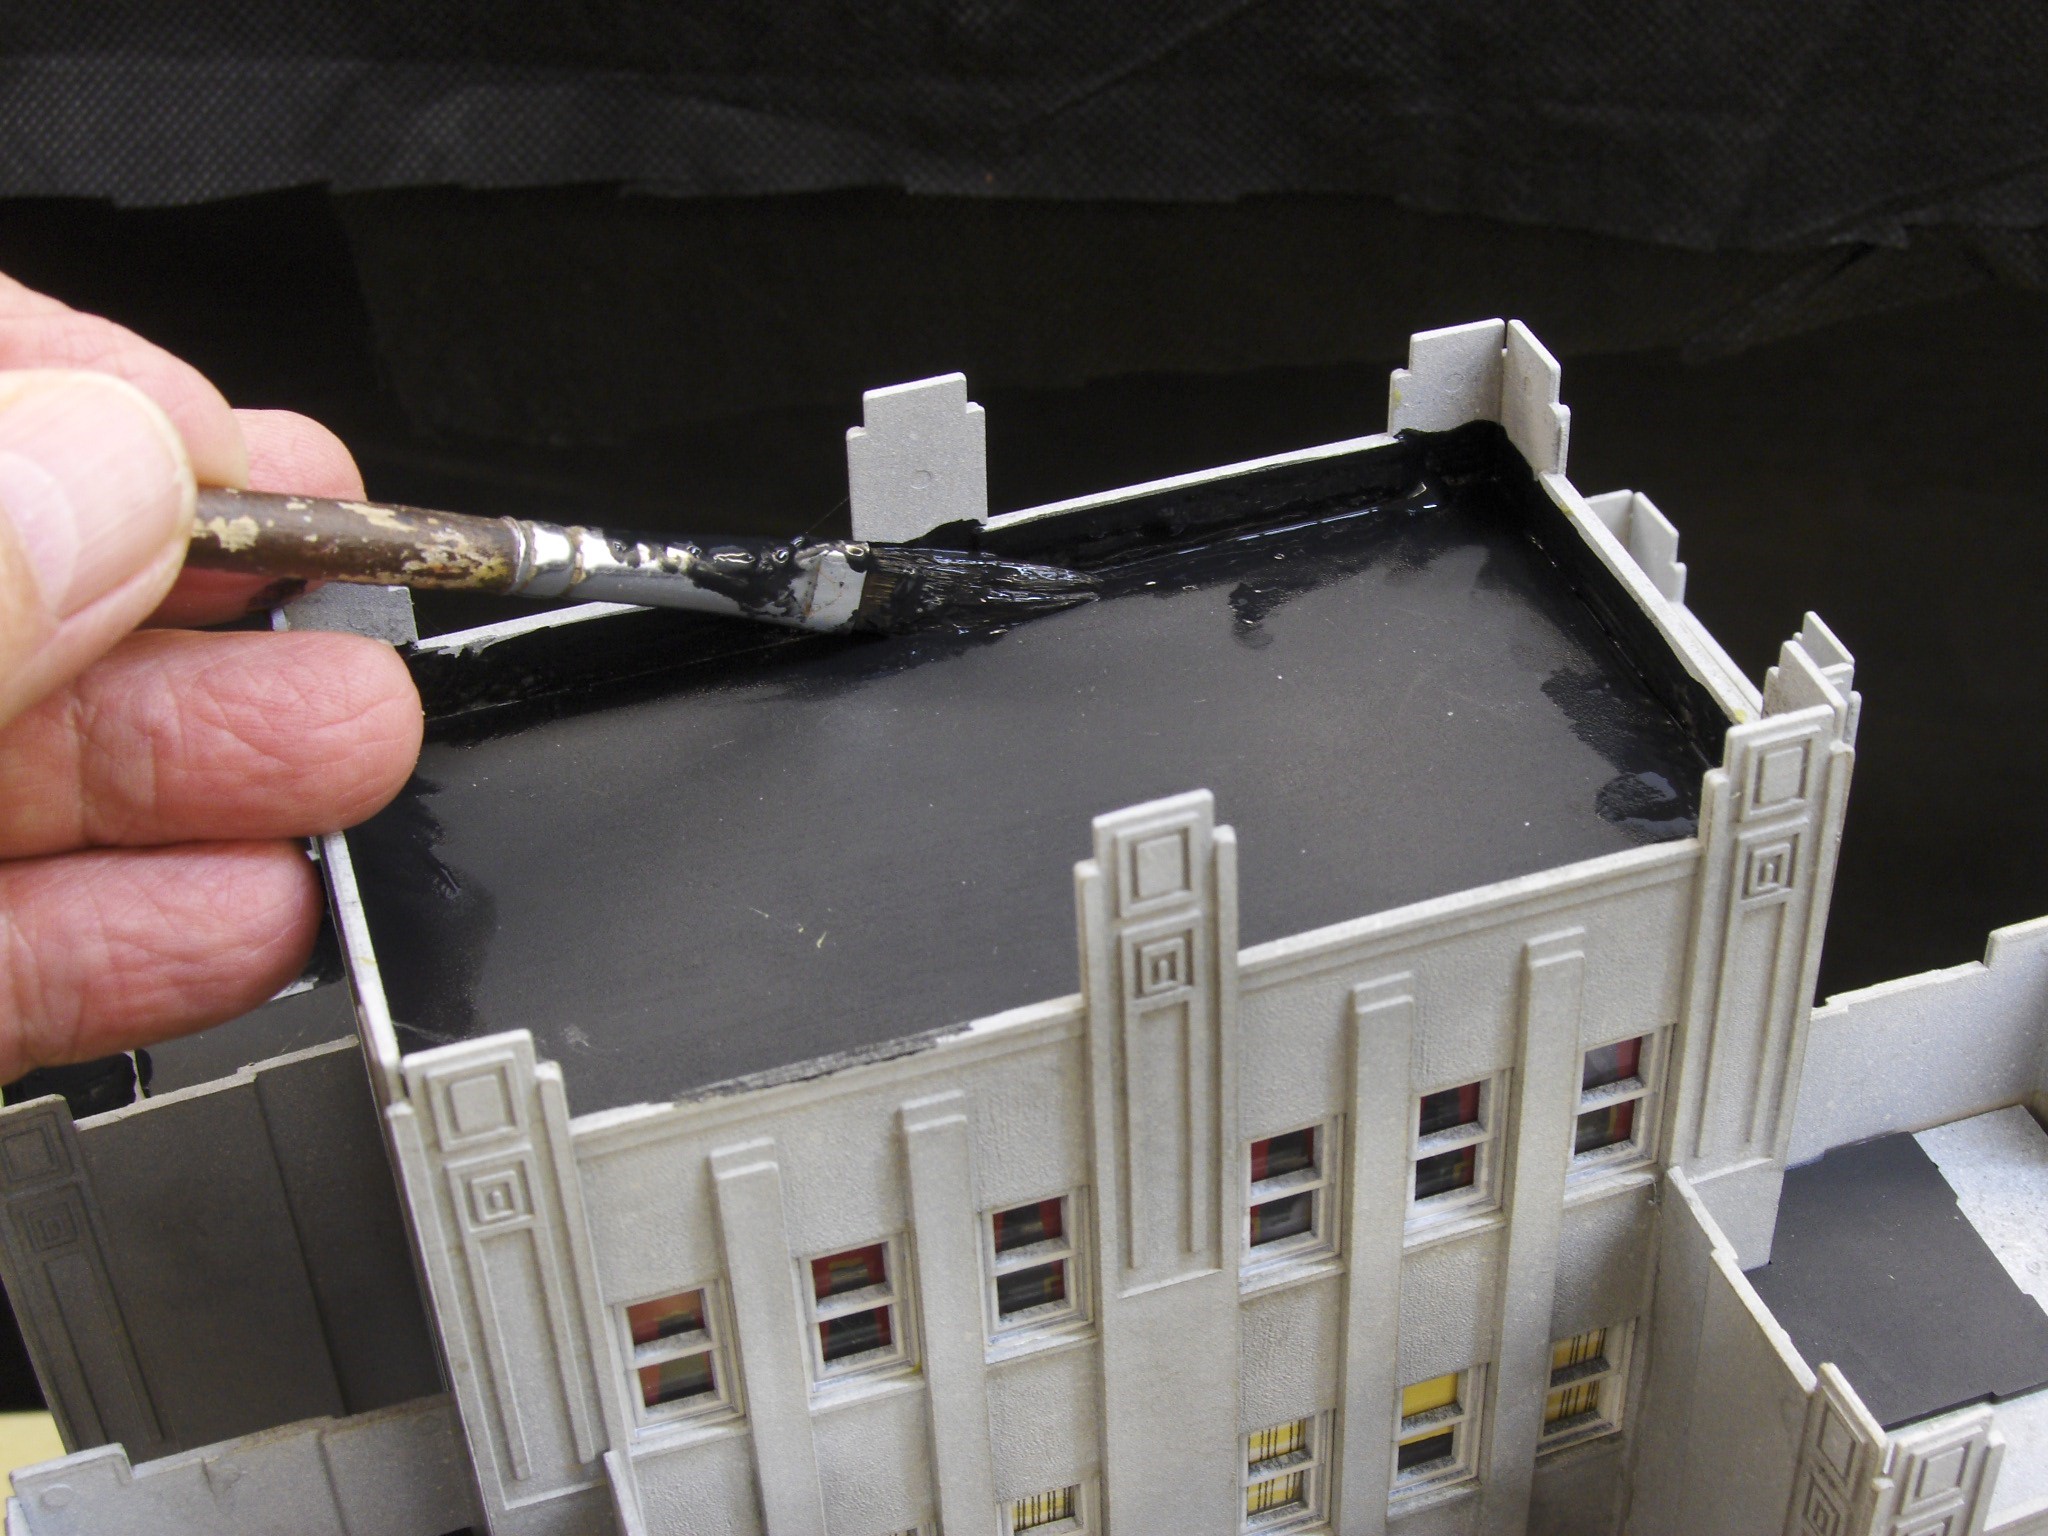 Now, the roofs for the upper towers are glued in place and get a coat of black paint to simulate tar.
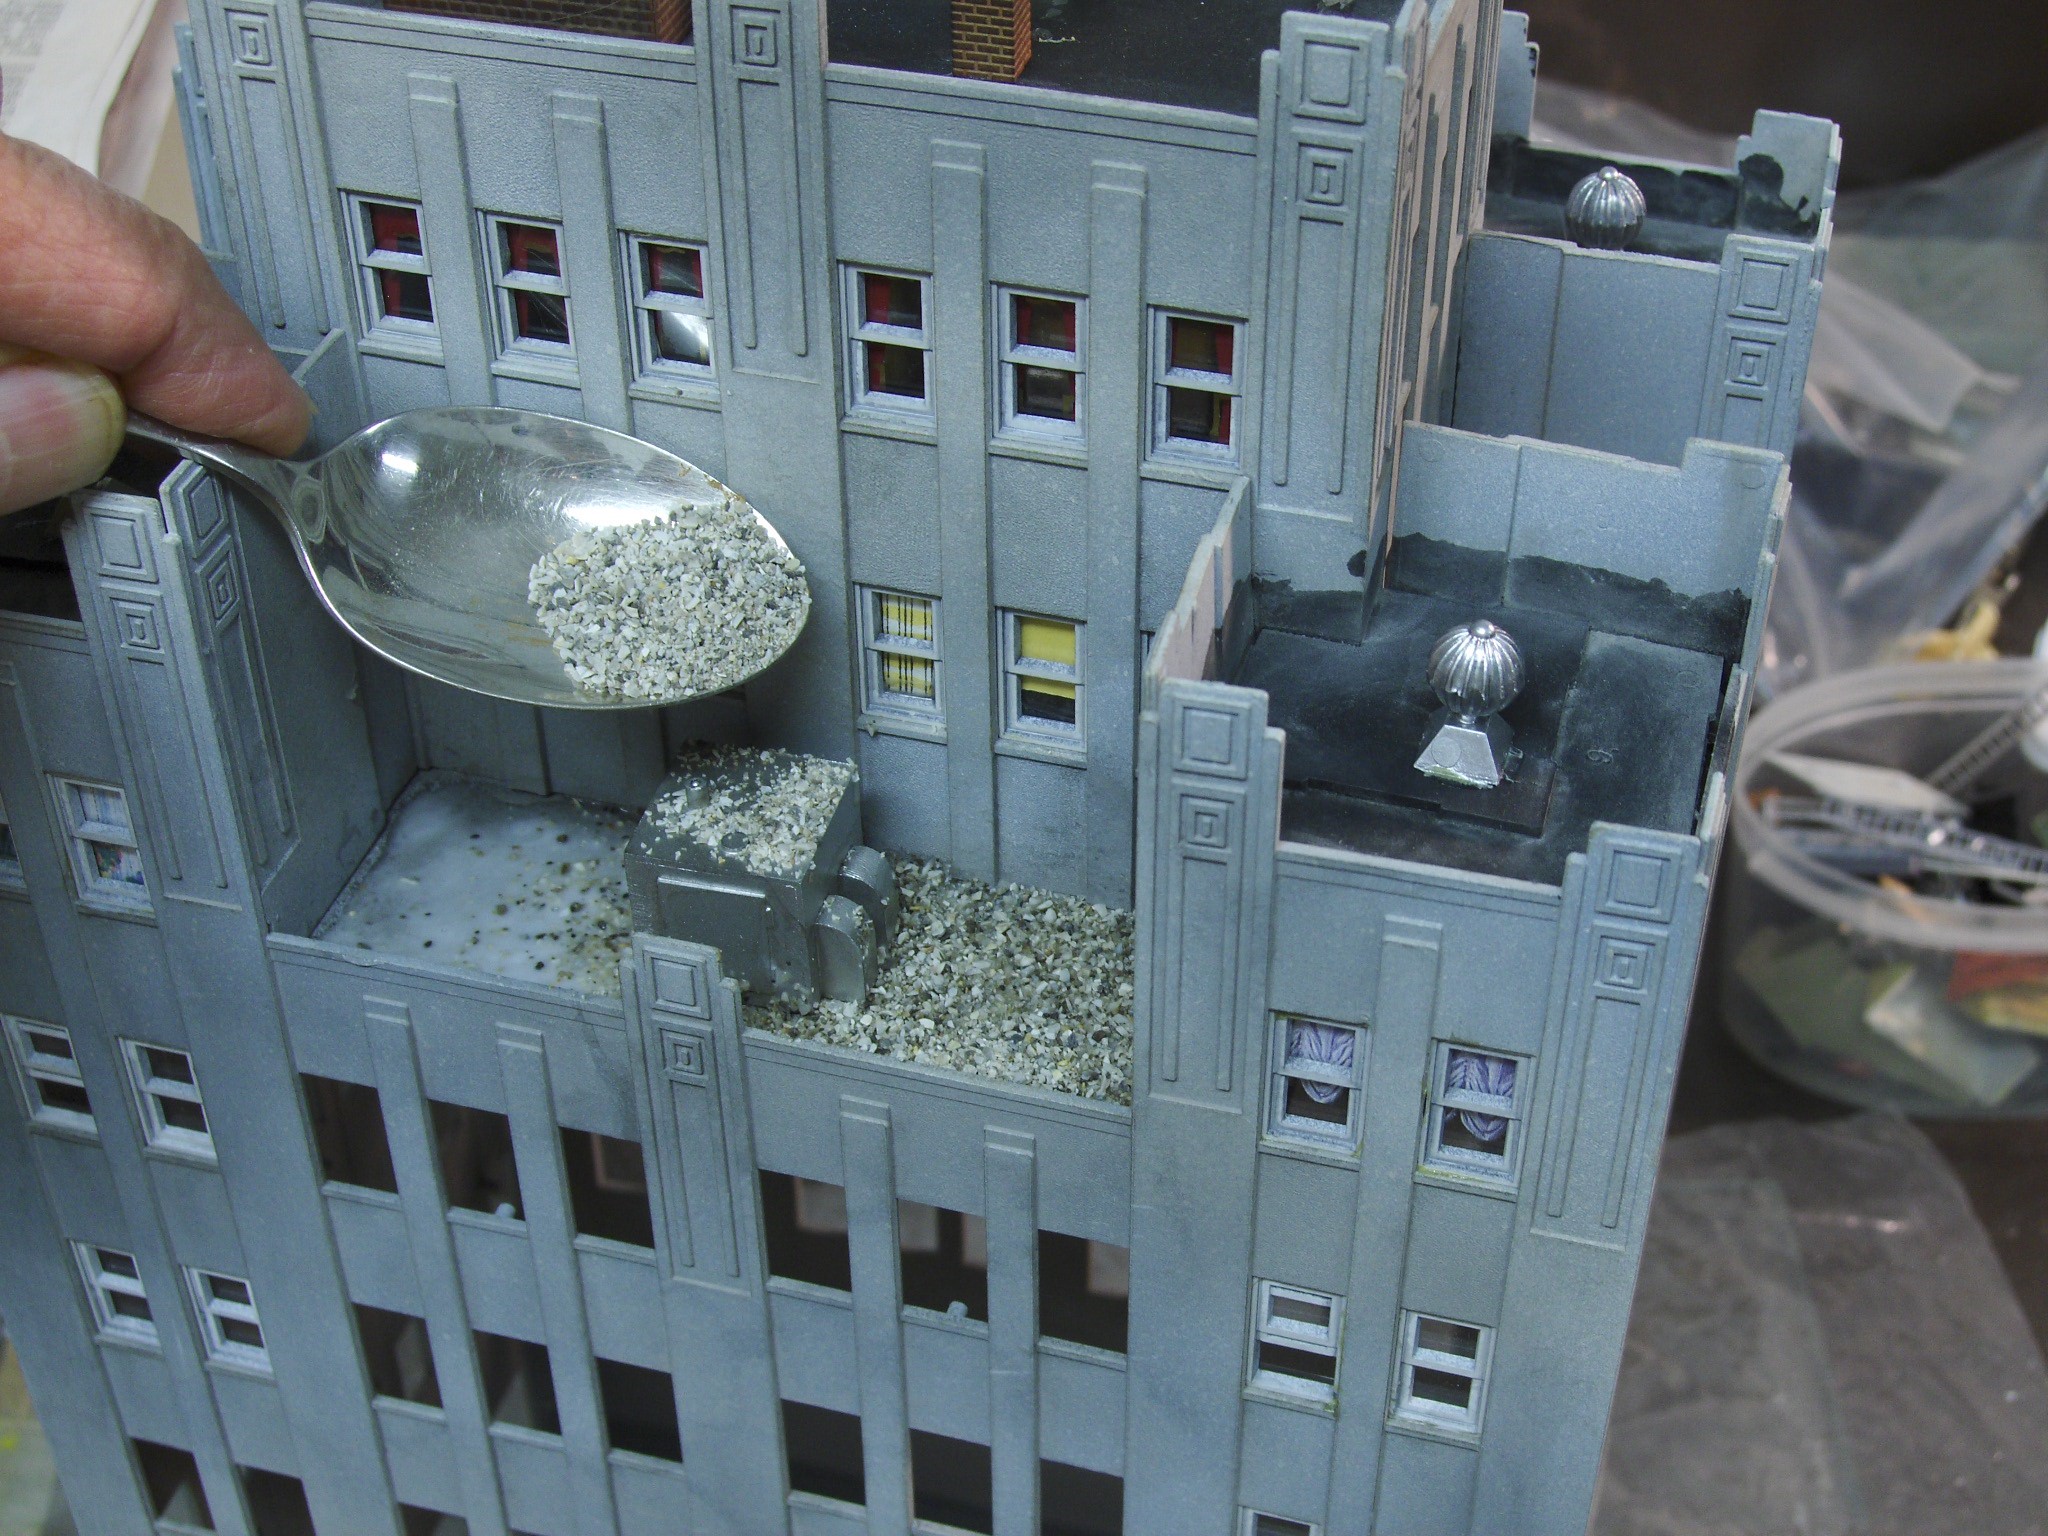 Roof details were added and glued in place before I sprinkled the roof gravel on the flat roofs. You’ll notice that the windows’ openings that are still accessible from below don’t have the window casings and “glass” applied yet.
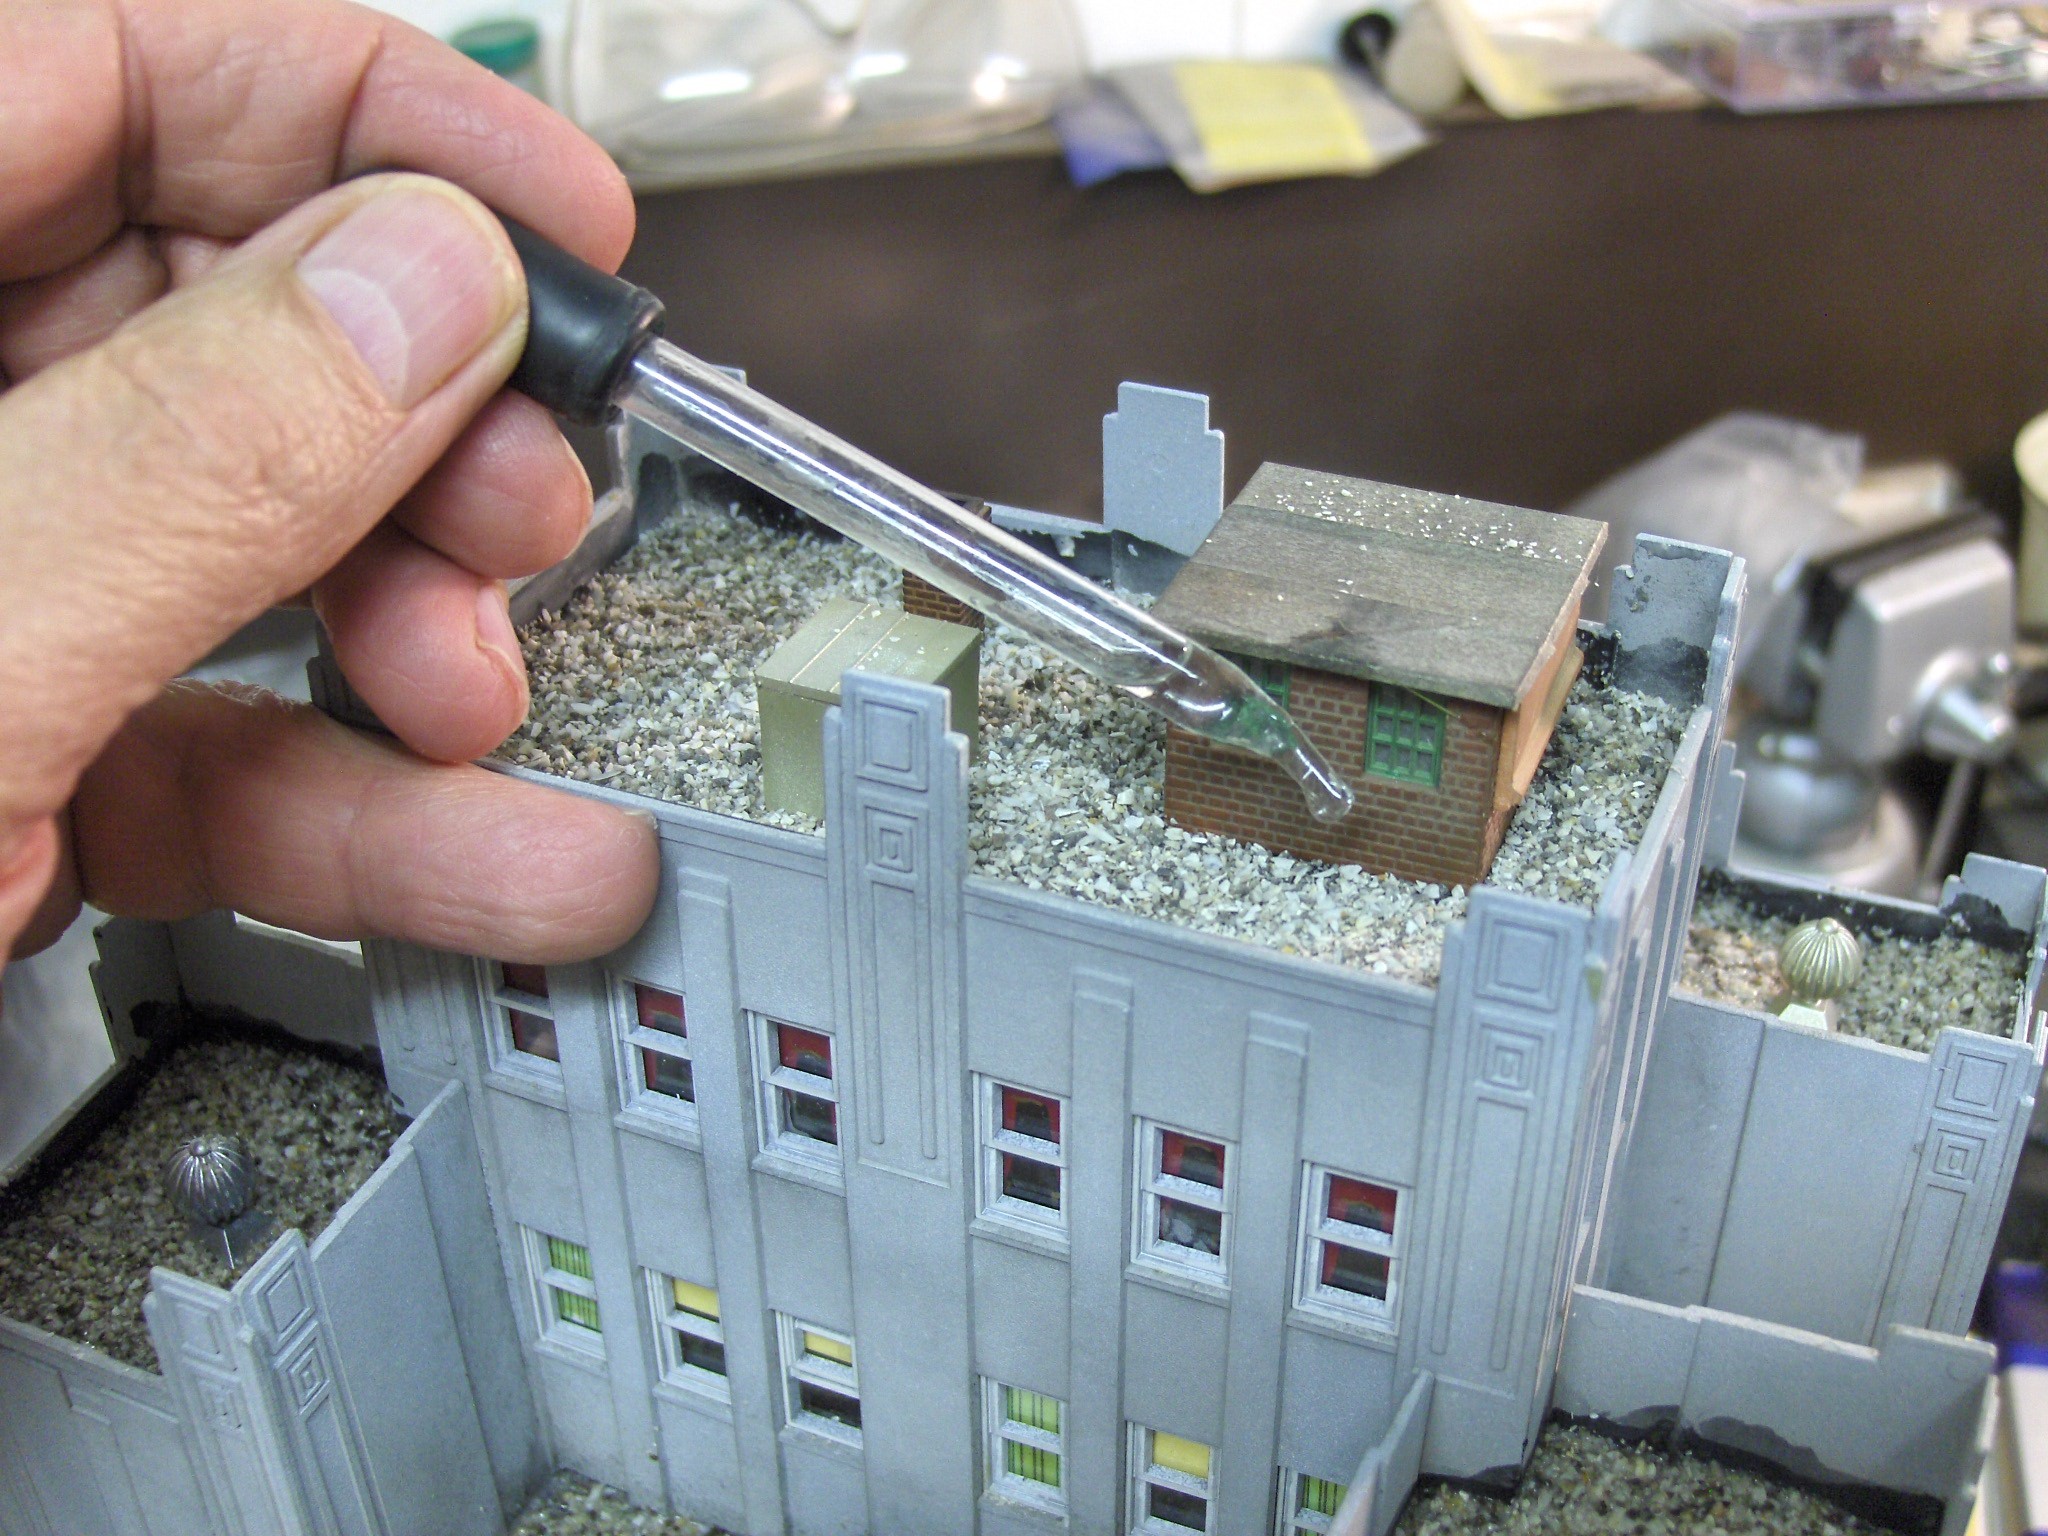 A few drops of alcohol are dripped on the gravel to make it accept the diluted white glue that holds everything in place.
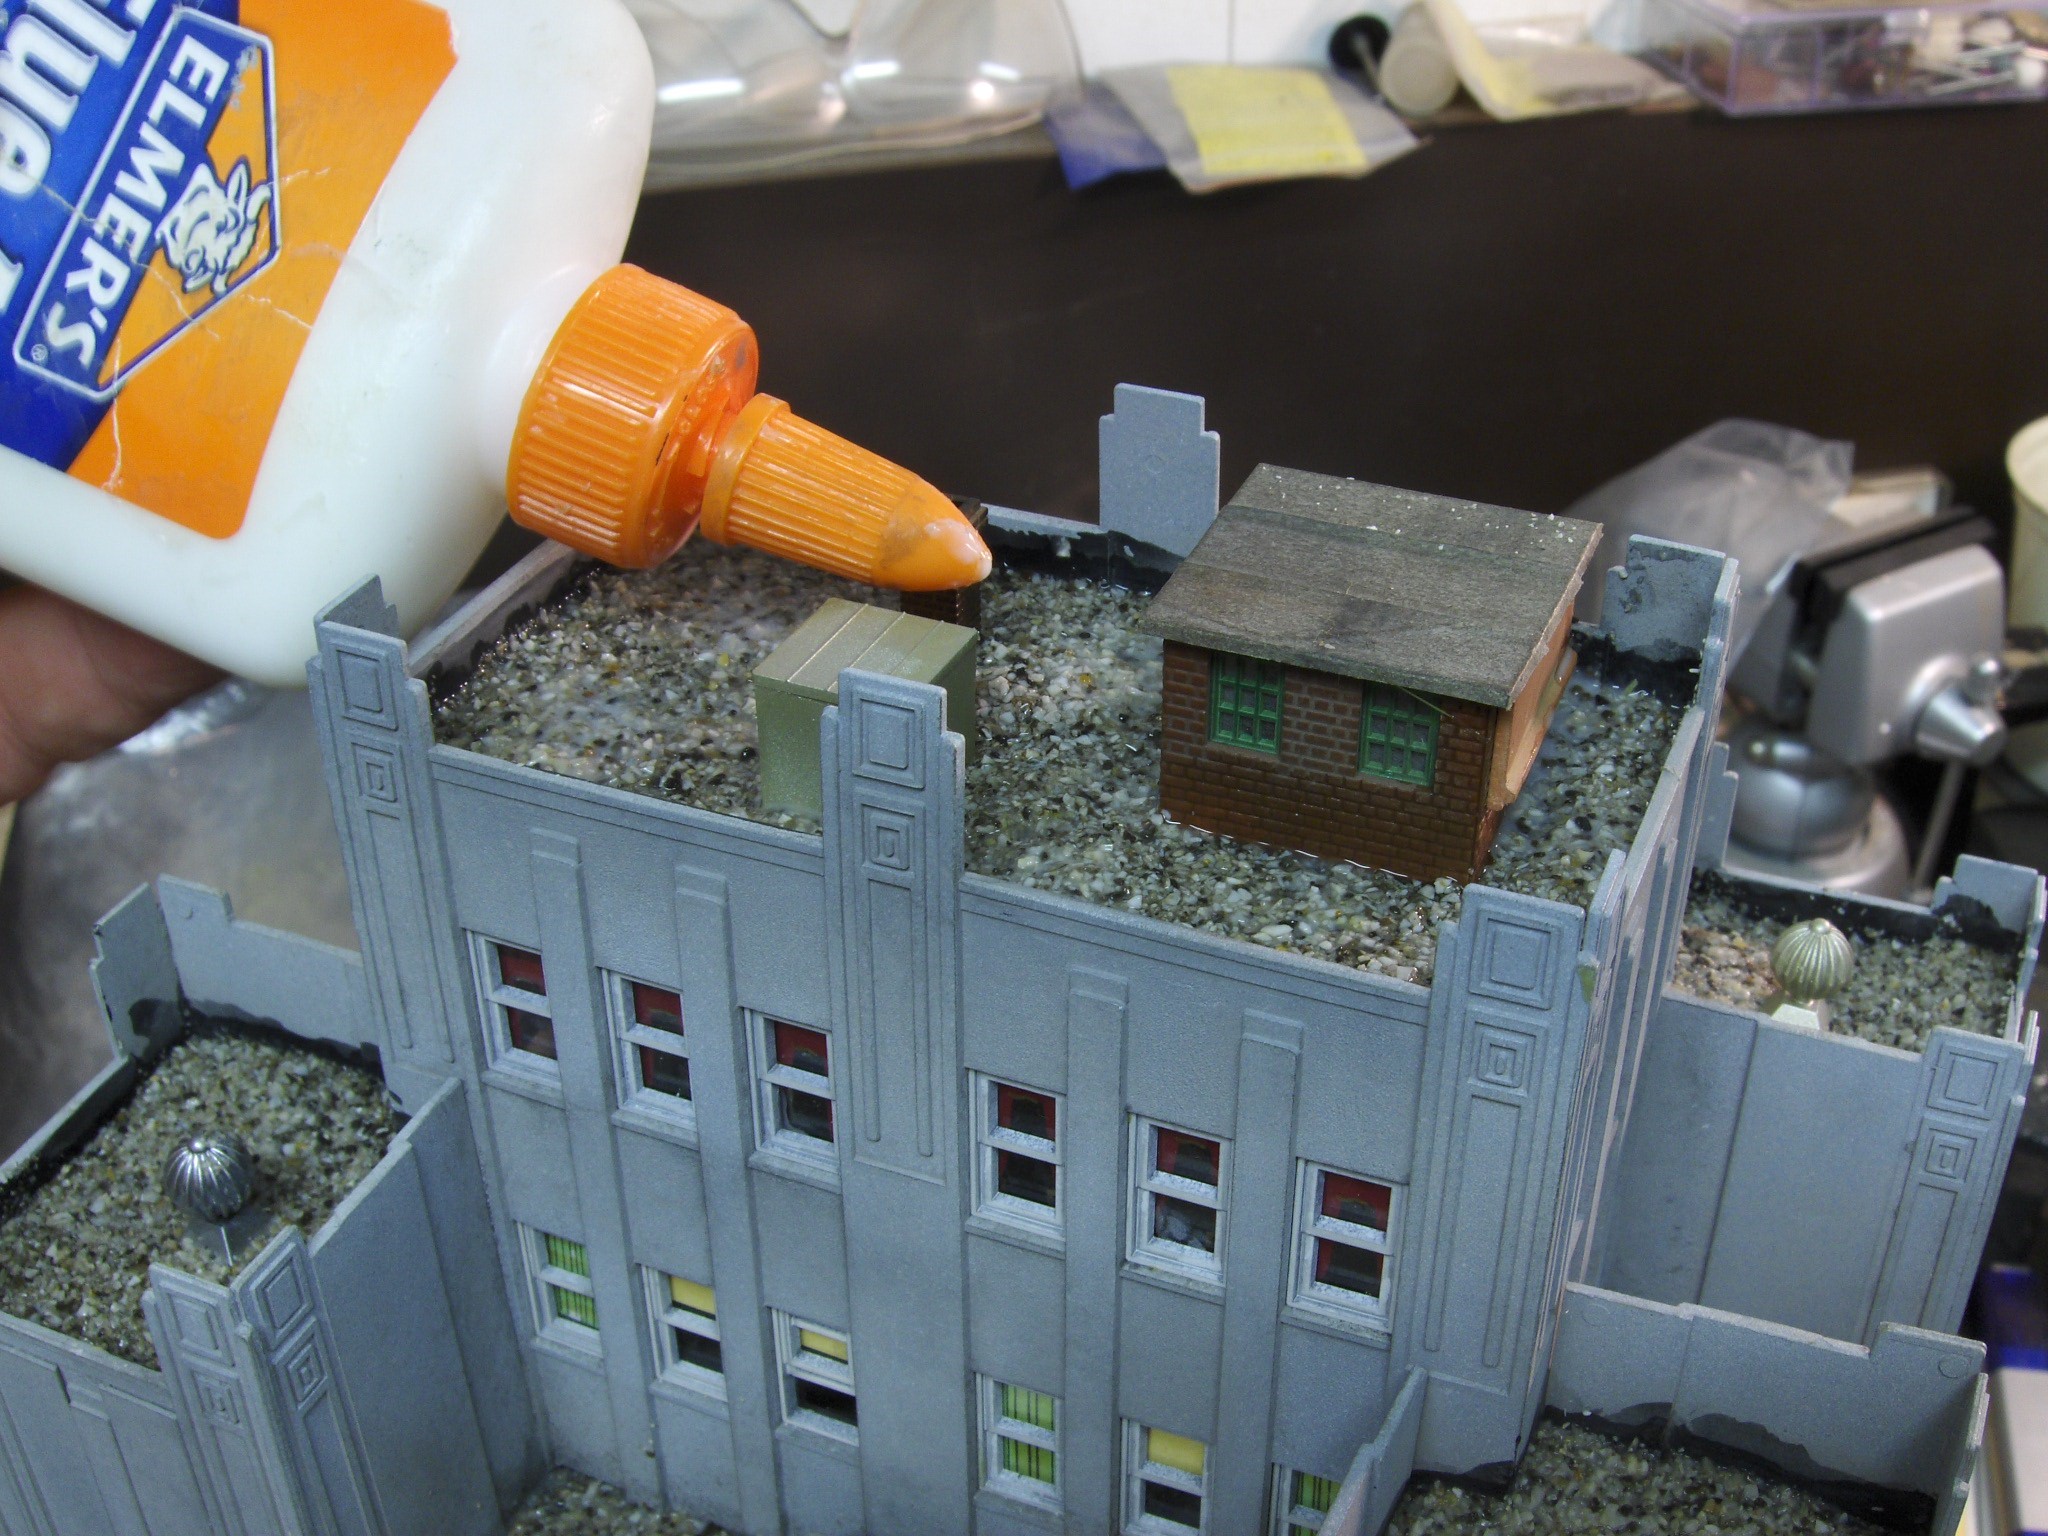
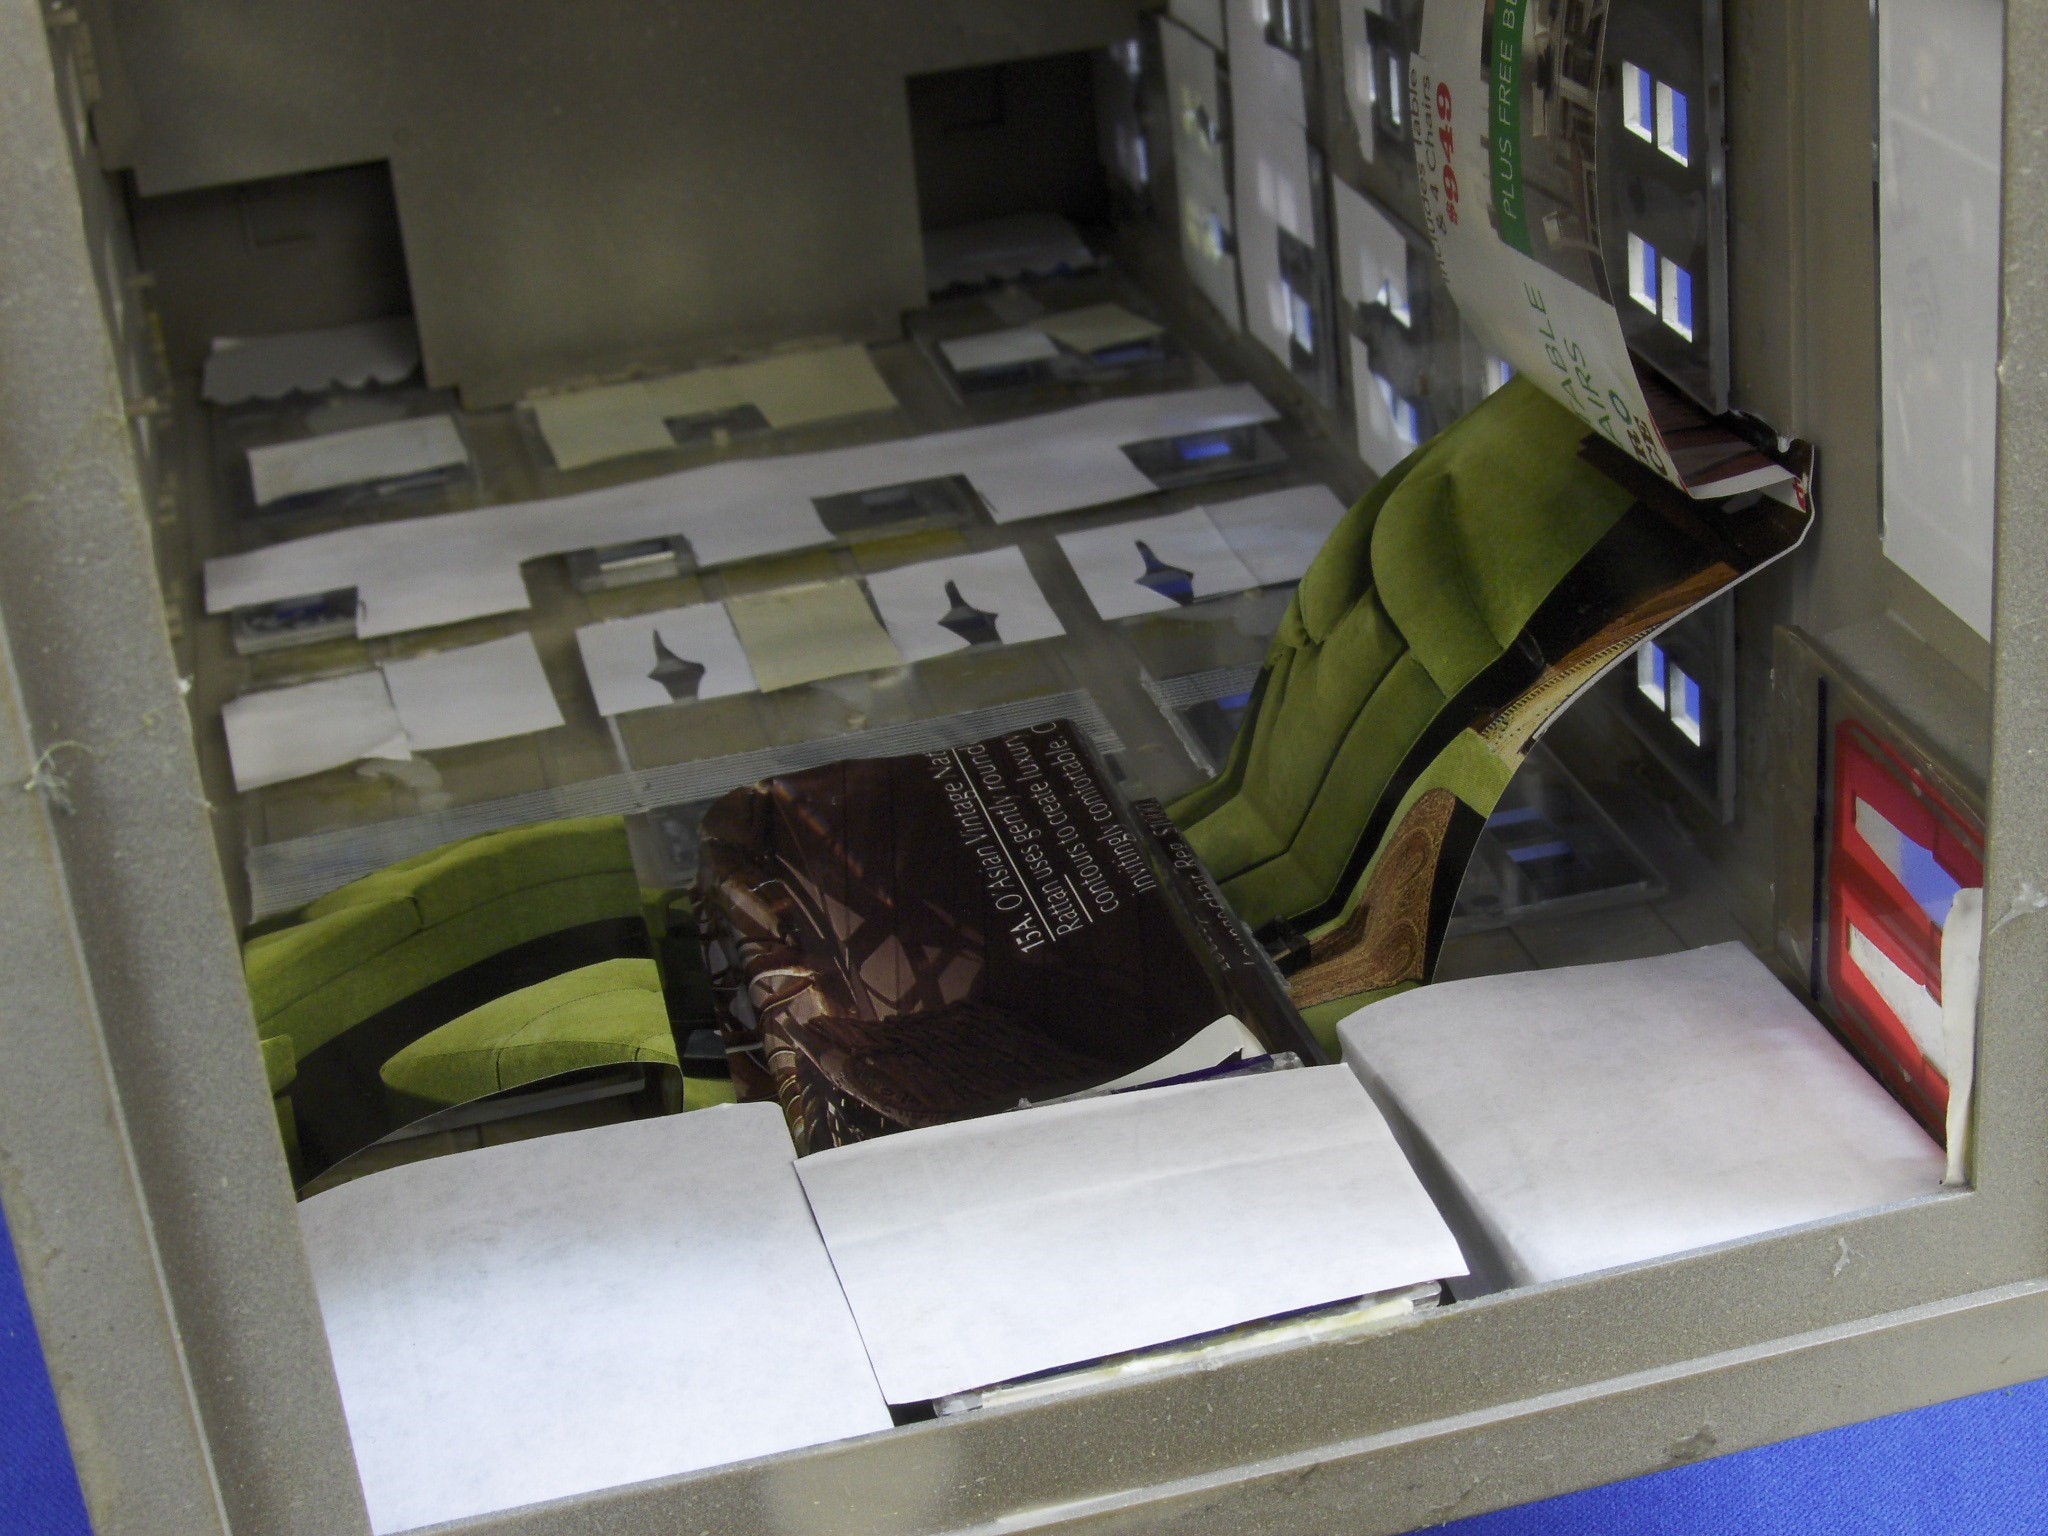 The lower windows now get some curtains and shades. The bigger pieces are simply ads from circulars with a lot of color. It doesn’t really matter what they are because when you look through the windows, you can only see shapes and colors, not any real detail. It’s simply an illusion that makes your mind believe there could be lots of interesting goodies in the windows.
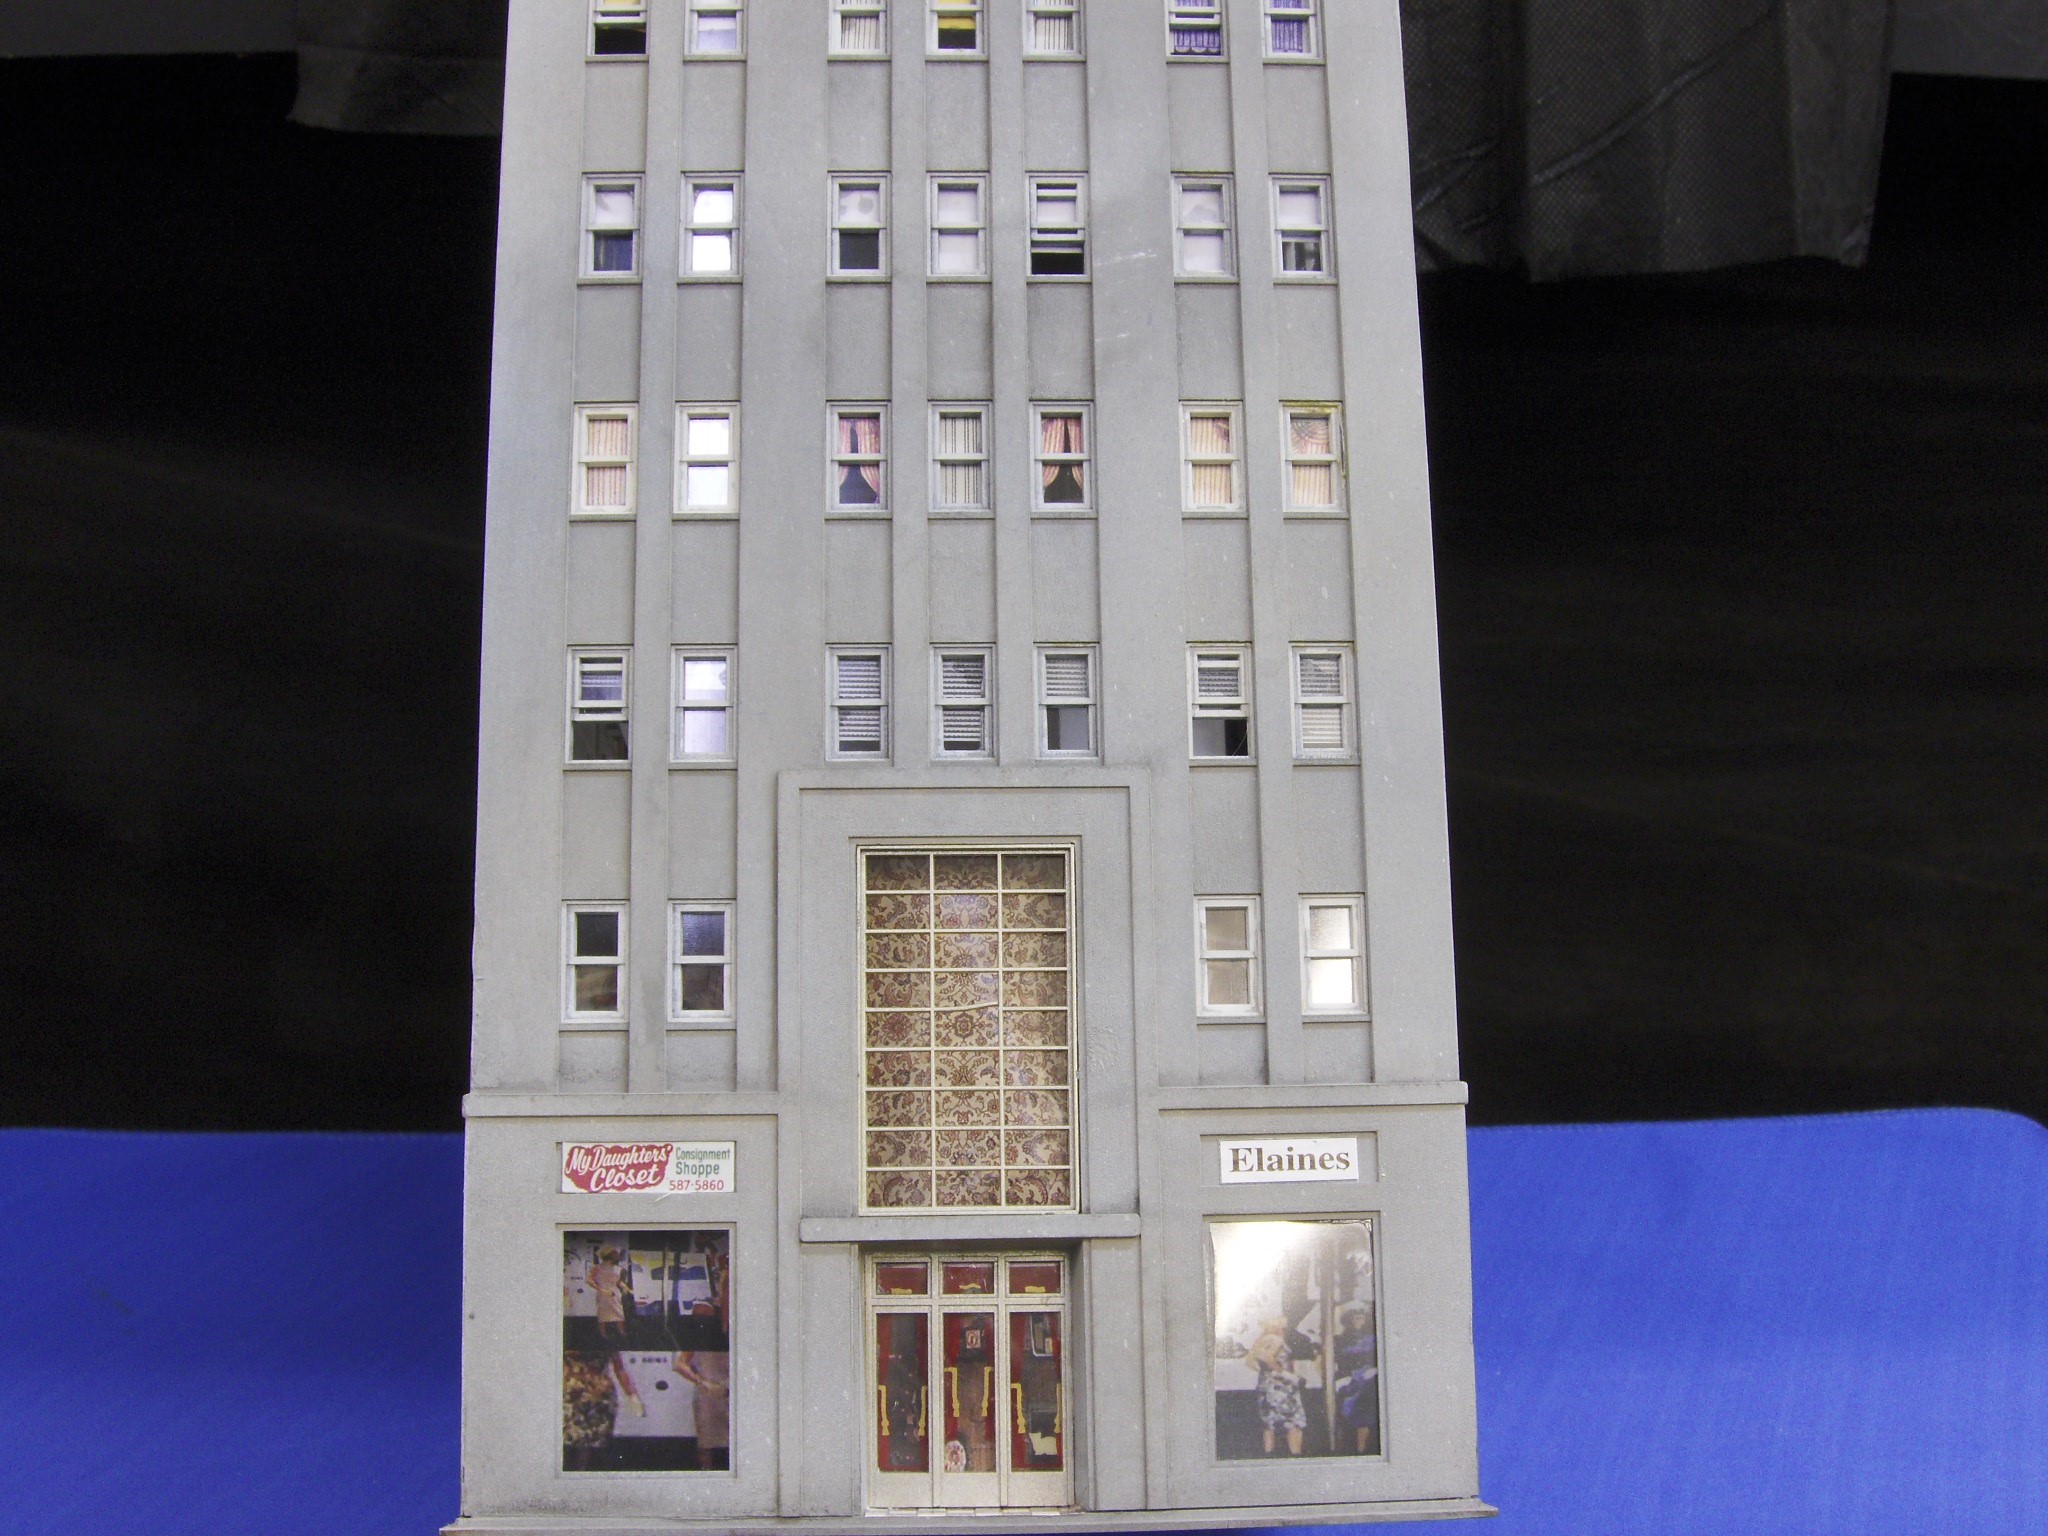 Here is the finished building. Some of the upper floors appear to be offices and other apartments. The first floor is strictly retail with some appropriate signs added.
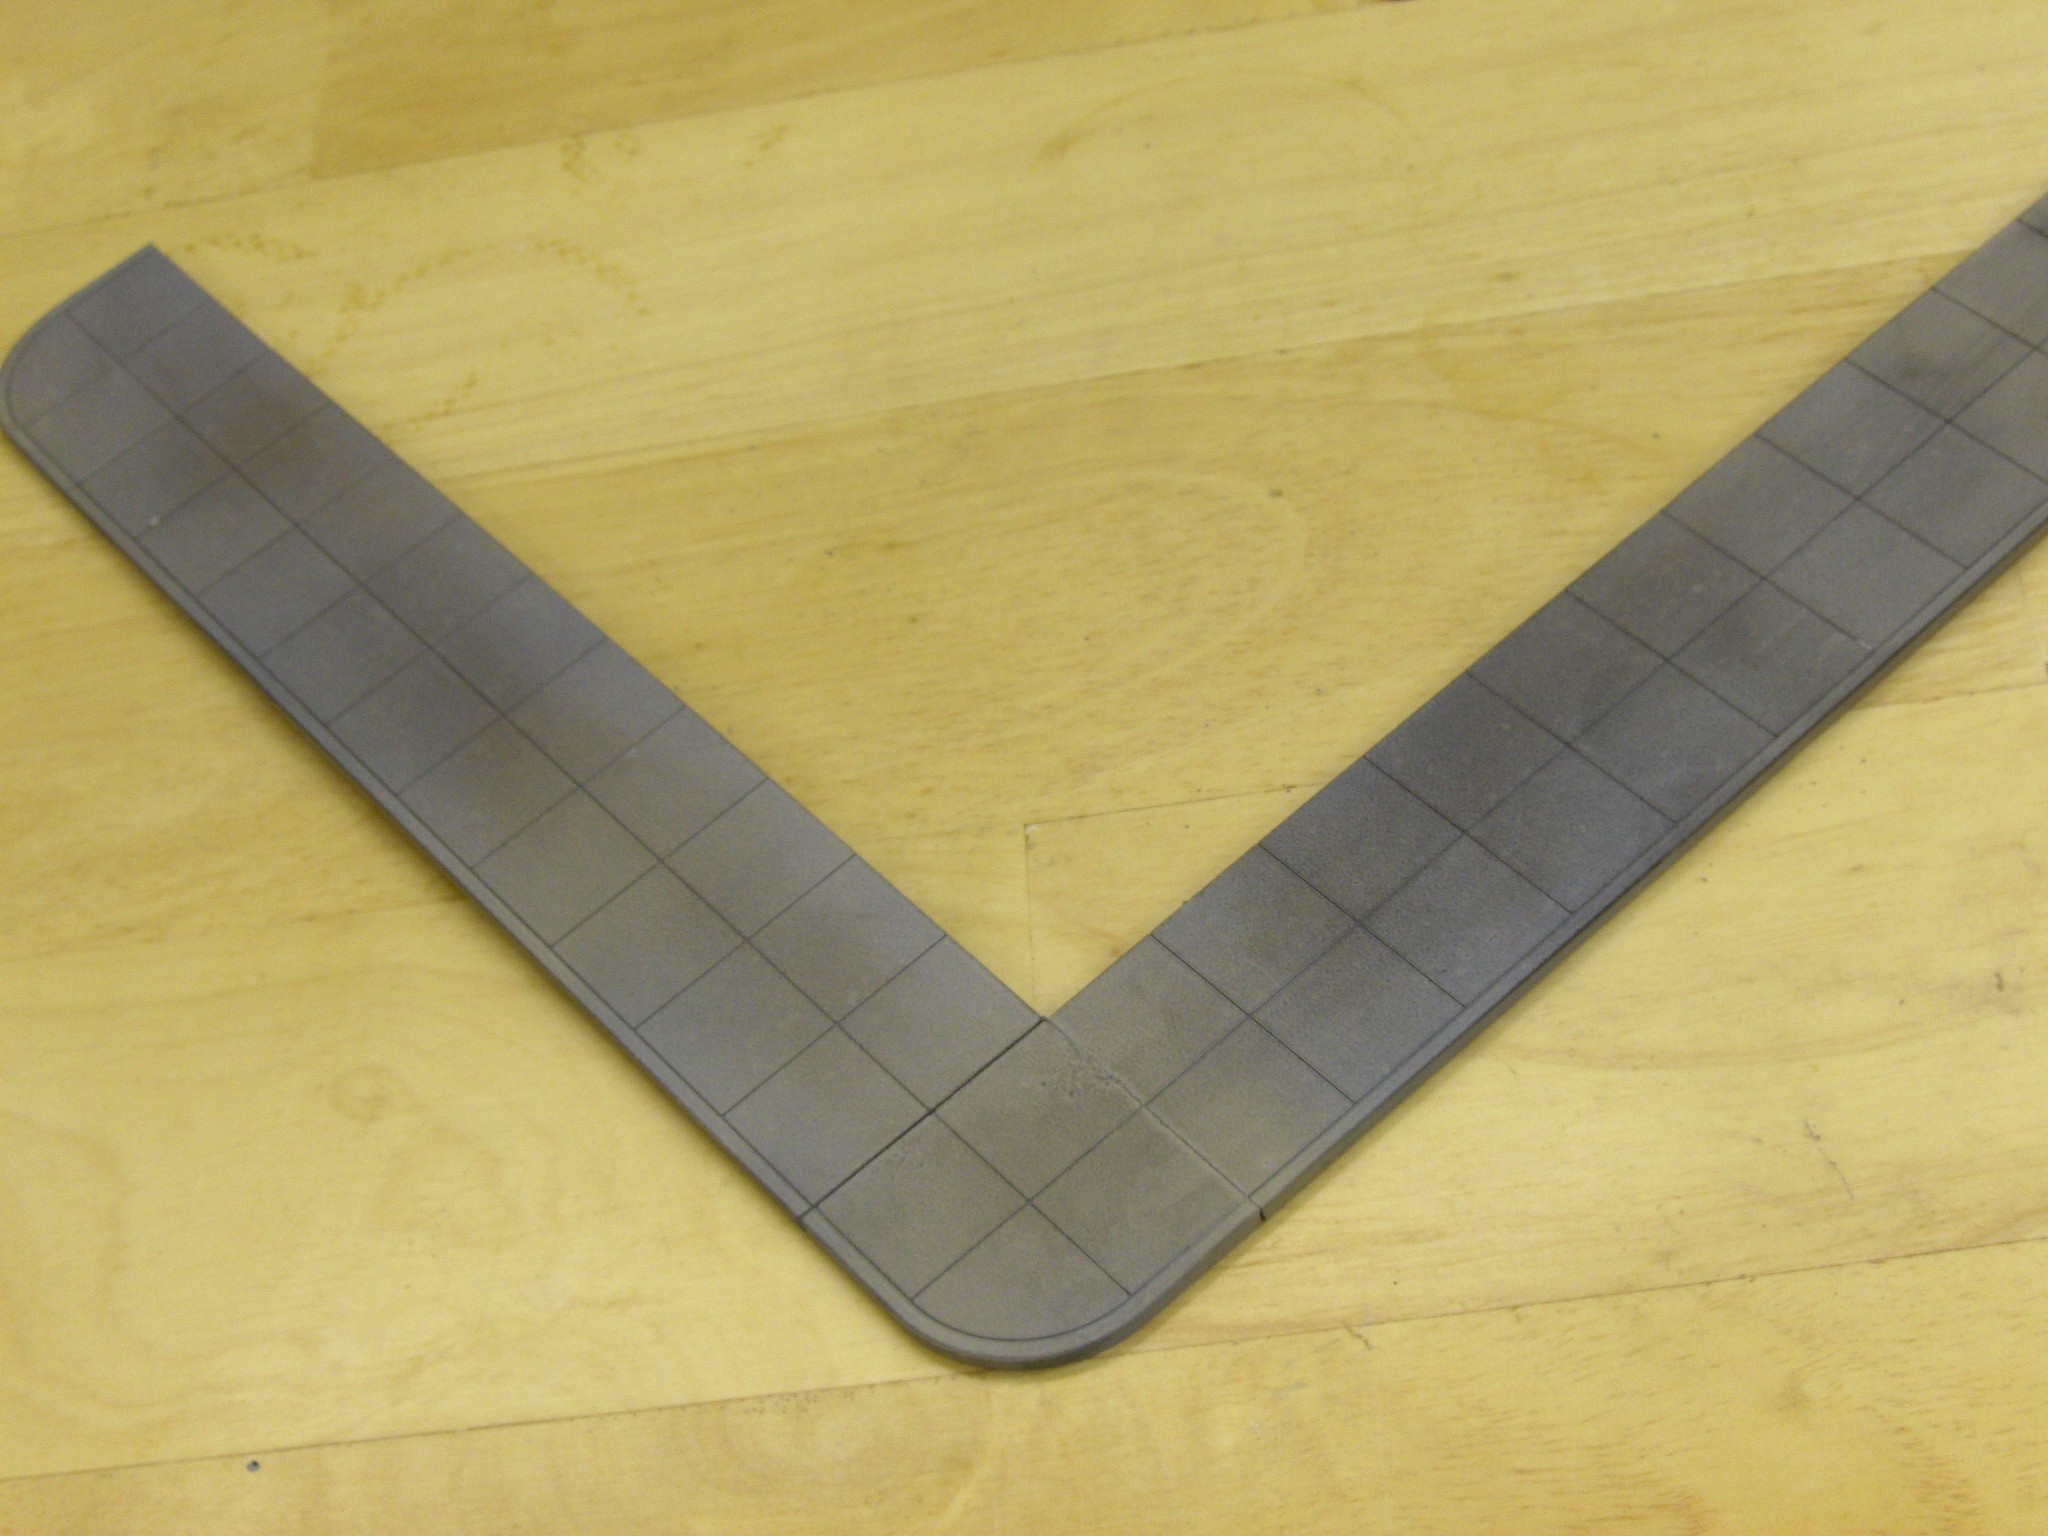
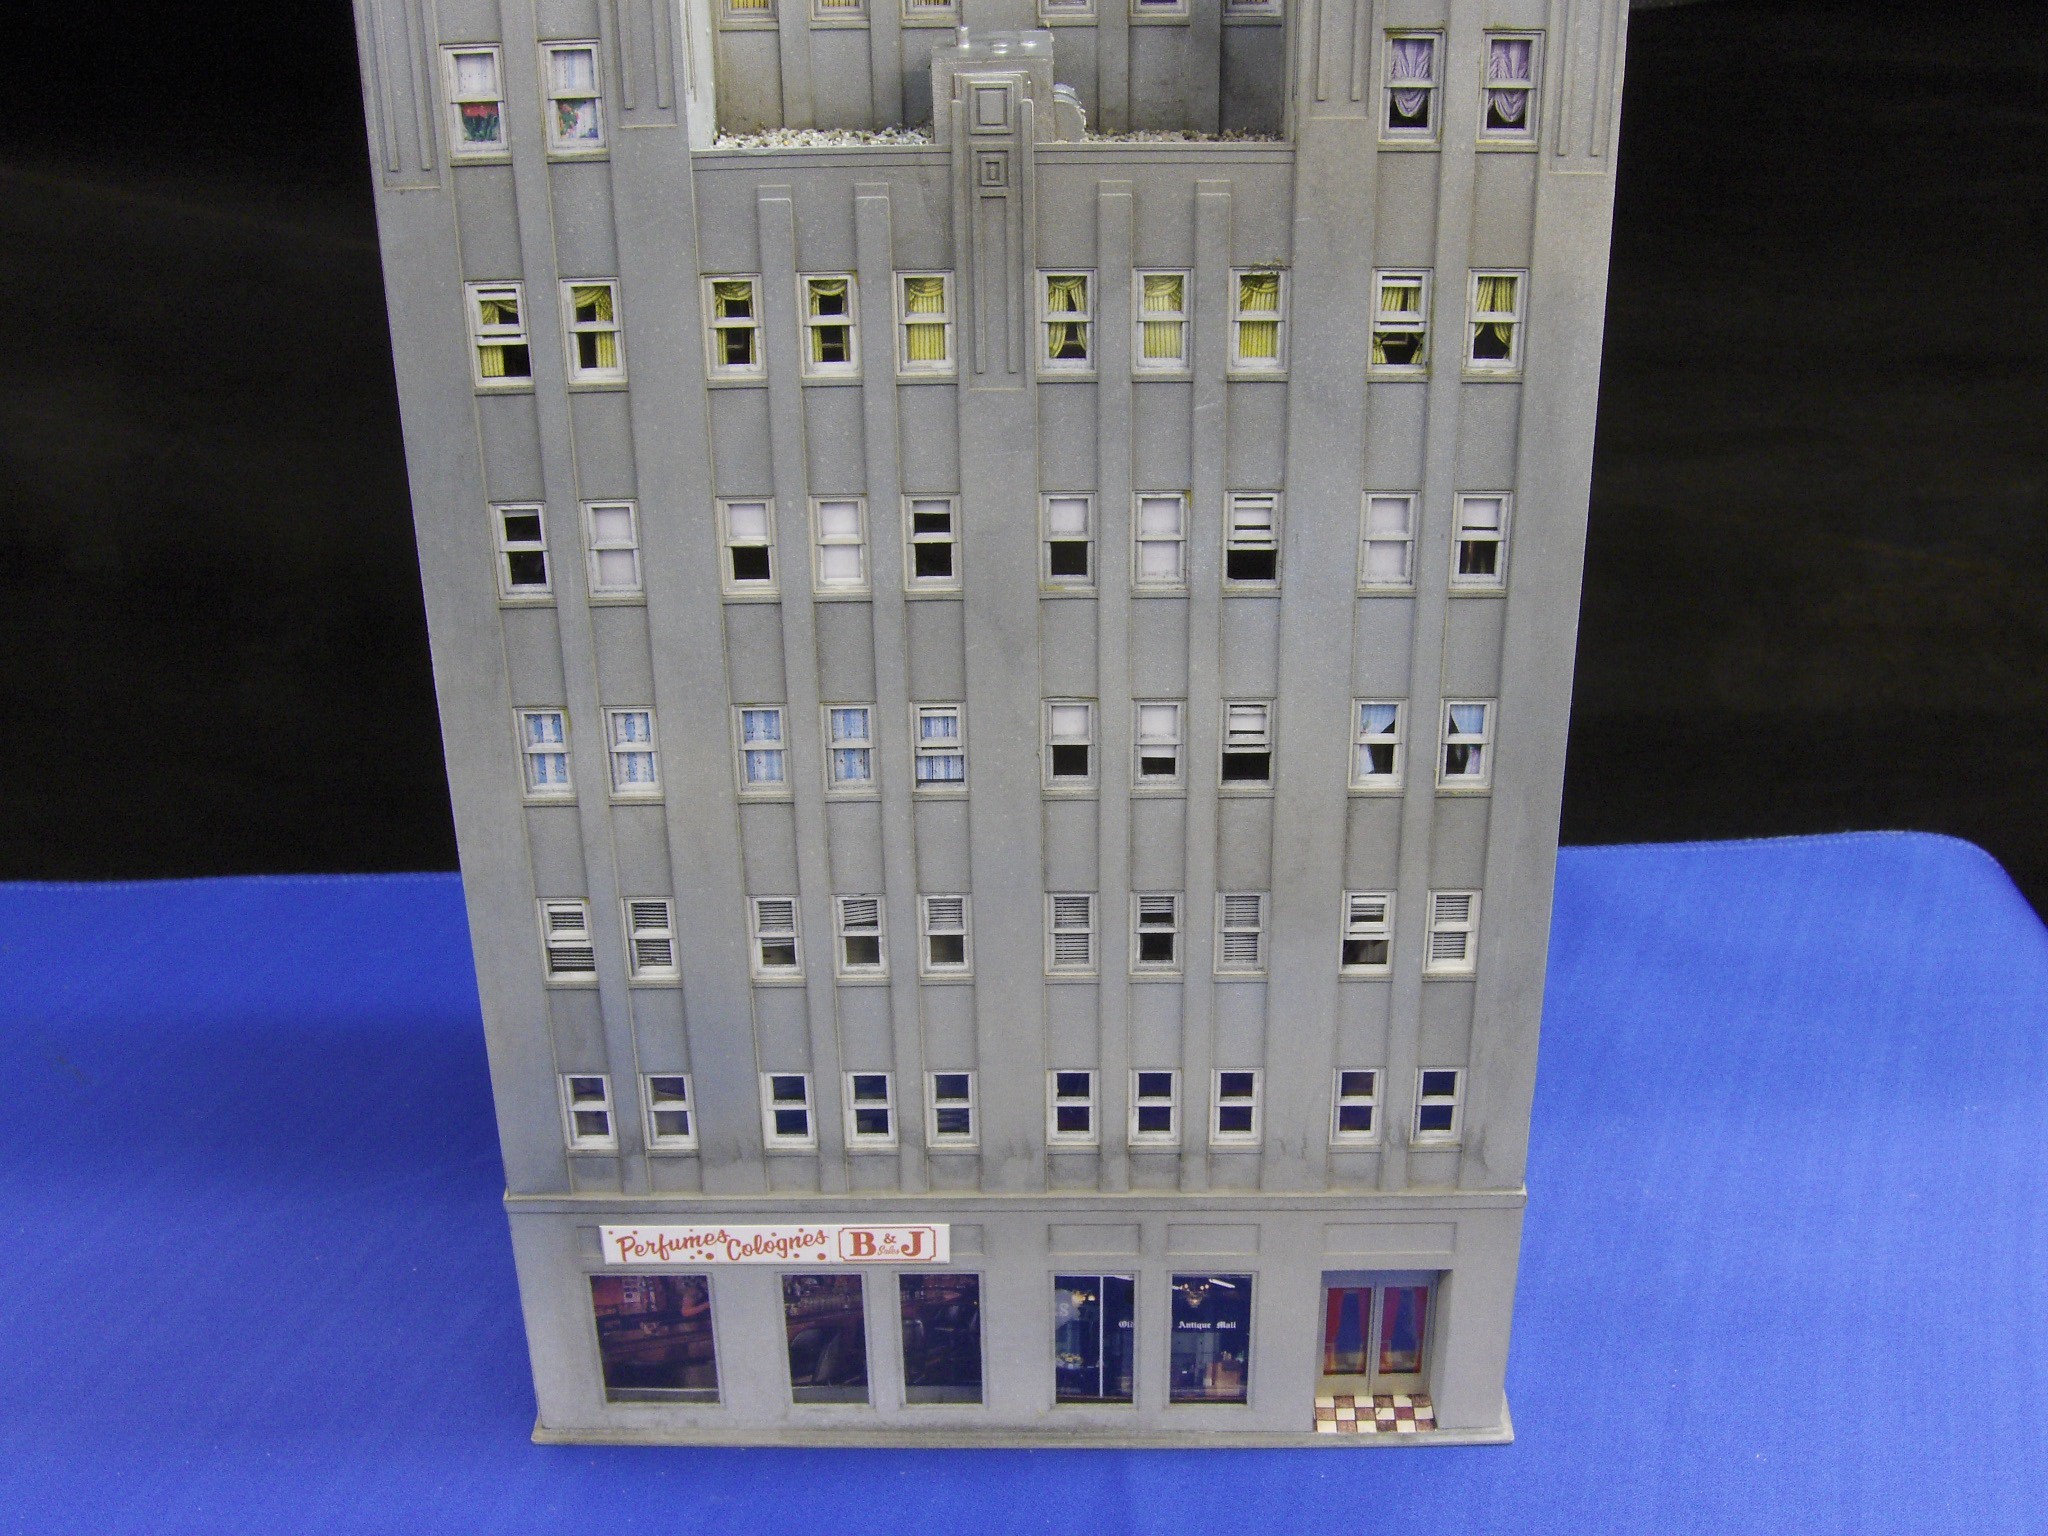 This is the completed side view. Notice the varied colors in the walls of the building due to the application of chalk and the India ink wash. Below is the sidewalk, painted and weathered with the same materials. It will join this building to the Metropolitan and complete the Oakland block.
 You might also be interested in:
Building a Block for Oakland Part 1
Building a Block for Oakland Part 2
Very nicely done, thank you for sharing
Allan, How long did it take to do each building? just curious. Jim
Again a very nice job, and shorting the tower section did make it look much better, as unless you have a very big layout, and a large city, I also think it would have been much too tall for where you where going to place it.
Hey, I found this out after I did that also. Drapes would be WHITE ONLY in a window. The Colorful part is for the inside. Surprised the manufacturer didn't pick that up. Other than that, JUST WOW!!