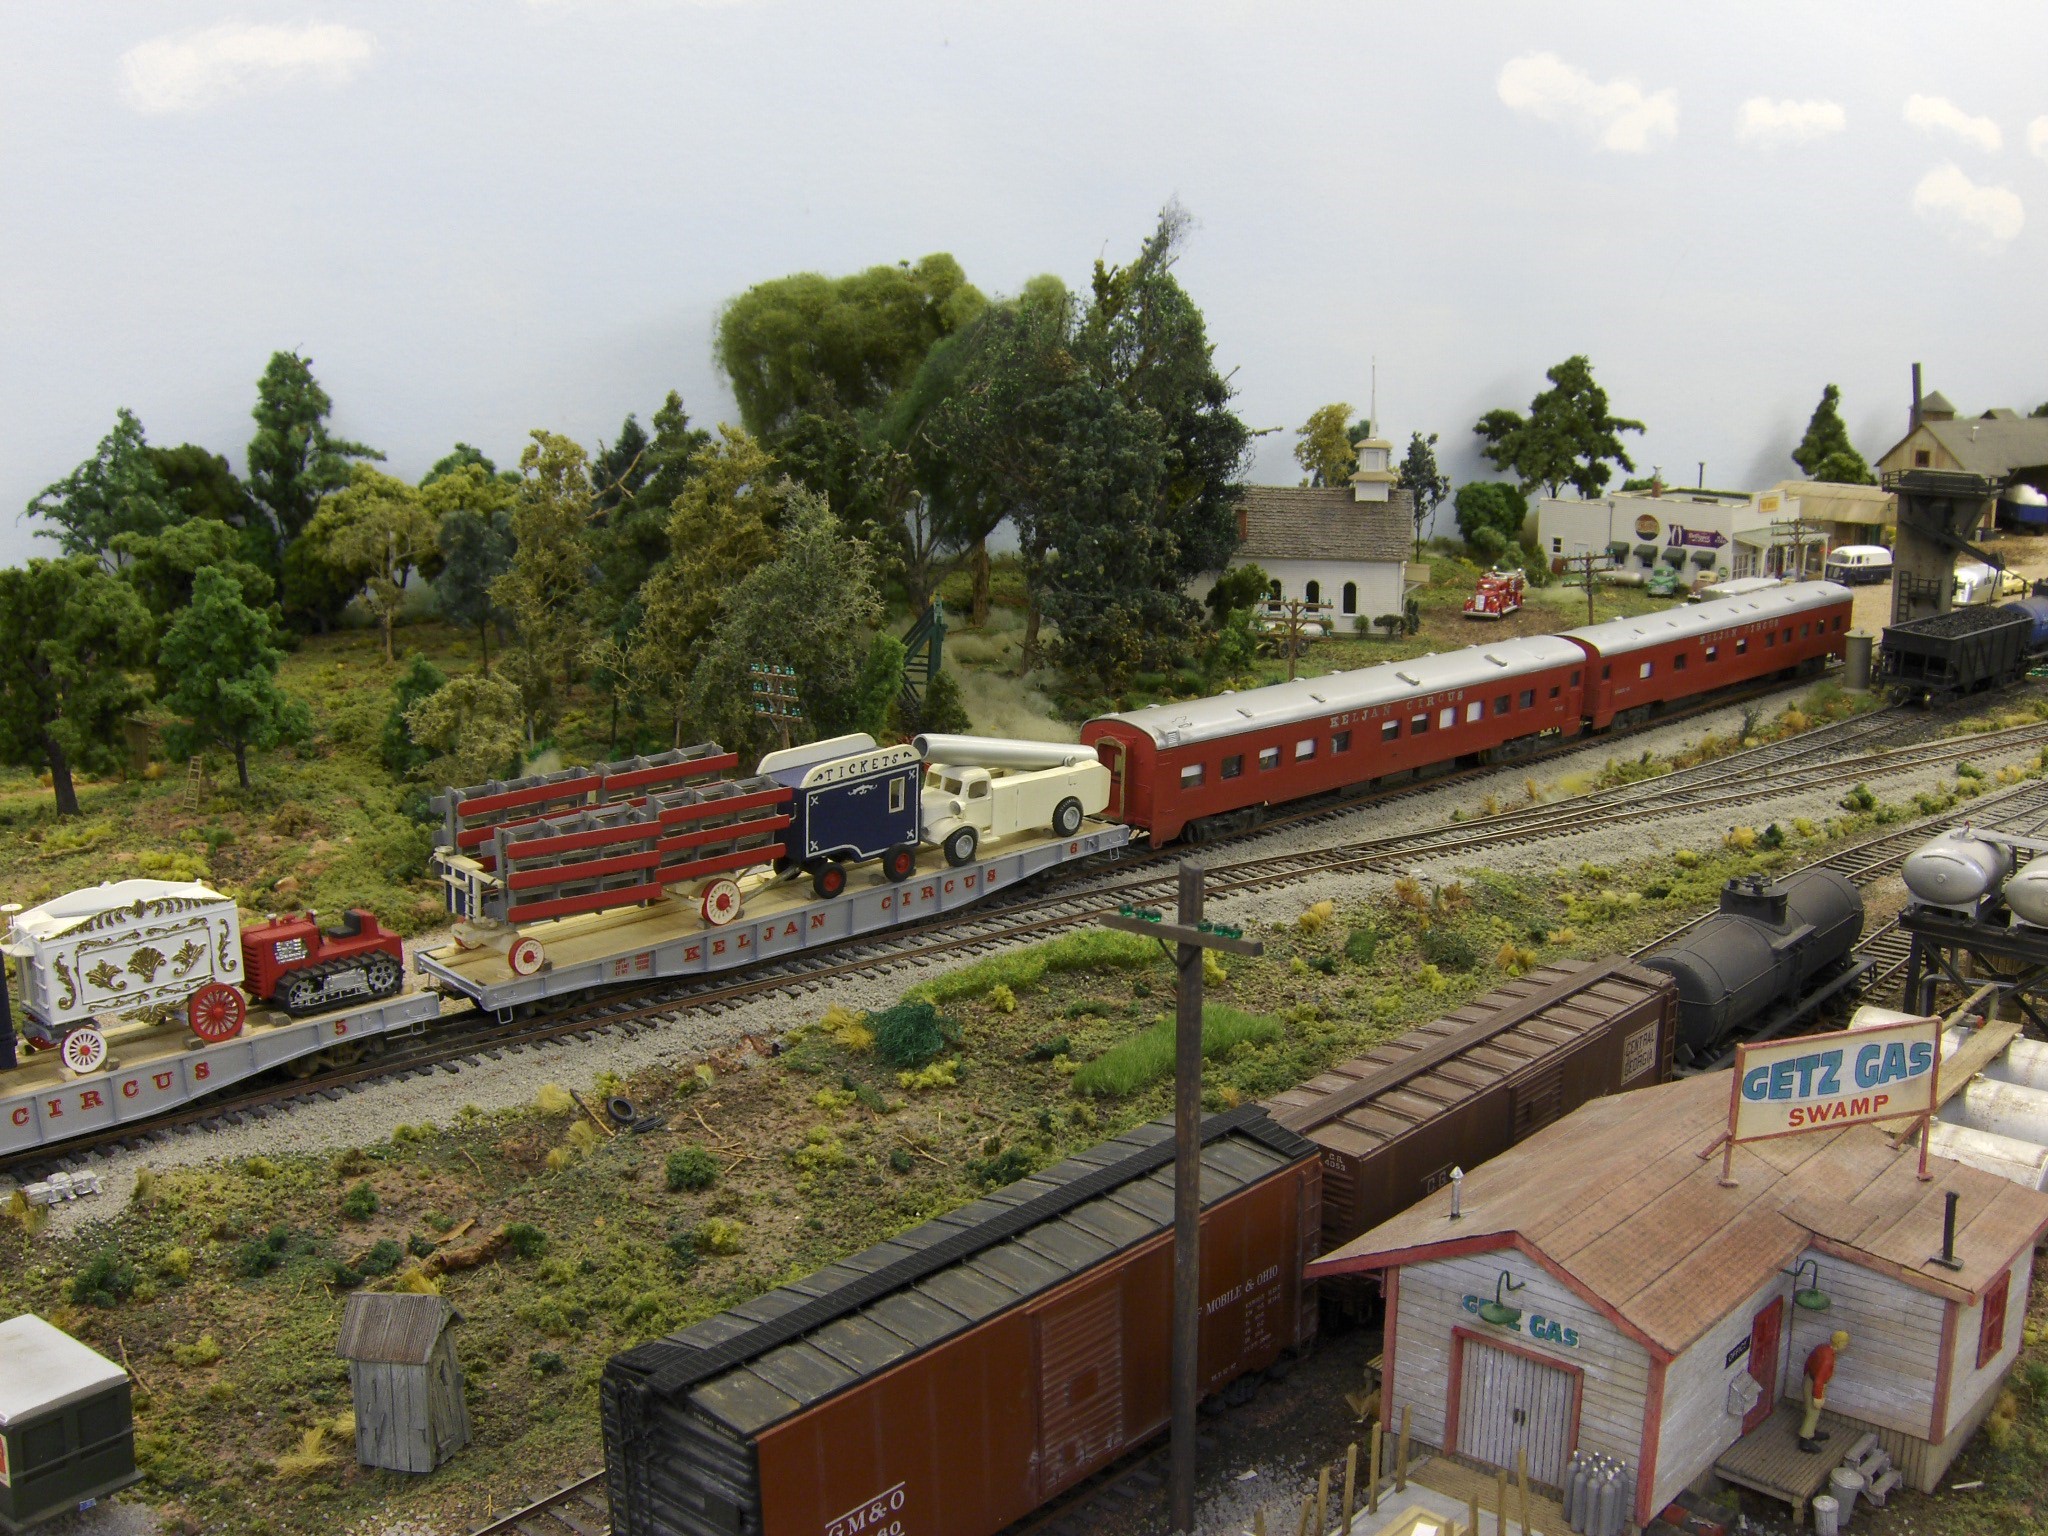
After building all my circus flatcars and wagons, I needed some way for the performers and workers to travel, so I decided to construct two passenger cars for my Keljan Circus.
I began with two AHM 10-6 sleepers and painted them red with a silver roof. I added wire grab irons and railings. I also added vents and grab irons to the roofs.
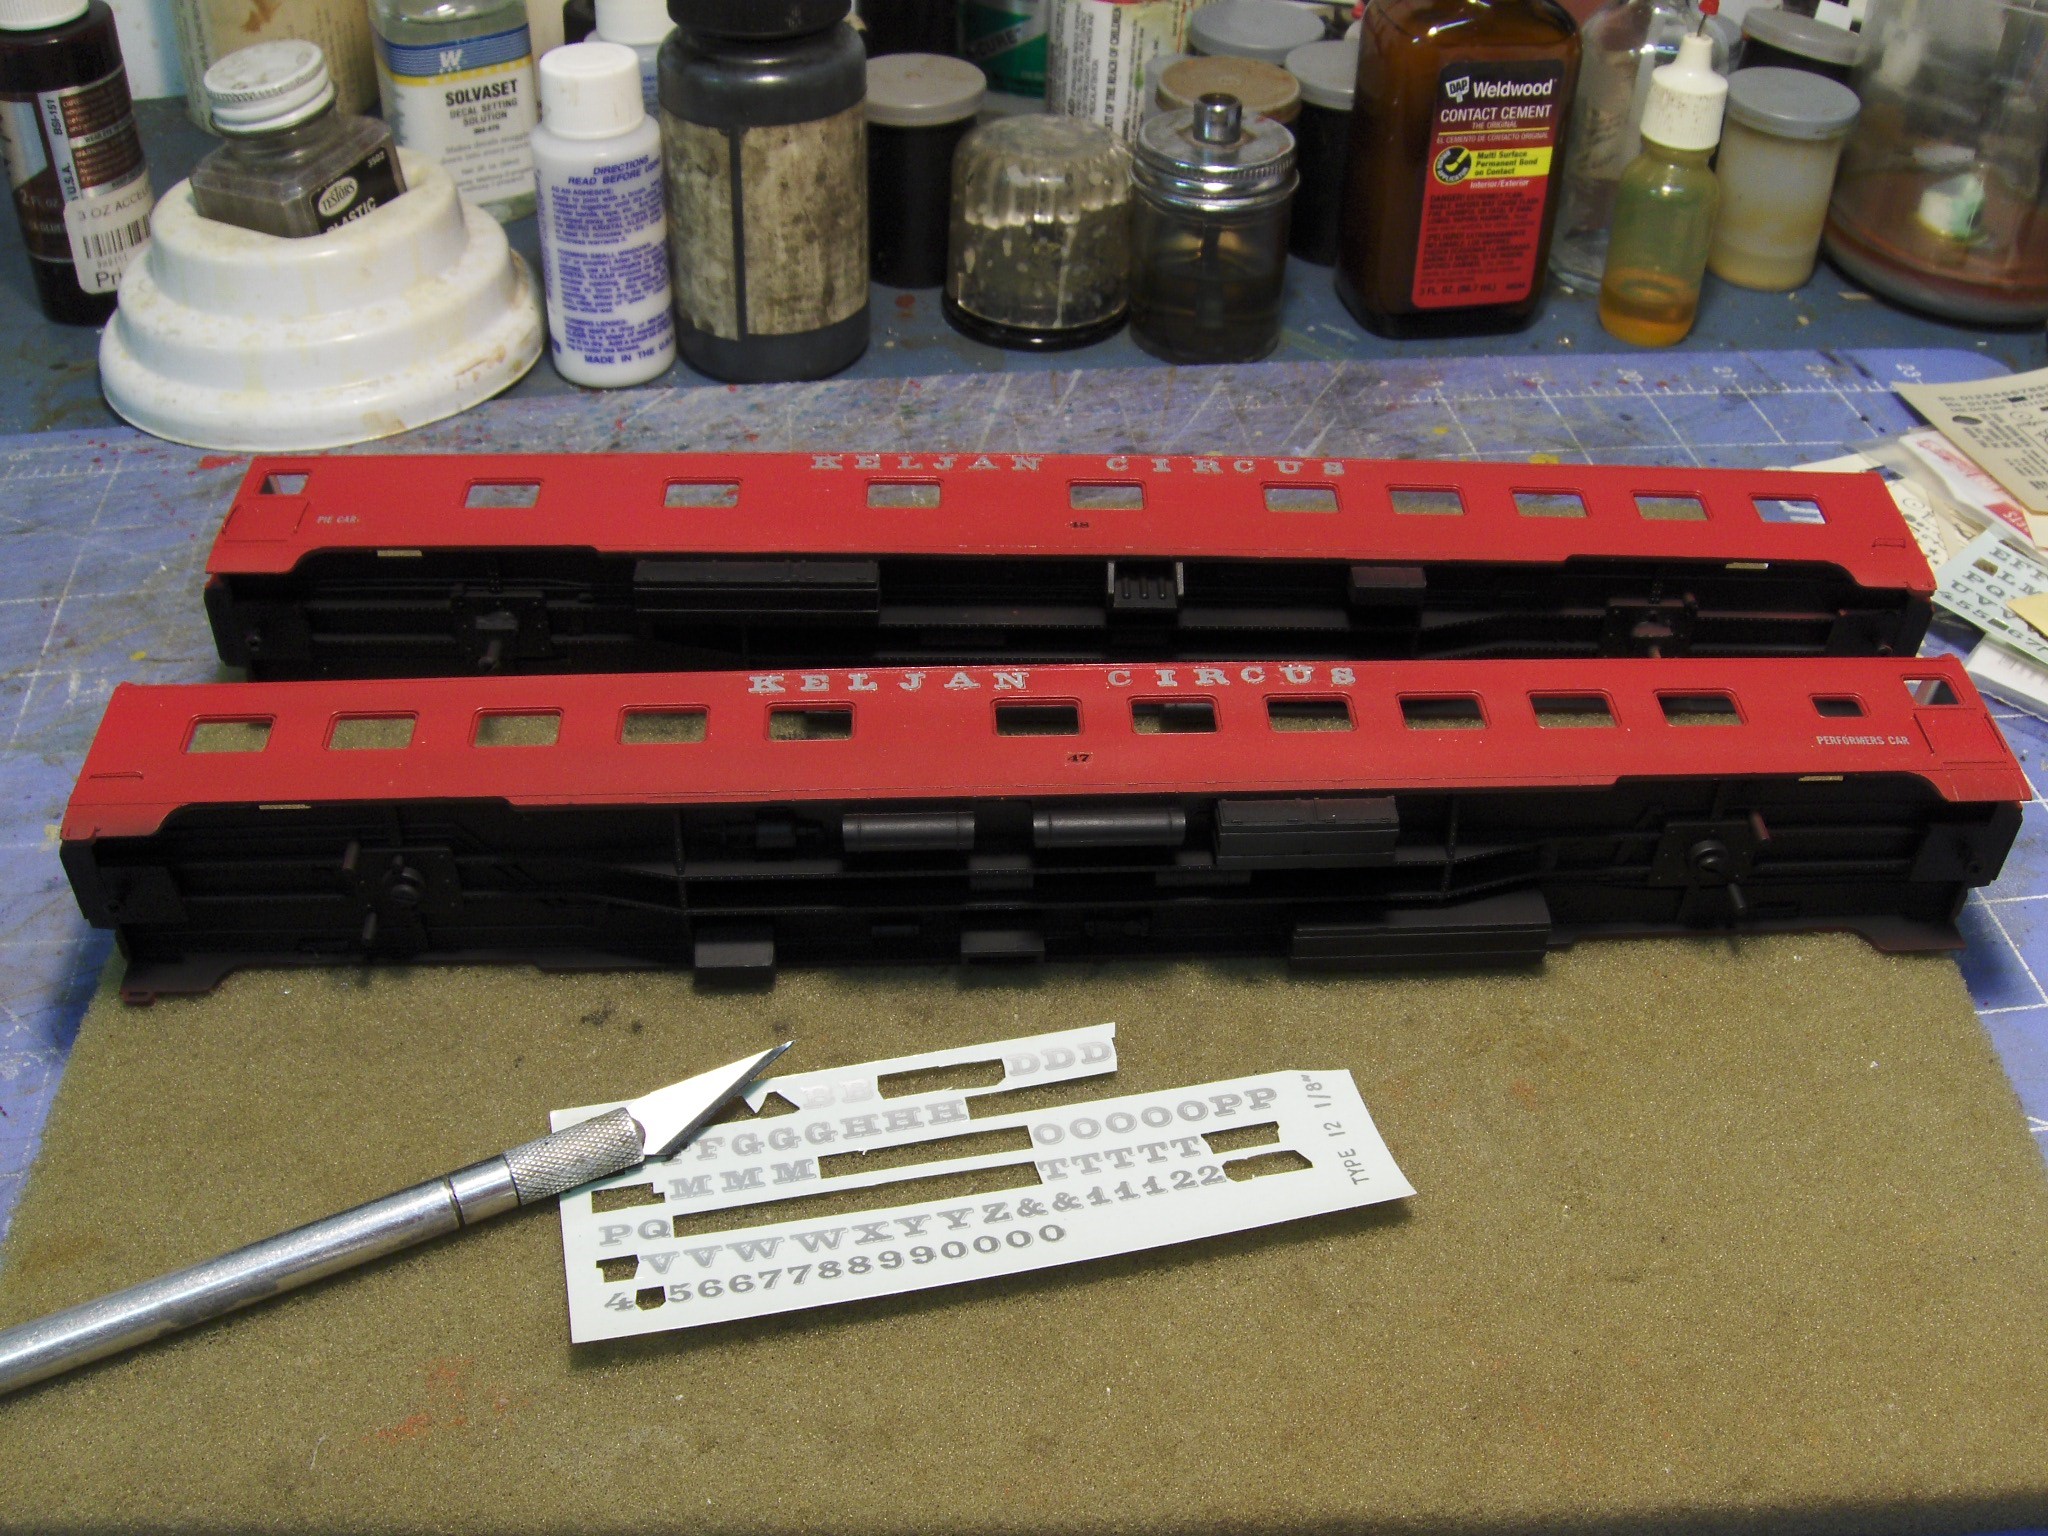
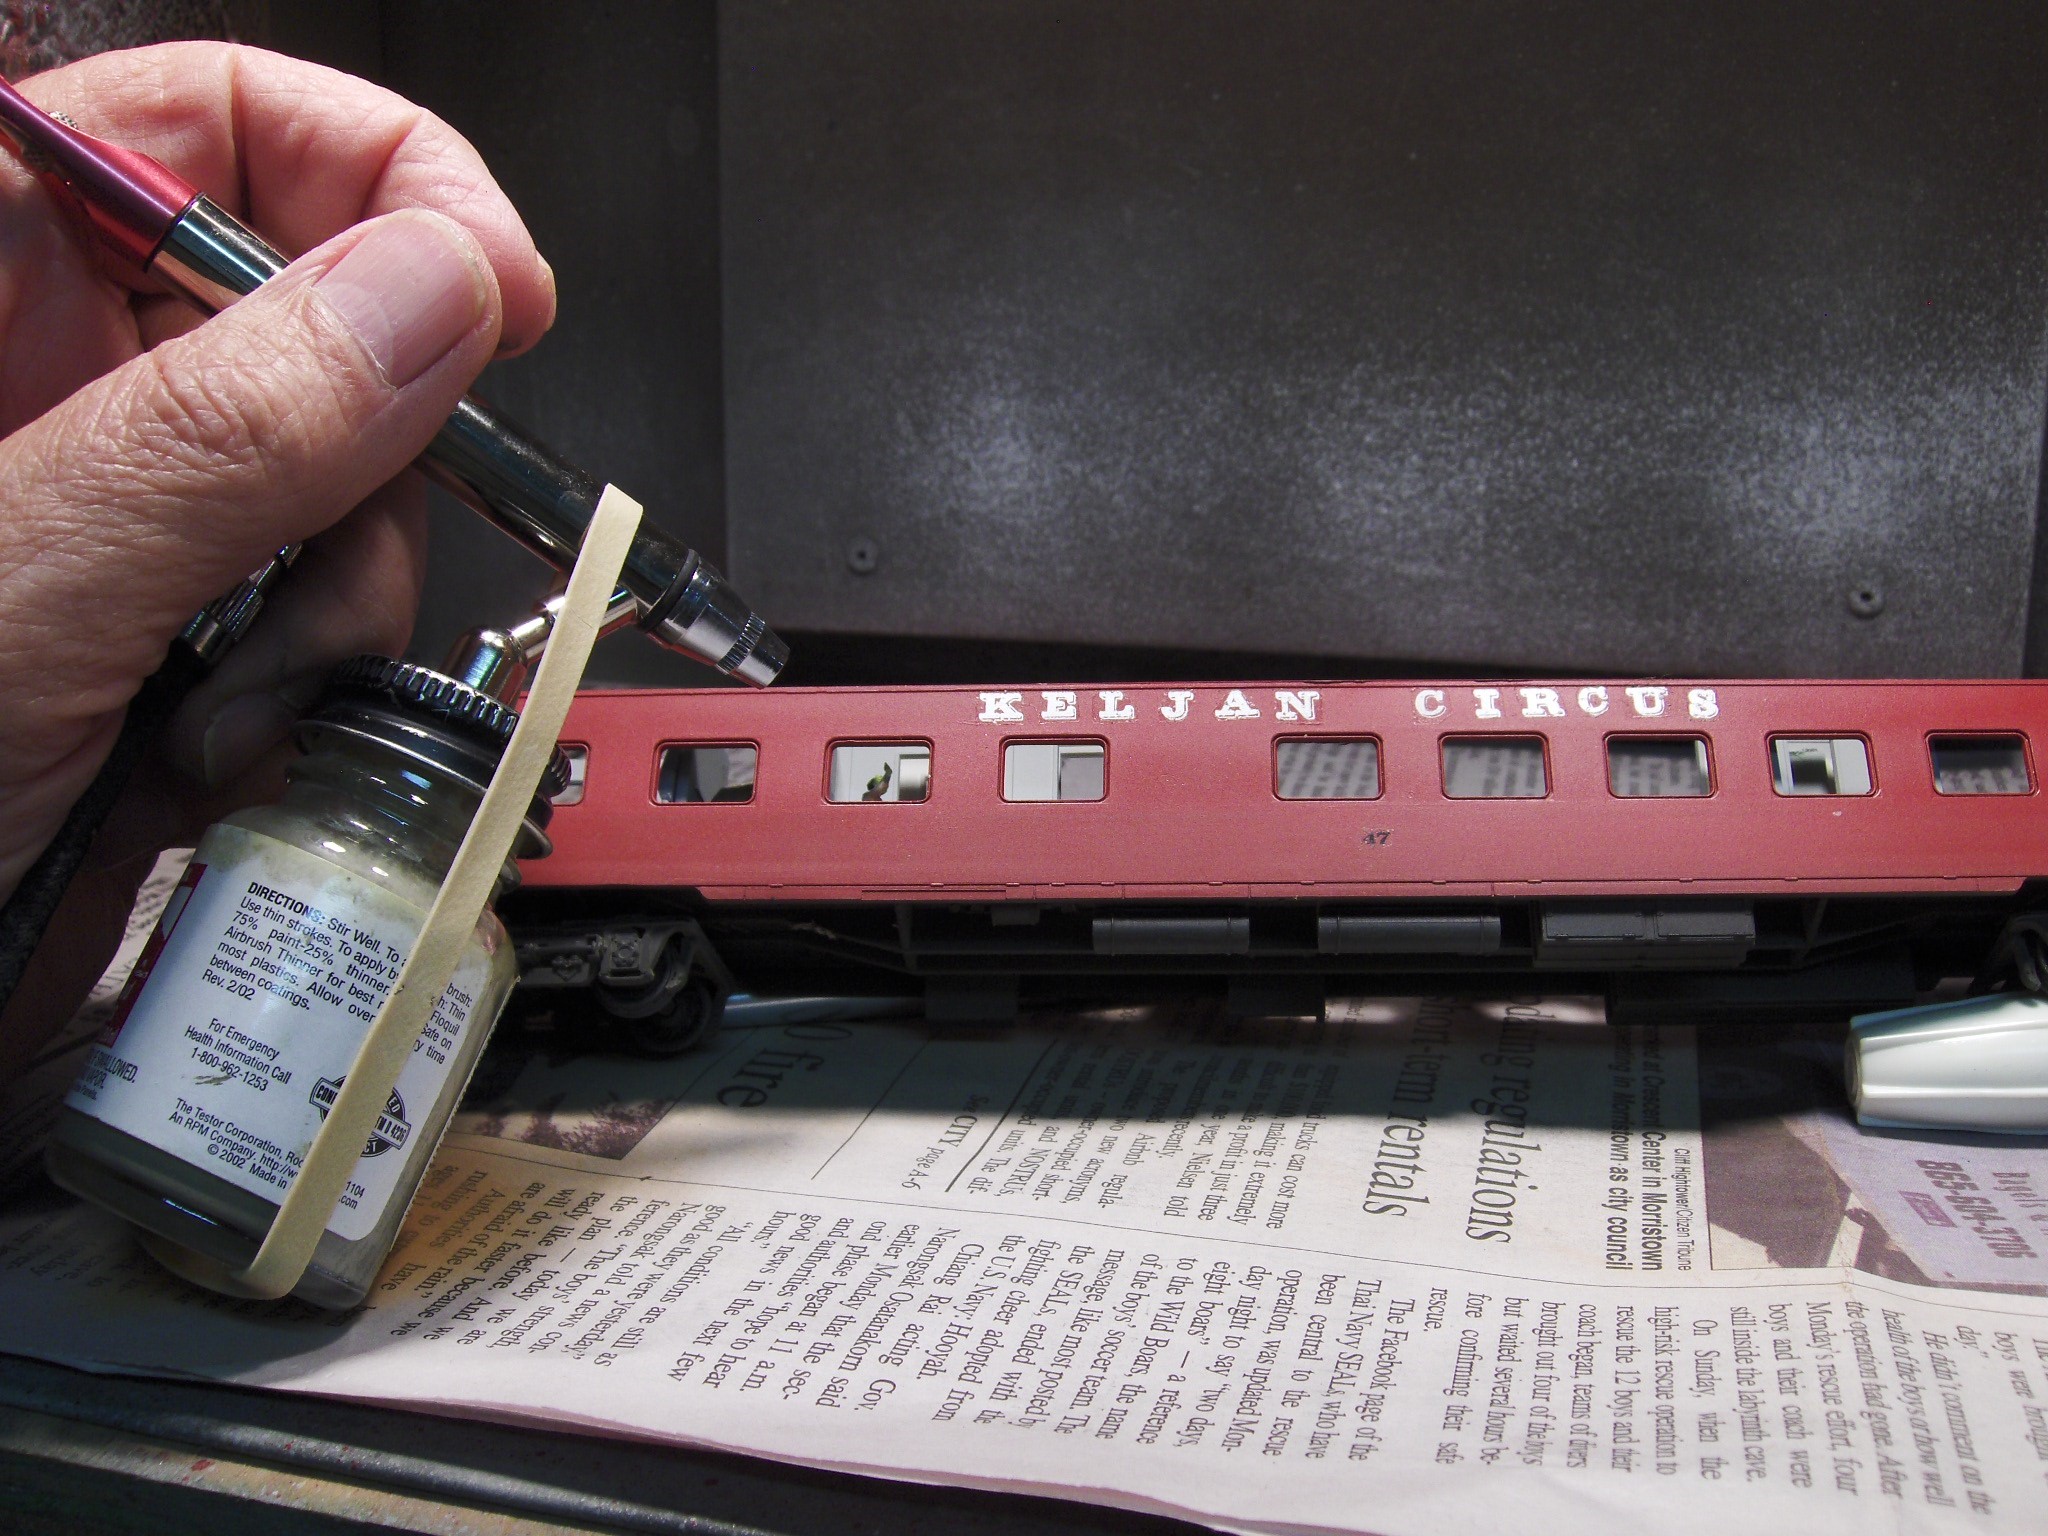
After painting and applying a gloss finish it was time to add the decals. This coat will help the decals snuggle down. Here I’ve cut out the needed letters and added them to the cars. A coating of Solvaset sets them in place, and later I airbrushed a layer of flat finish over the entire car to give everything a nice finish.
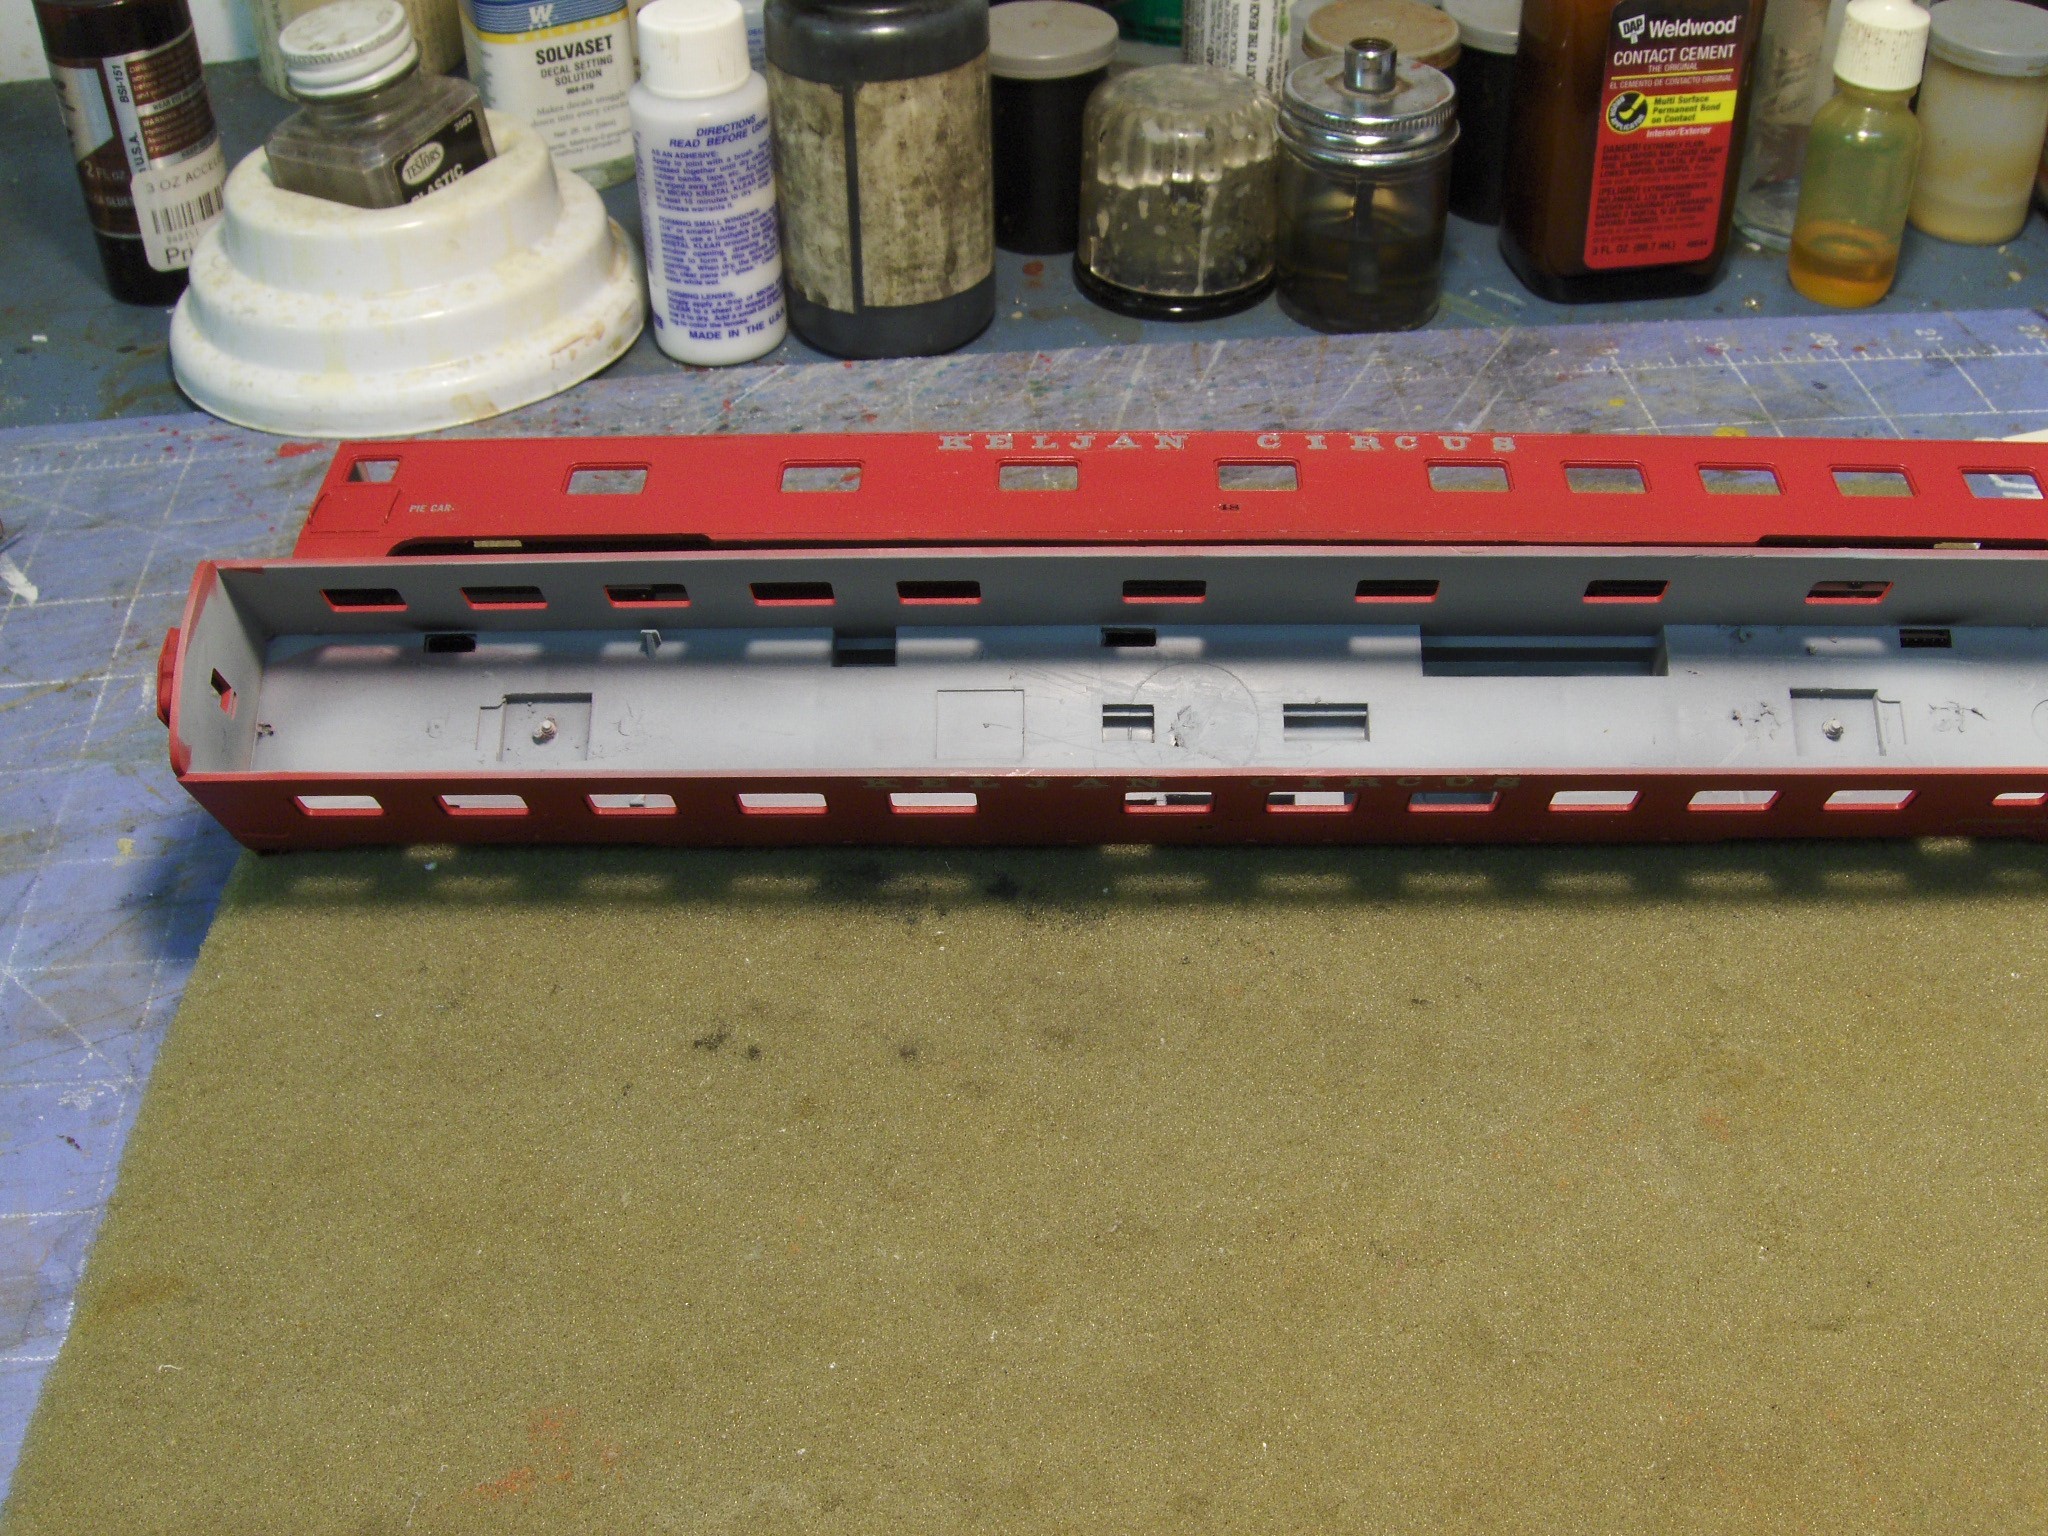
I also sprayed the interior of the cars because I wanted to add some details to the cars. This light gray will help show off the extra work.
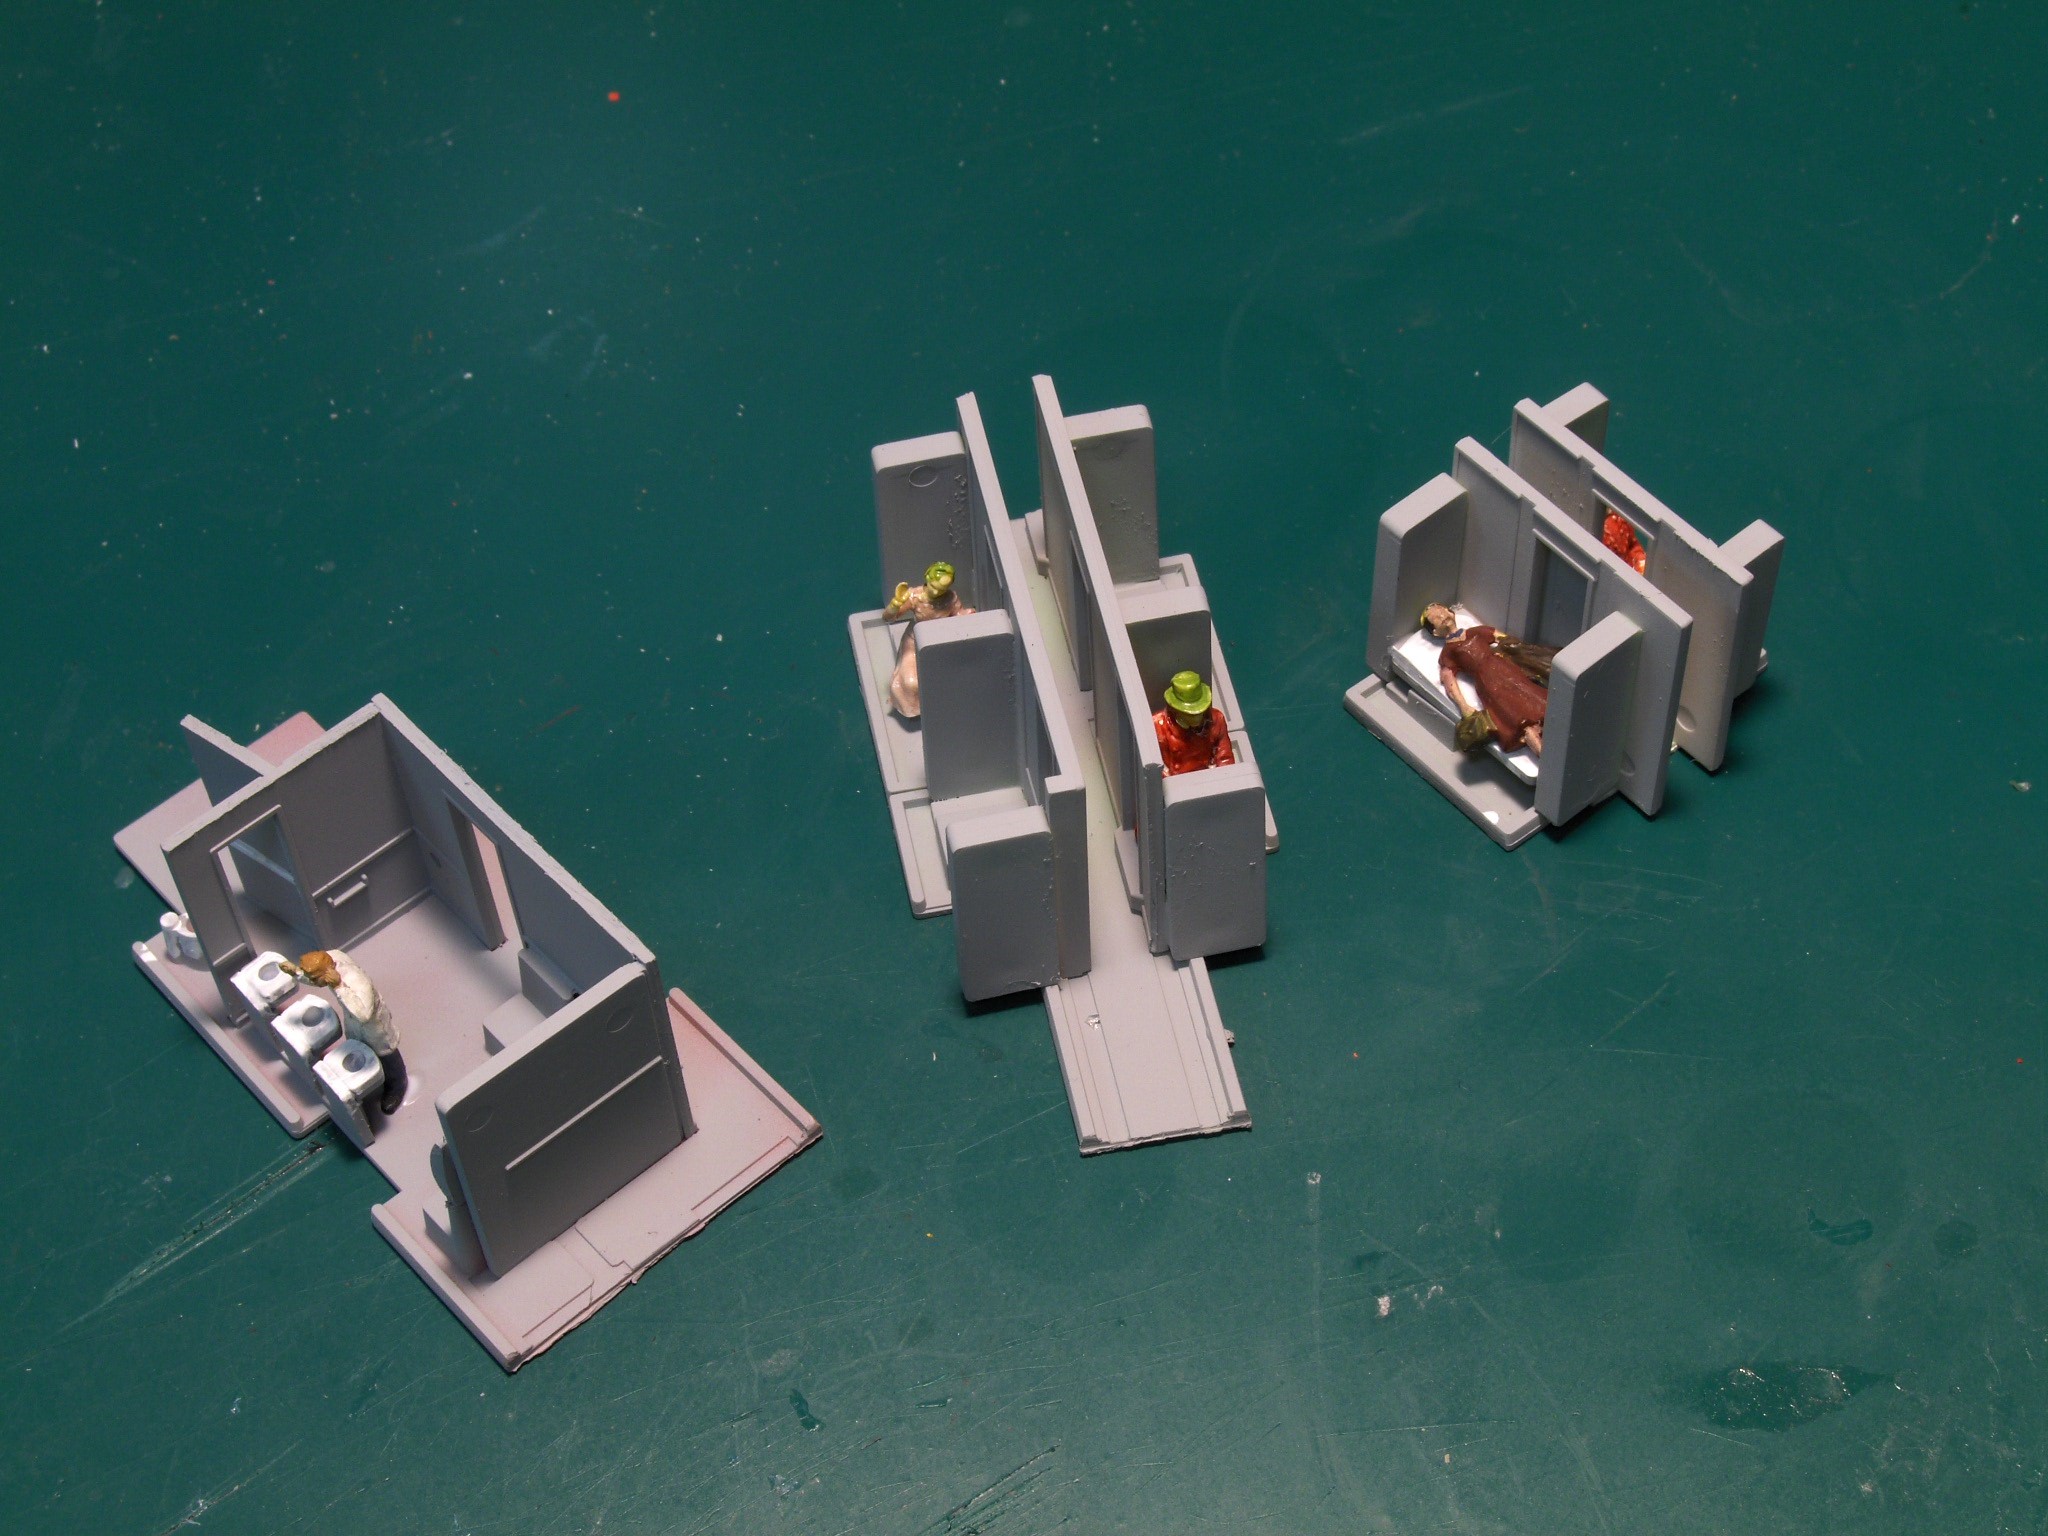
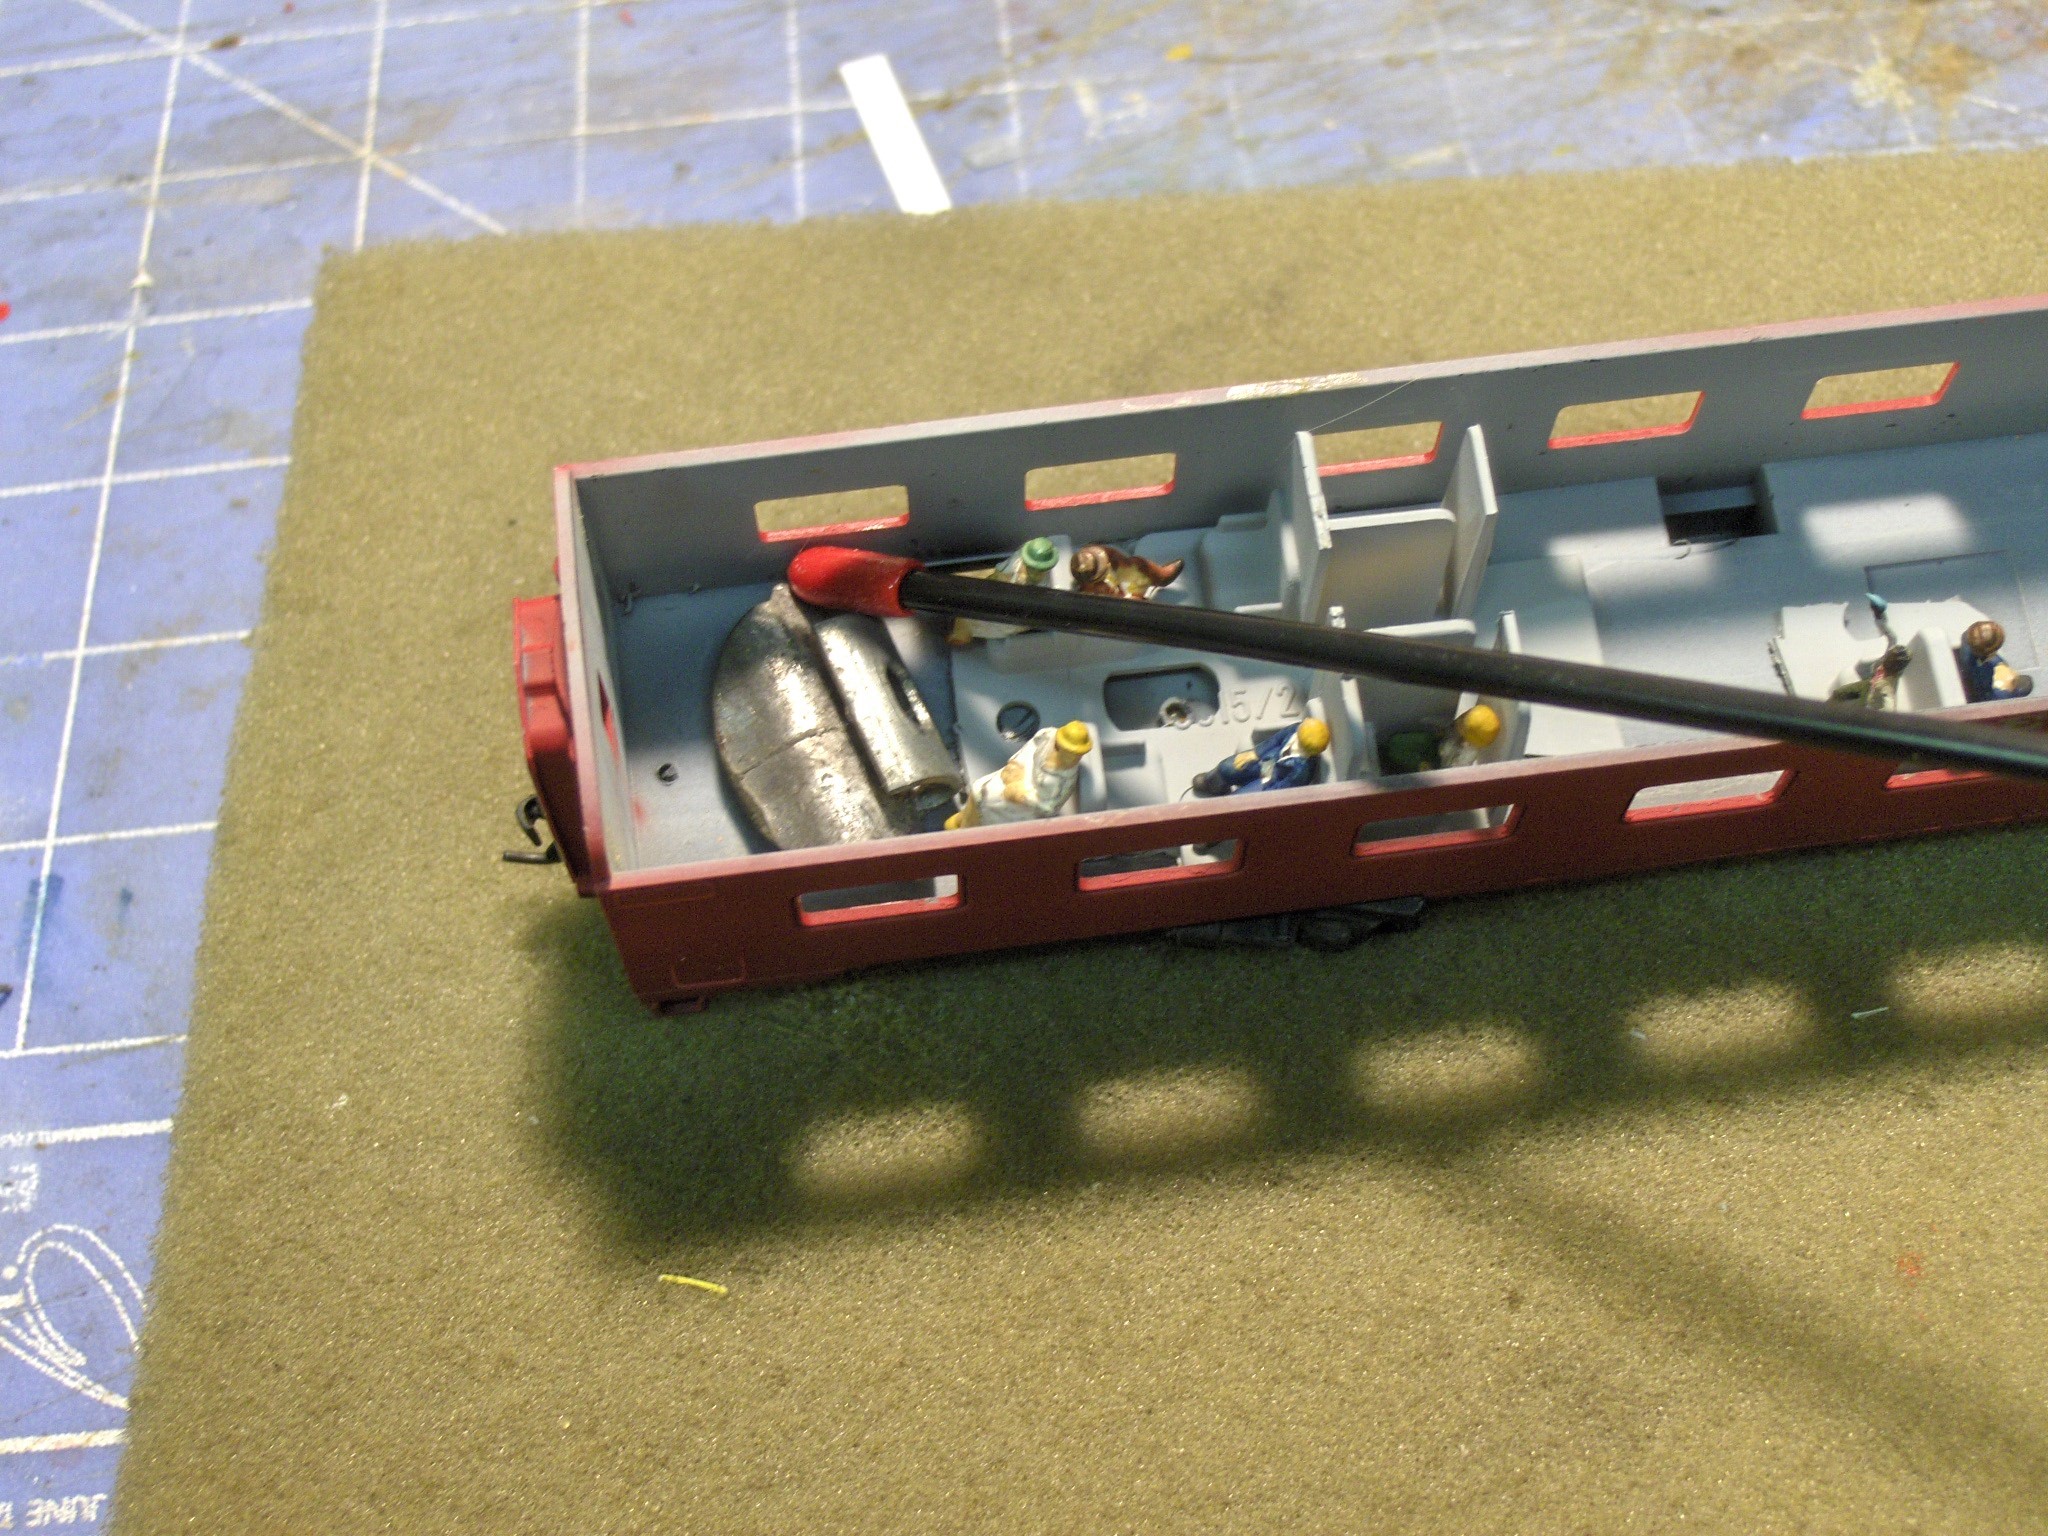
To get that “lived in” look I needed to create some partitions and furnishings. These don’t have to be that detailed. All we want to do is give the hint of something going on inside the cars. I made these details out of sheet styrene, room dividers and seats from some old AHM interior kits. Then I added a few figures to give the pieces some interest.
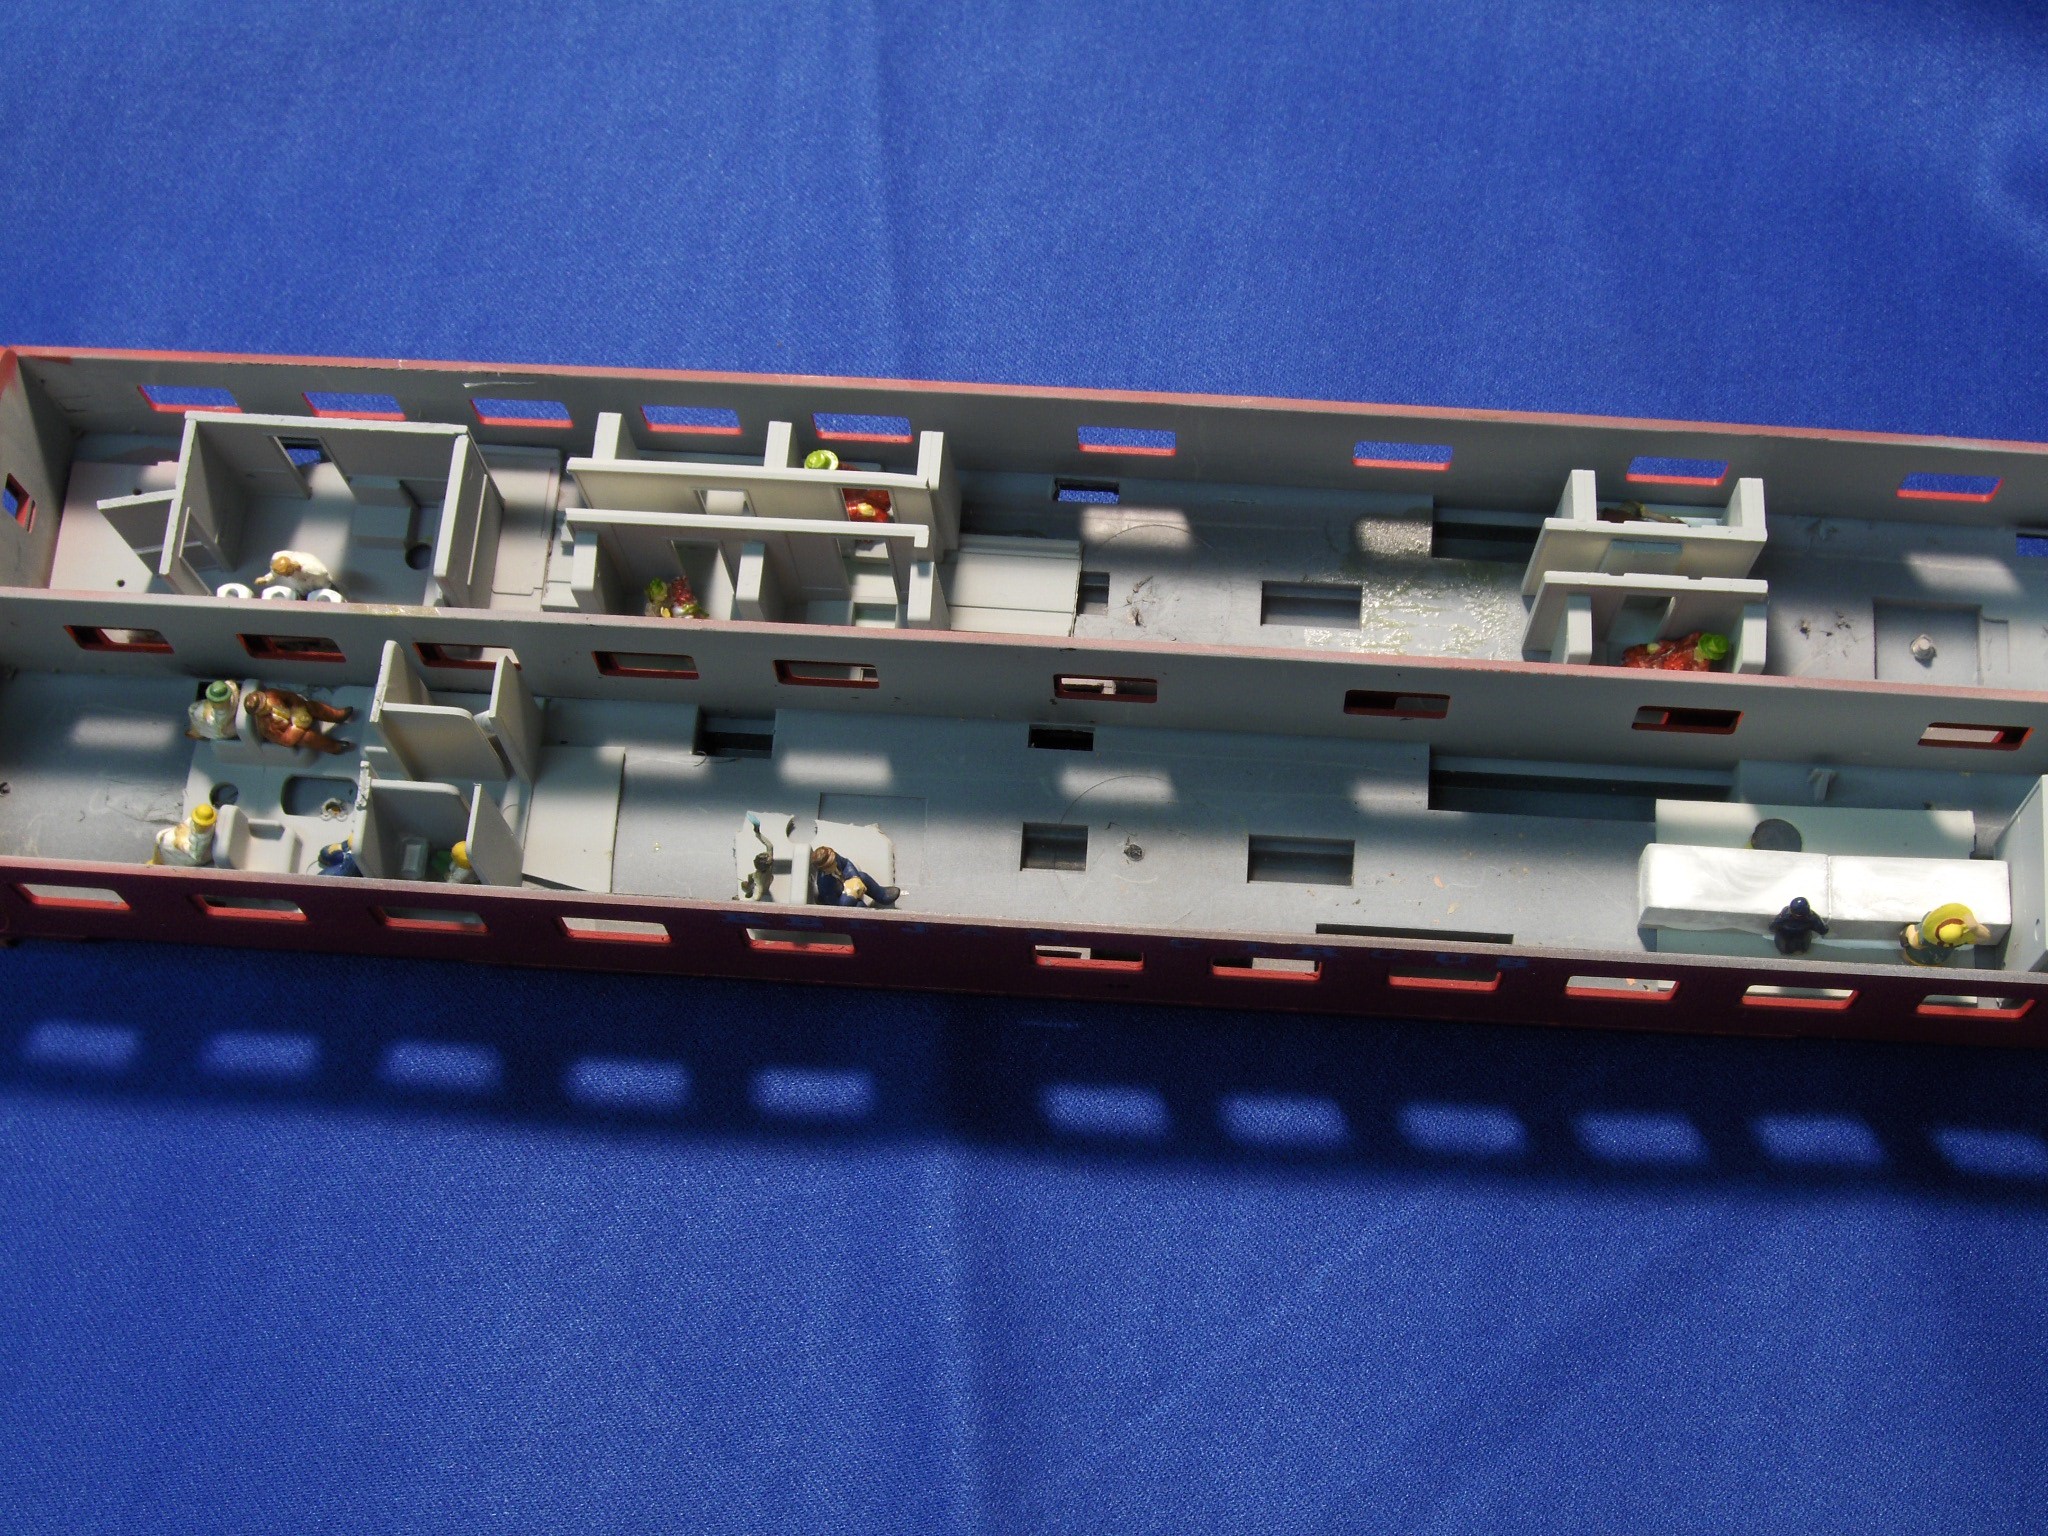
Then I added these interior sections to the cars and carefully placed them so they would line up with the existing windows. These pieces give the impression that there are sleeping compartments, a snack bar, toilets and seating throughout the cars.
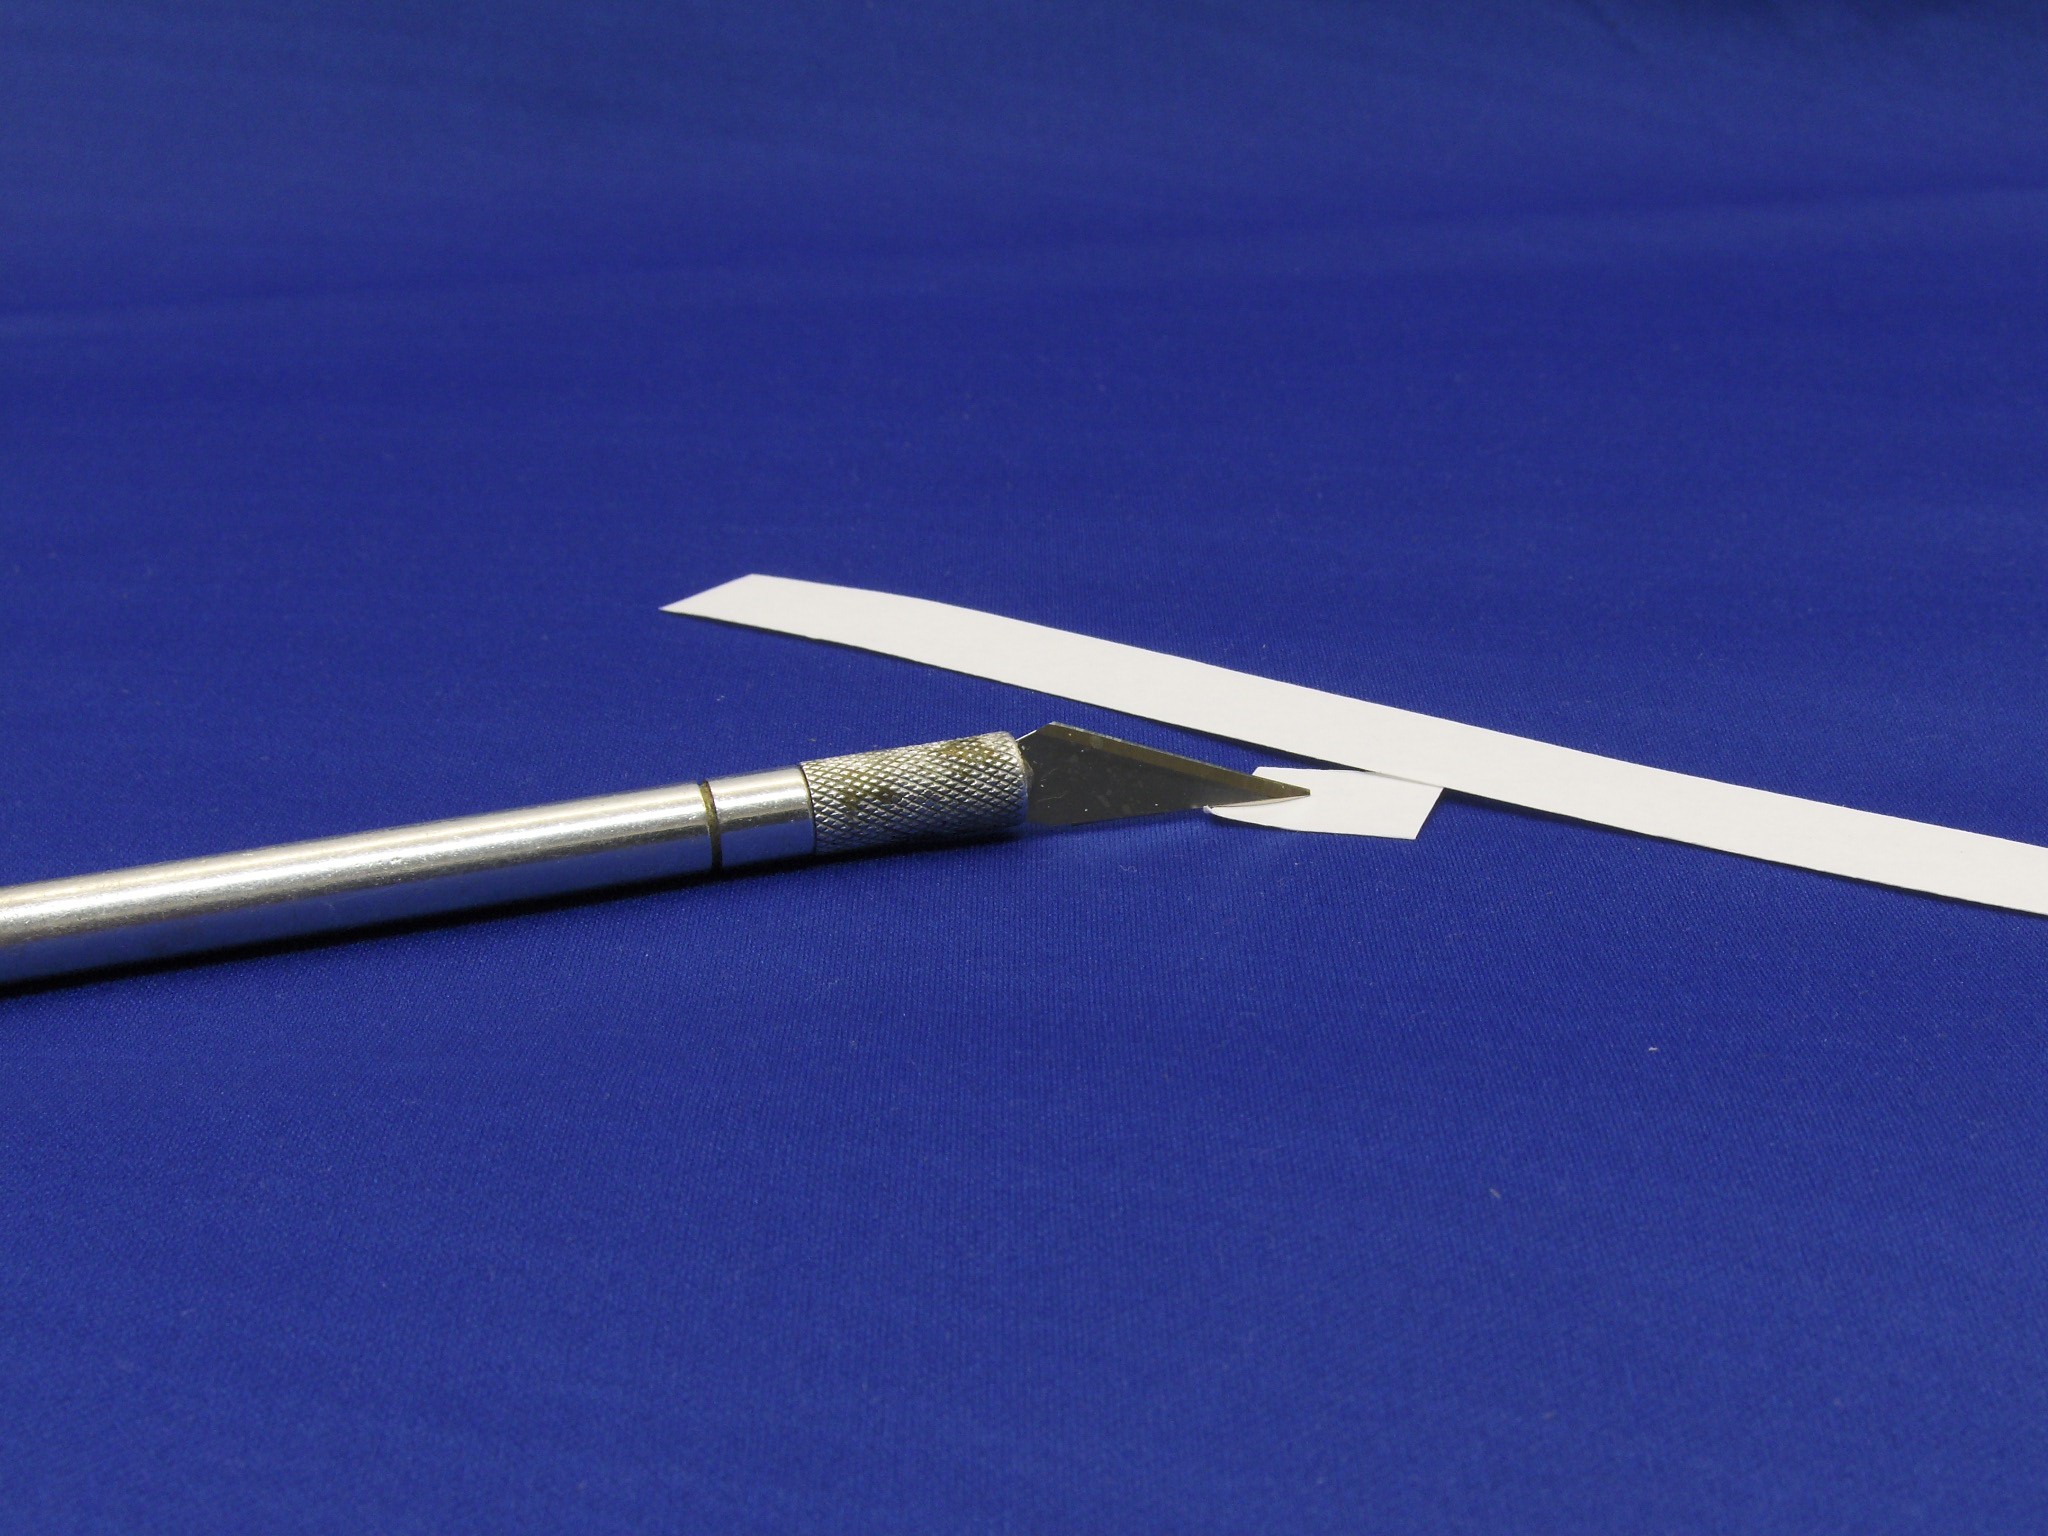
To further the impression that there is life inside the cars, I needed to add some shades for the windows that had no interior details. Here I cut up plain copy paper into 4 foot scale sections.
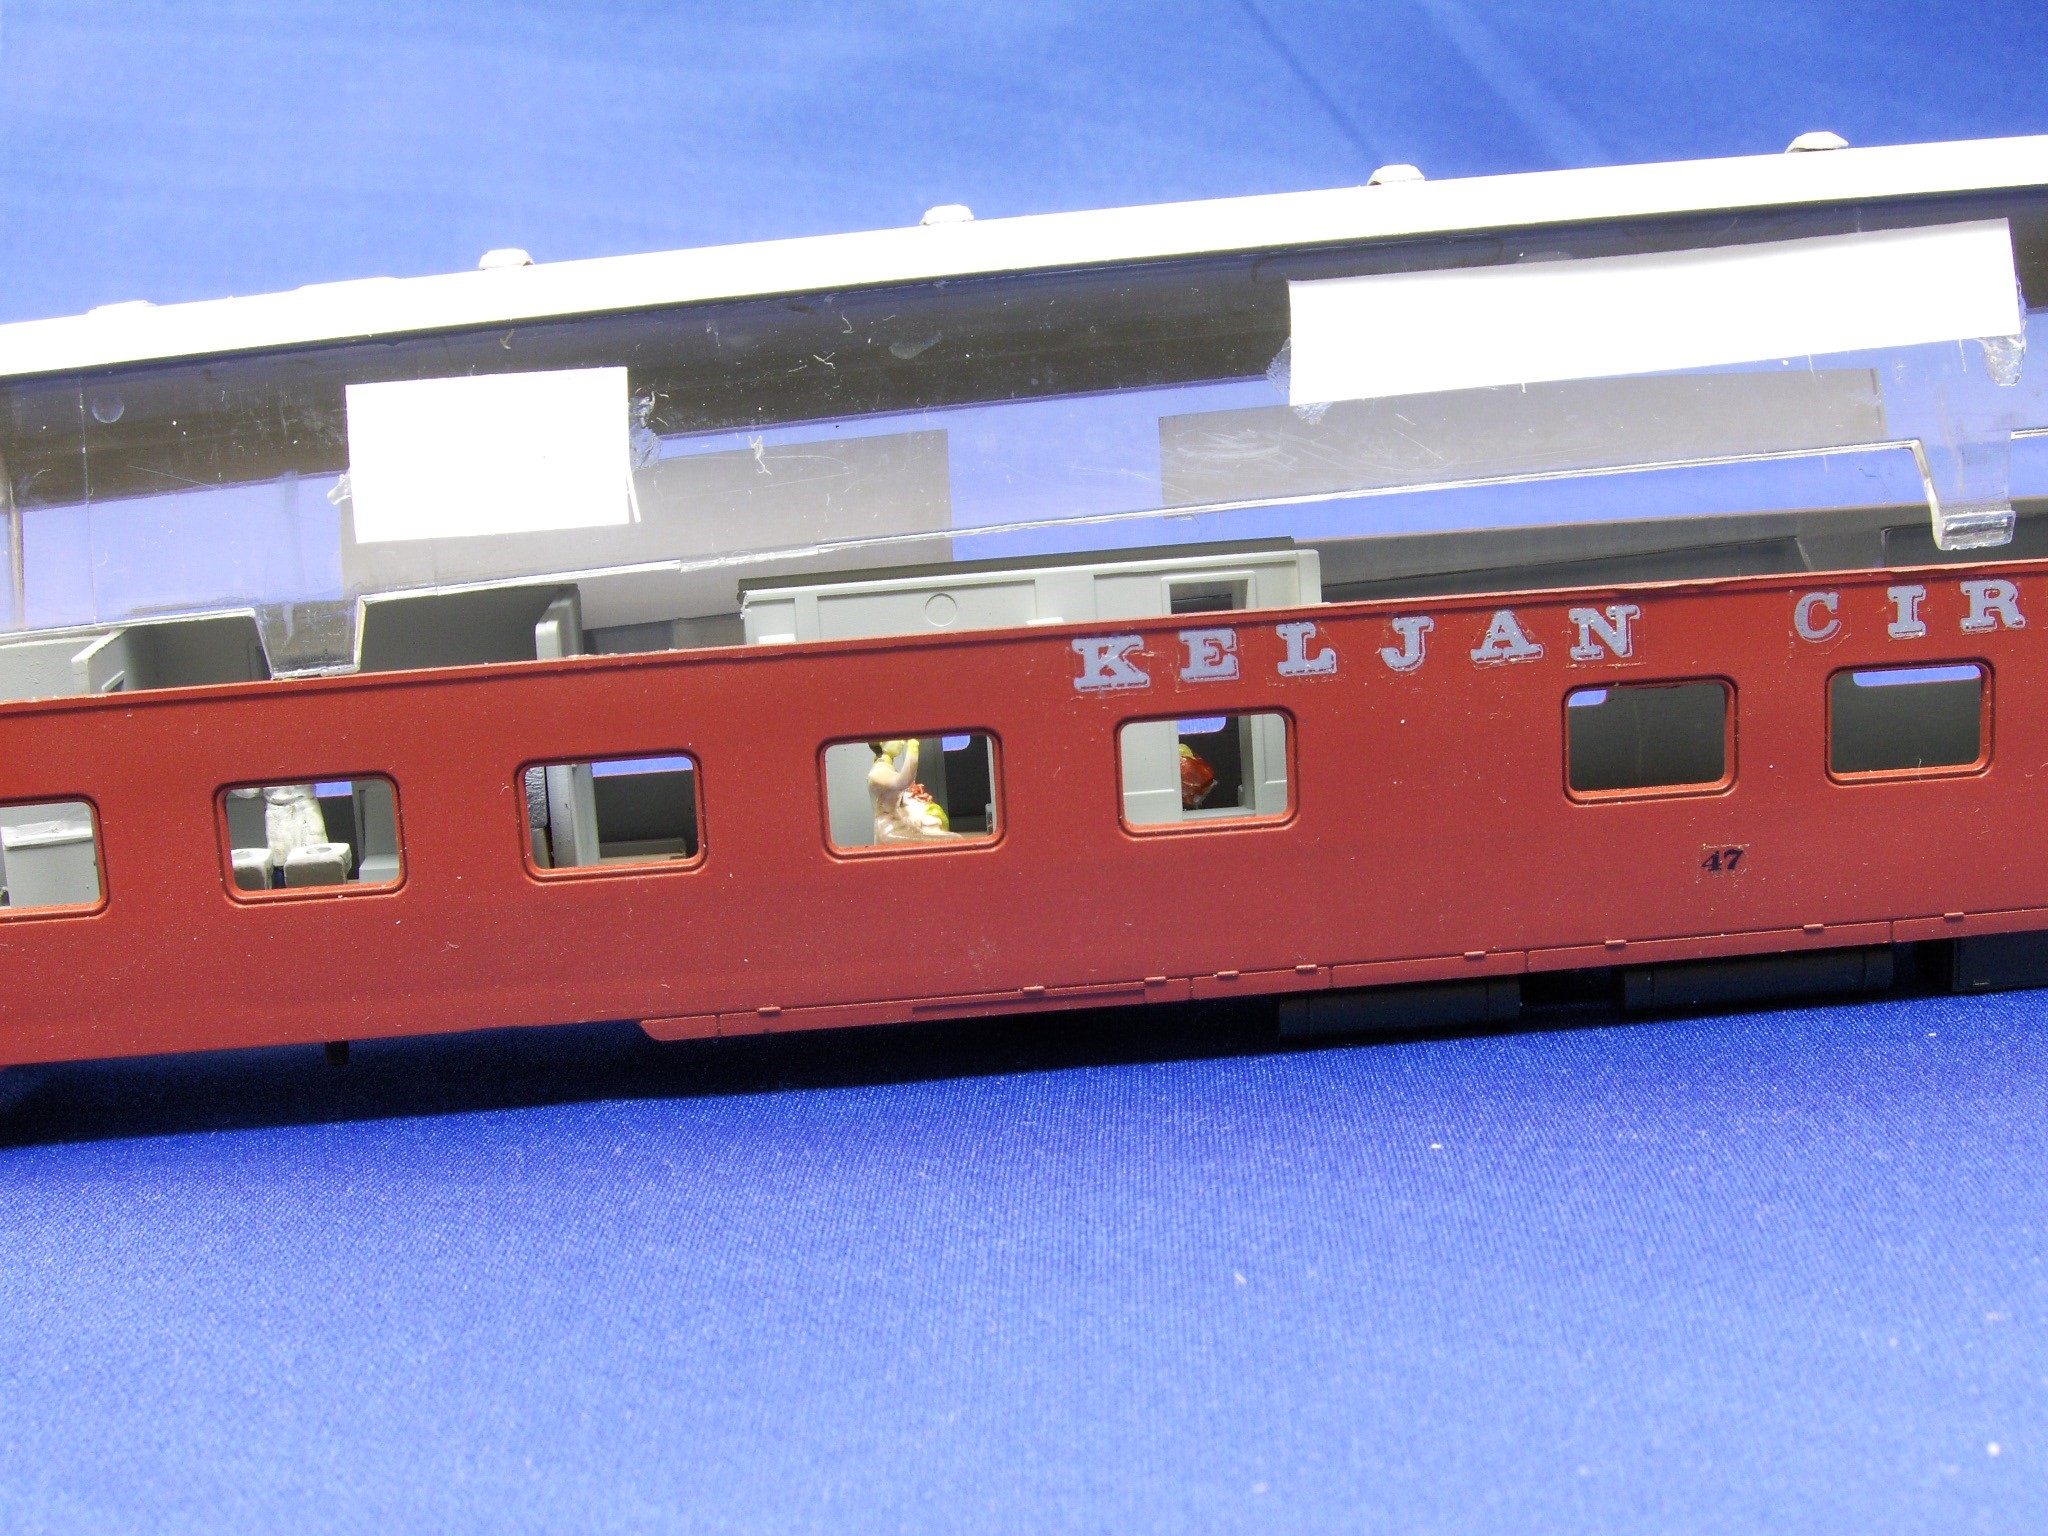
I then glued the paper with canopy glue to the inside of the roof insert. You have to be careful to avoid smearing the glue and to make sure you get the “shades” in the right spots. Some are only half the height of the window so it appears that the shade has been moved up.
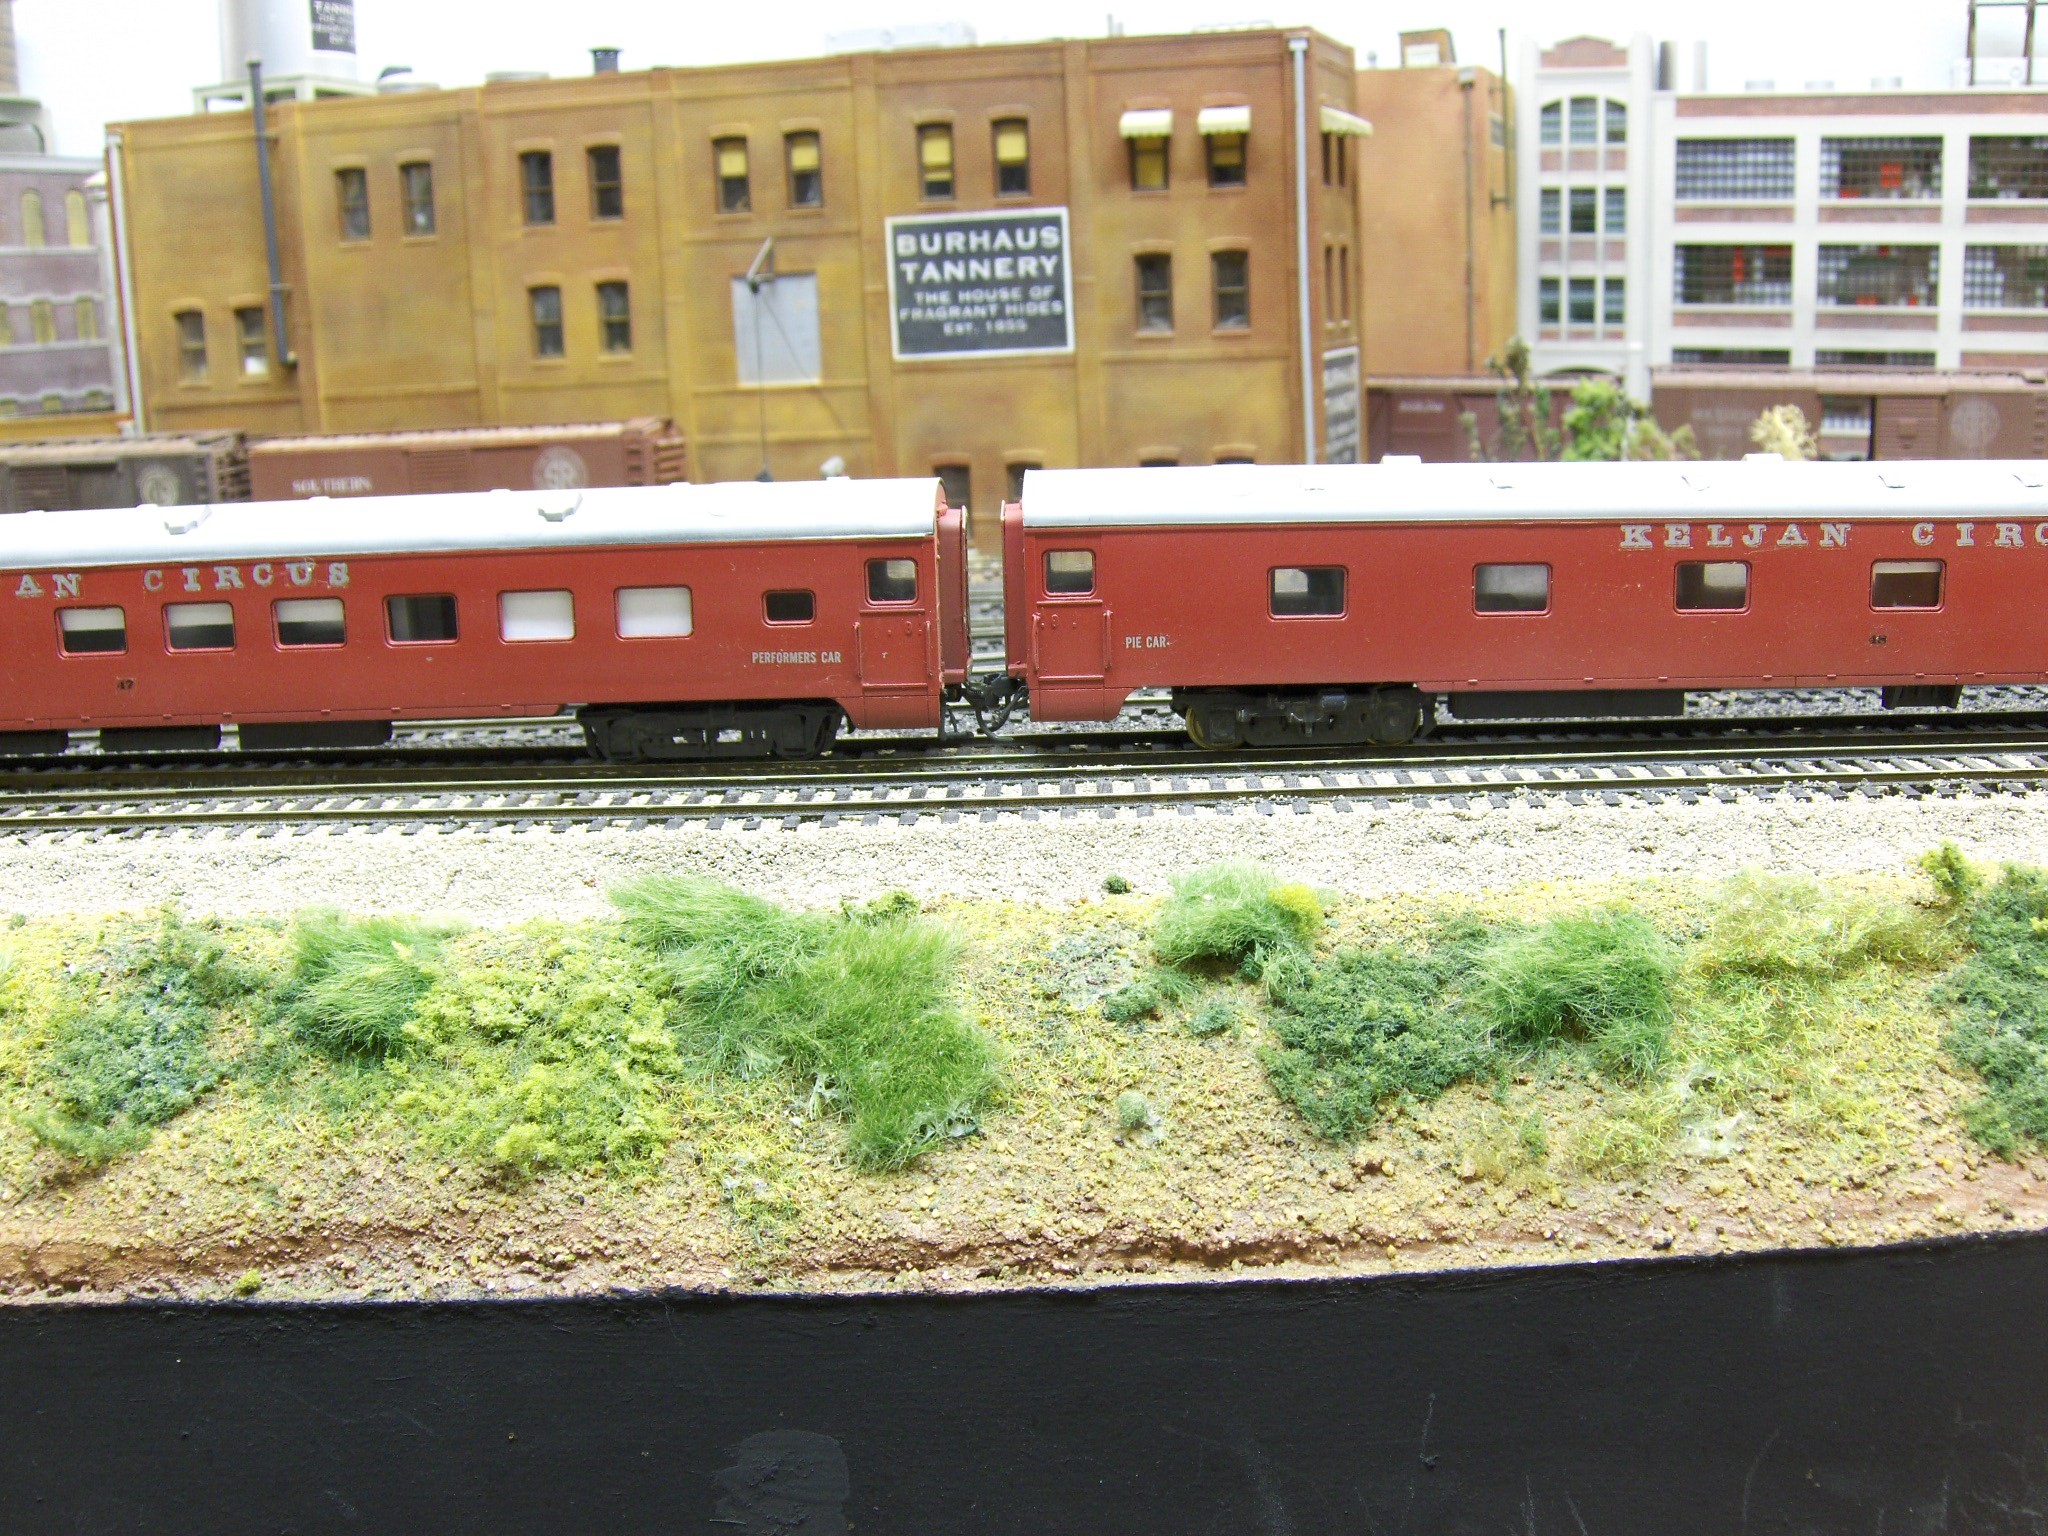
Here you can see how the shades add to the feeling that the cars are occupied. Of course you could add a complete interior if you wanted. But there is really no need to do that.
I added weights to both cars in locations that would not be seen. A car this long should weigh about 5.5 ounces so I used some old tire weights to attach to the car floor with contact cement.
After all this it was time to add some airbrushed weathering to the underbody and the sides of the cars. I used concrete and rust colors to tone everything down. Weathering is the to key realistic looking models because everything in the real world gets dirty.
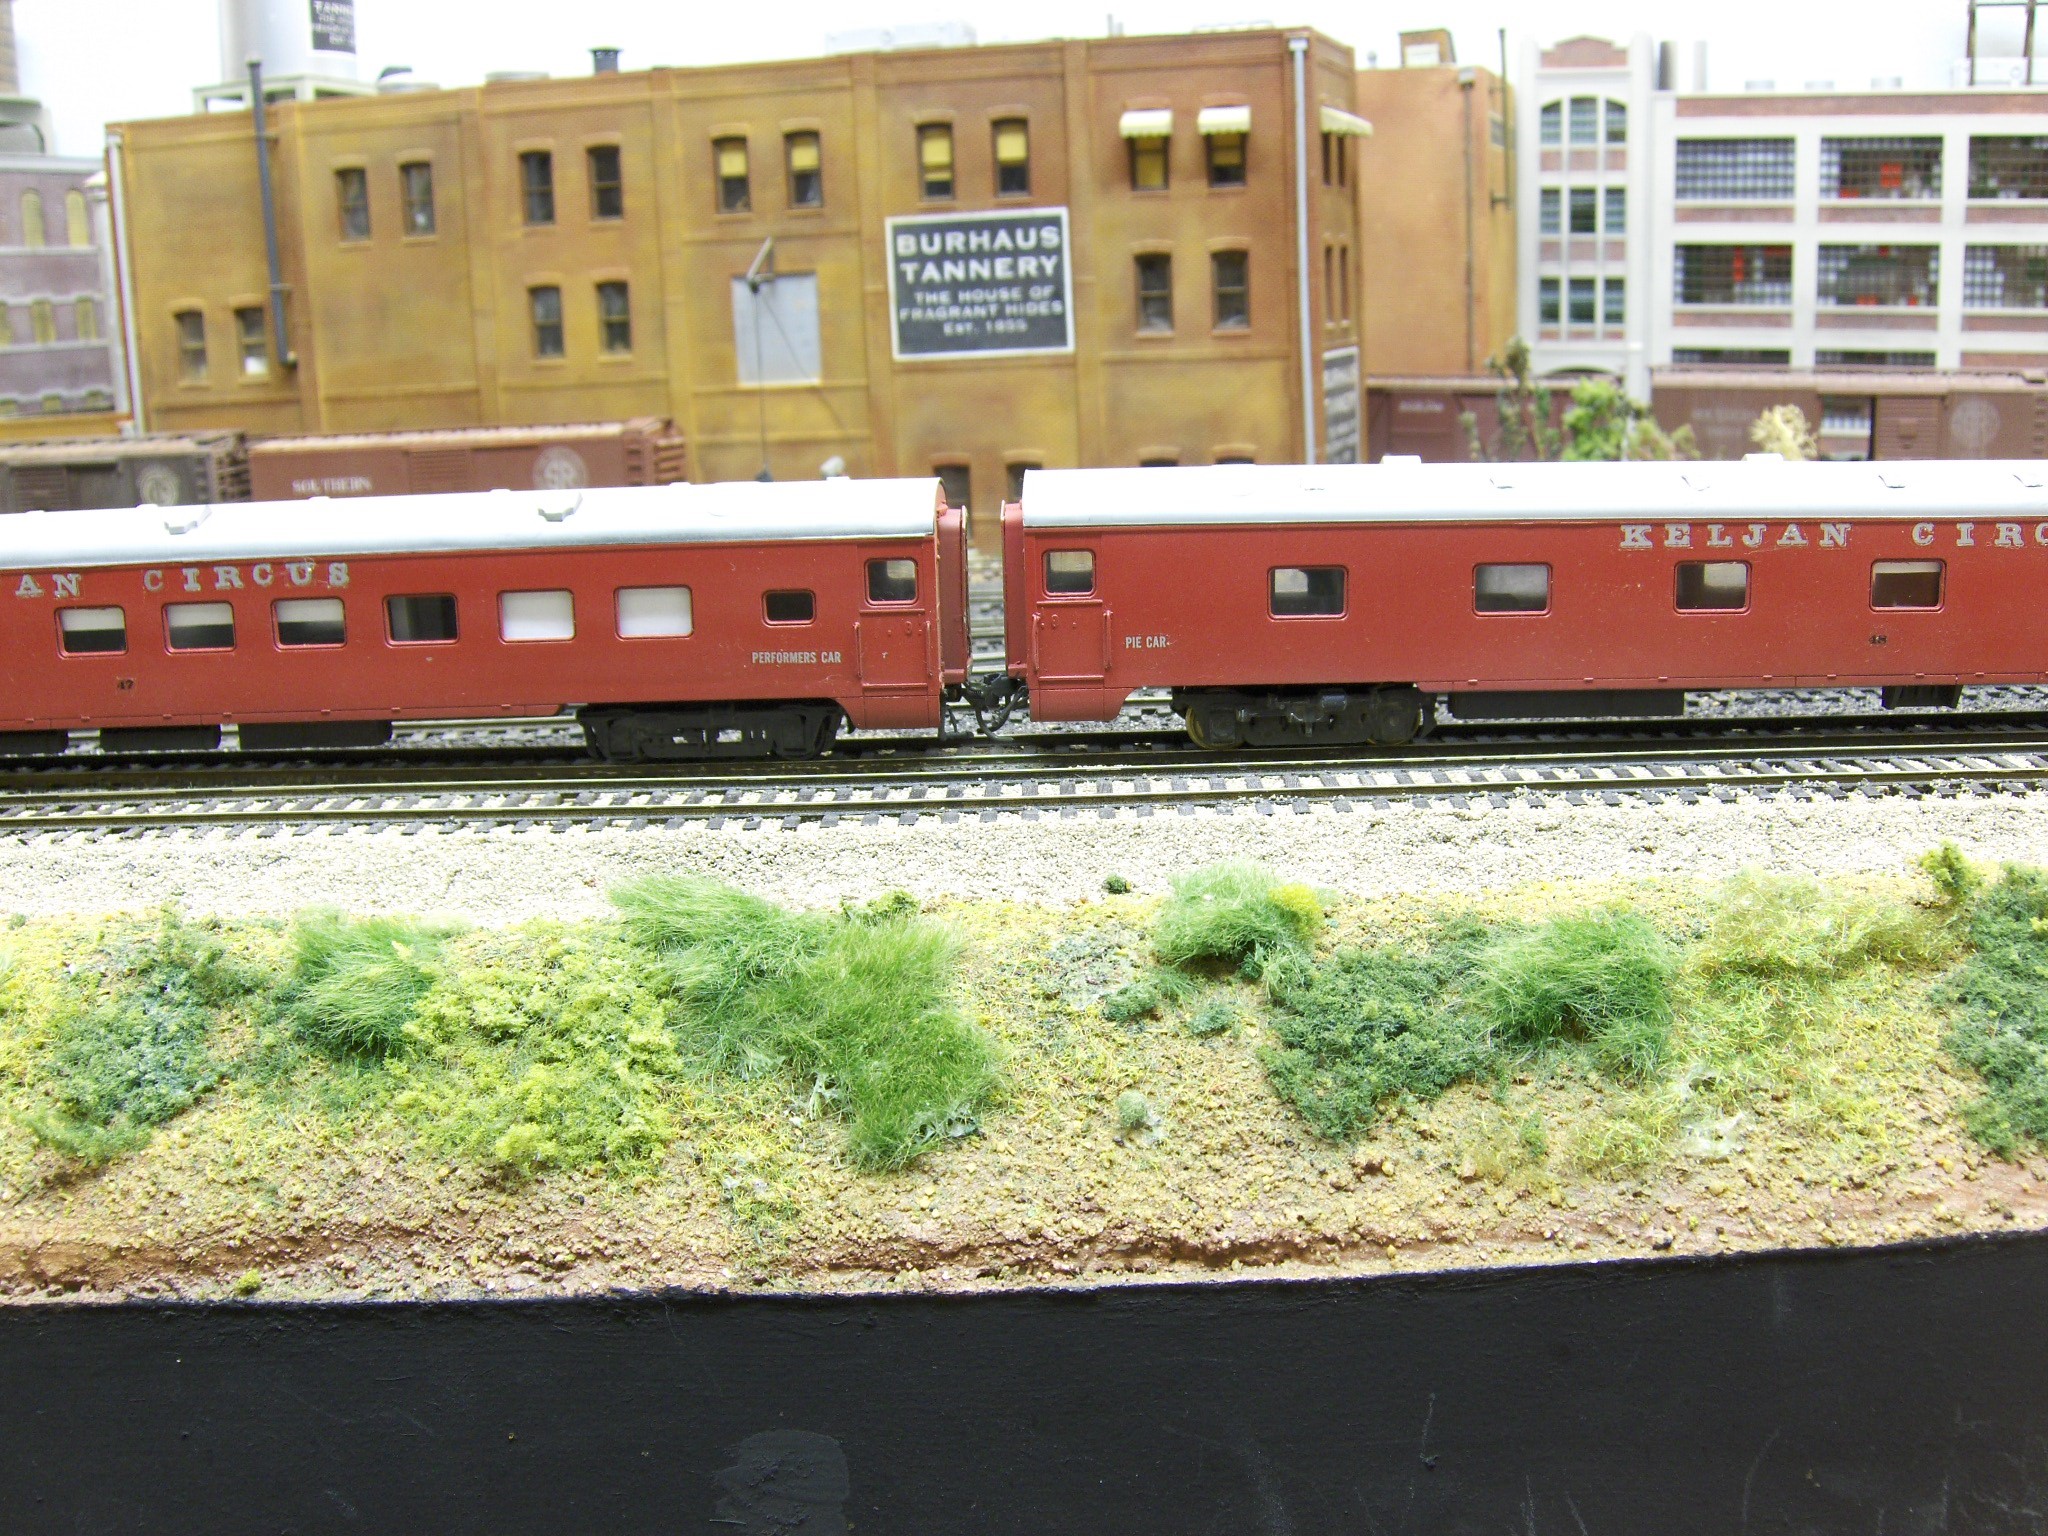
I also highlighted the face plates of the diaphragms with silver and rust. Of course I added couplers and air hoses to the ends. Now this car looks like it’s been on the road for a while.
Here is a good view of the shades and the interiors.
Here the cars get a test run through Friars Point, Mississippi on my Bluff City Southern. The things I outlined can certainly be used on all passenger cars on your railroad. It just so happened that I needed to create these circus cars, but interiors would add so much to any passenger cars on your own railroad.
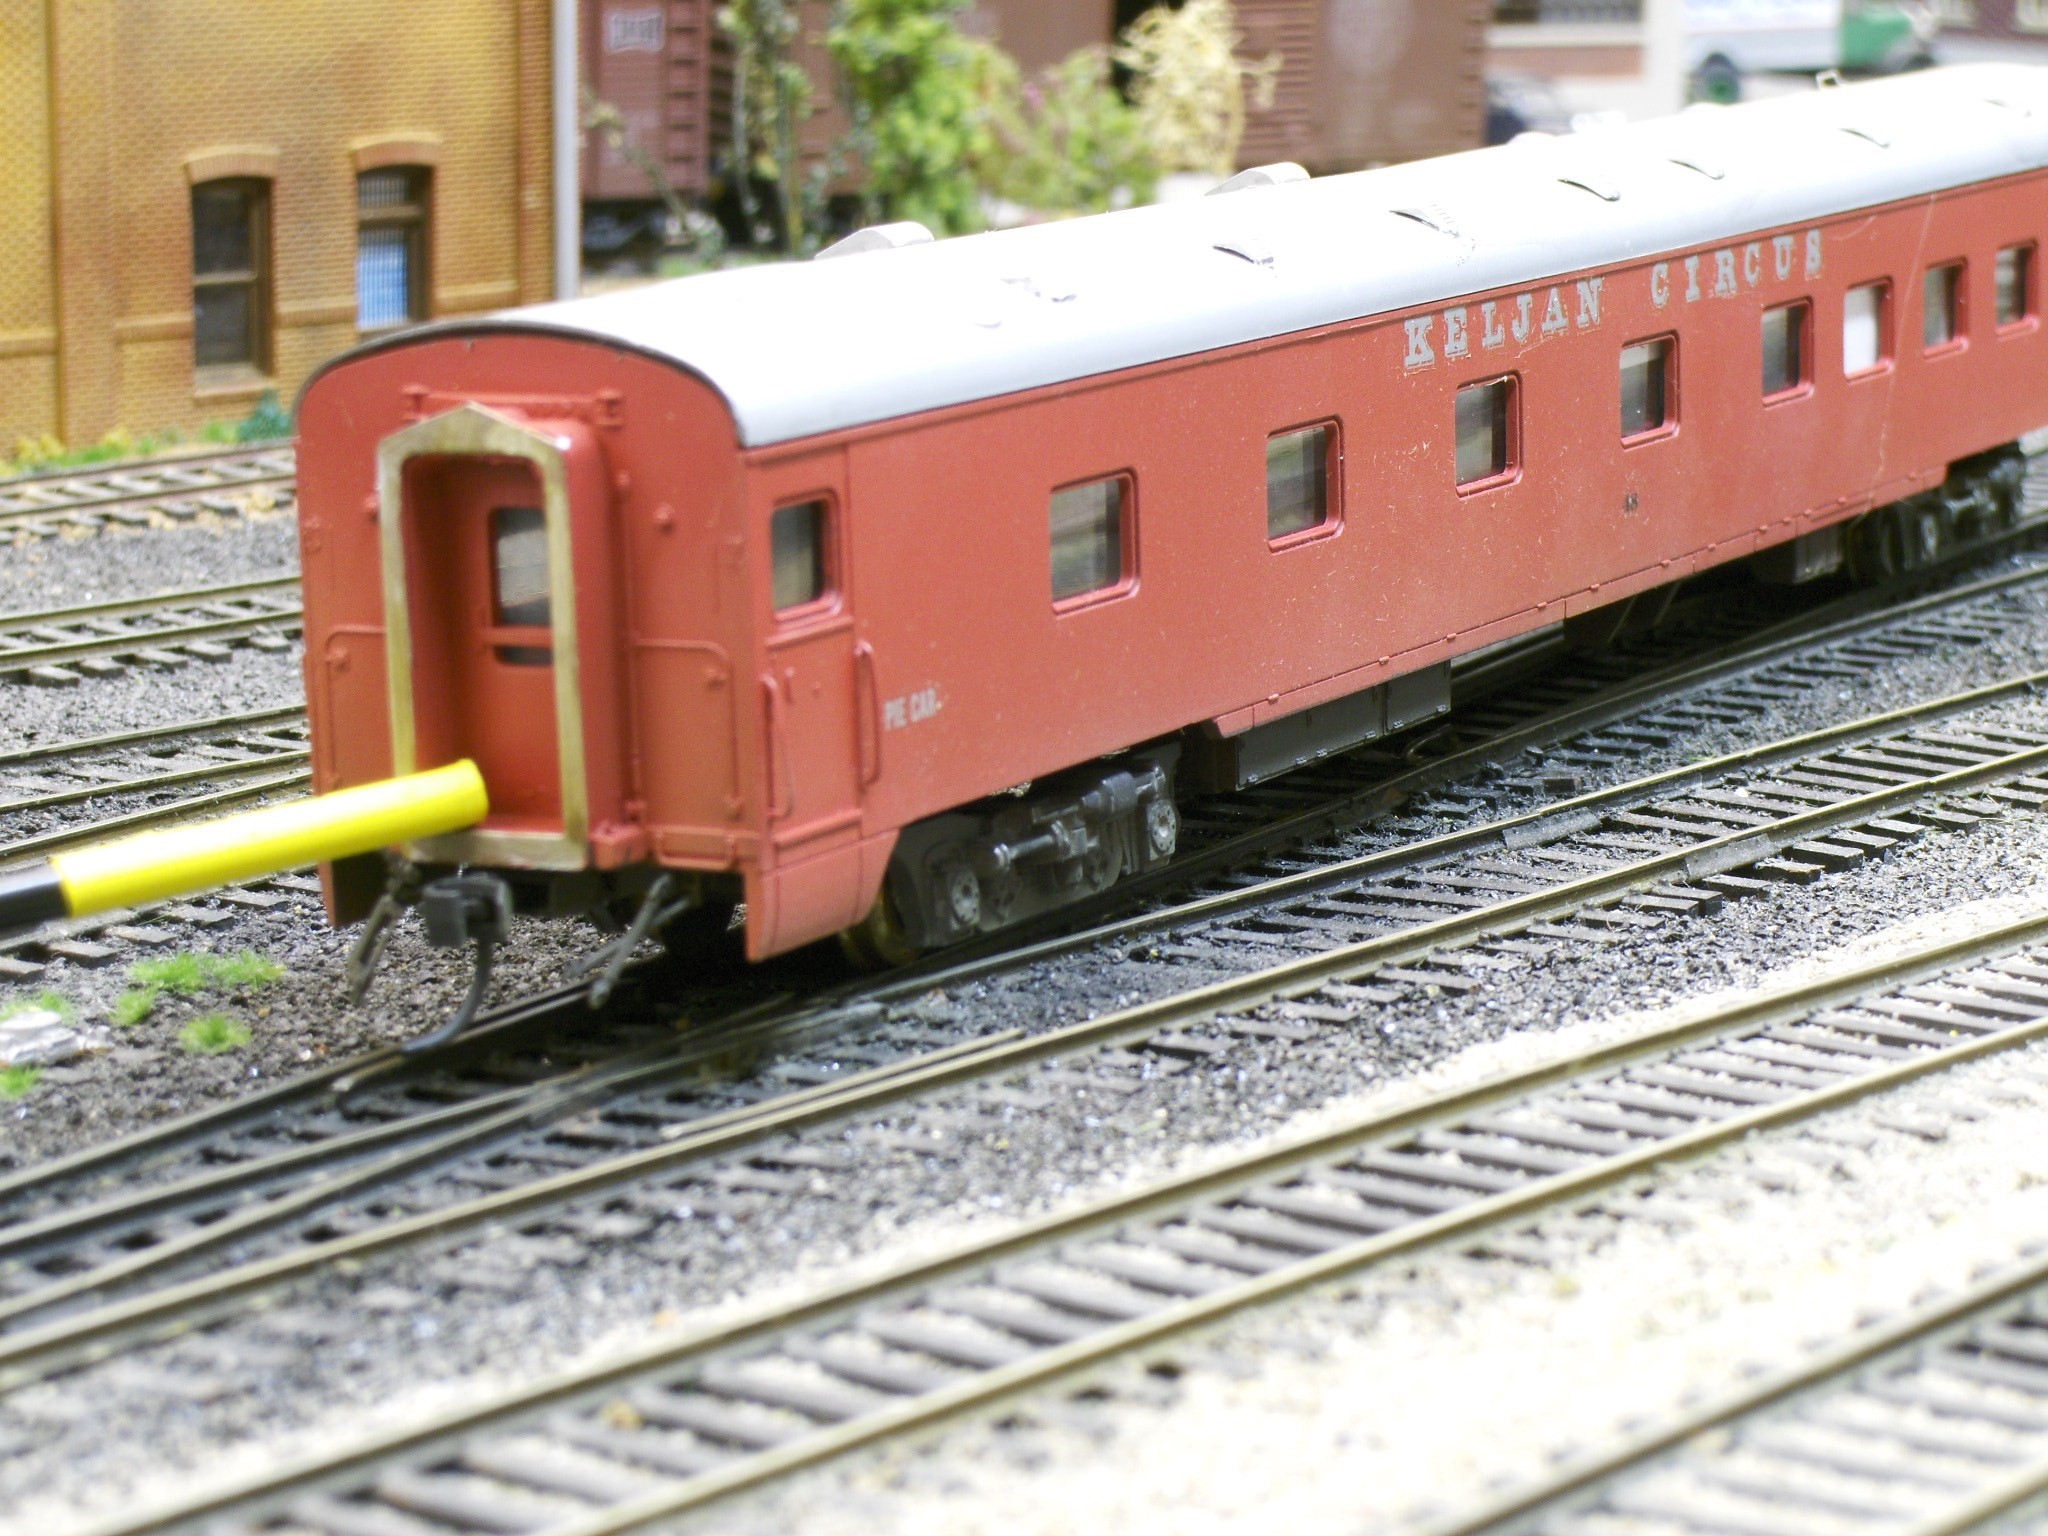
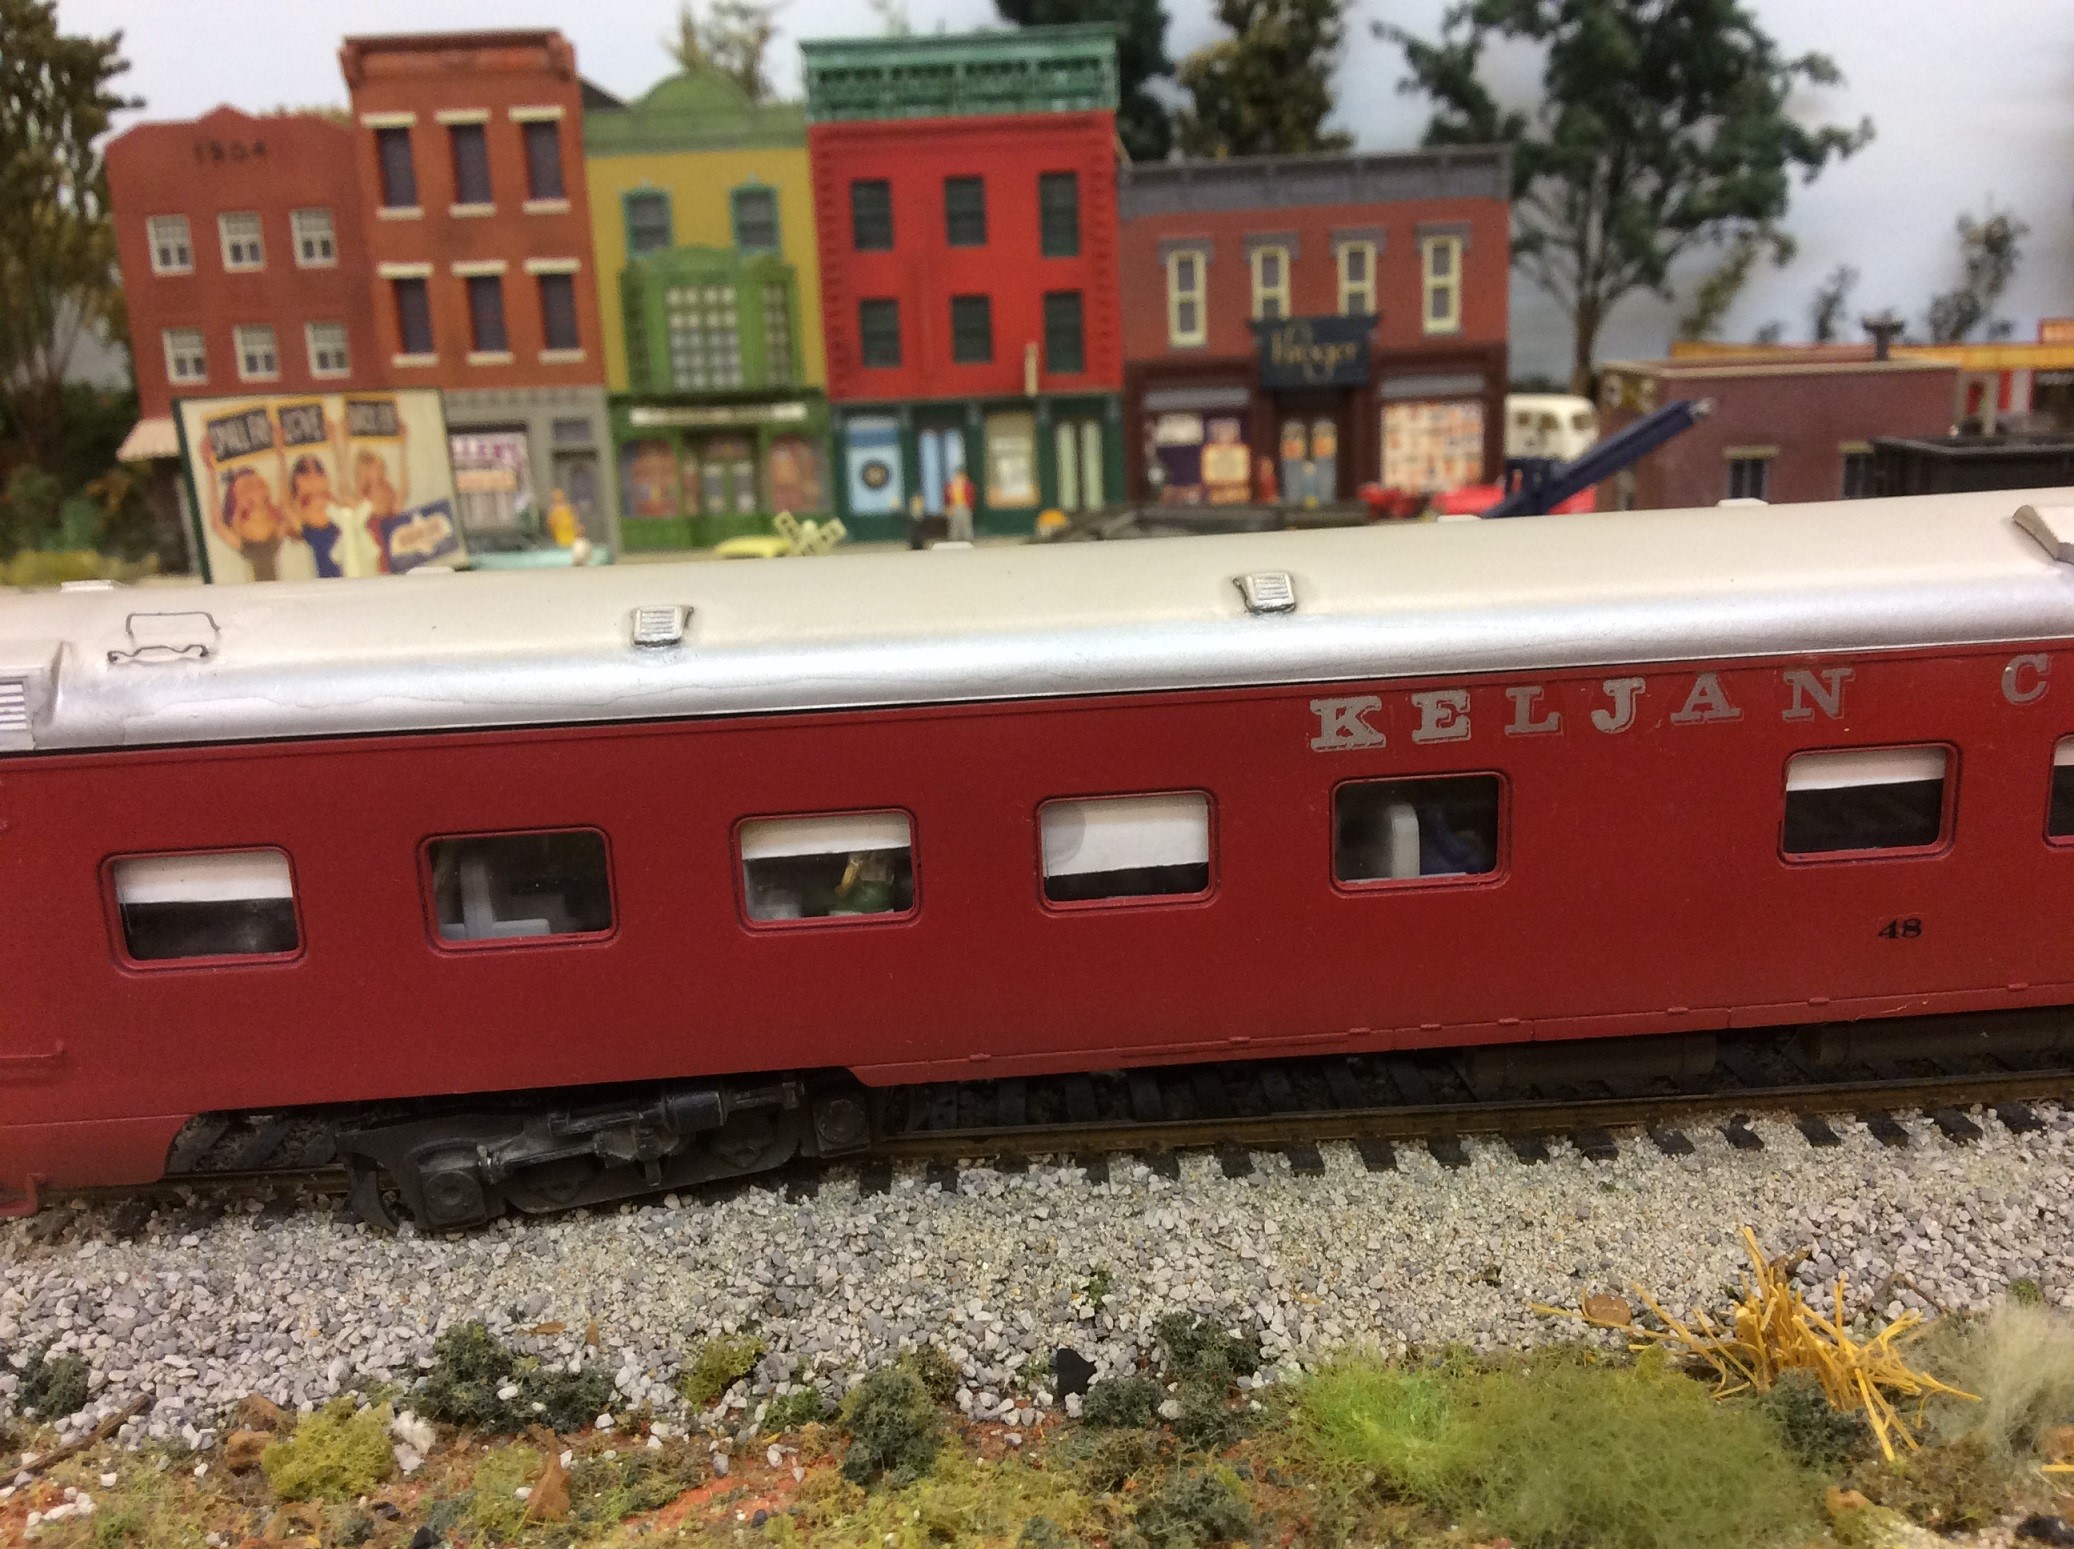
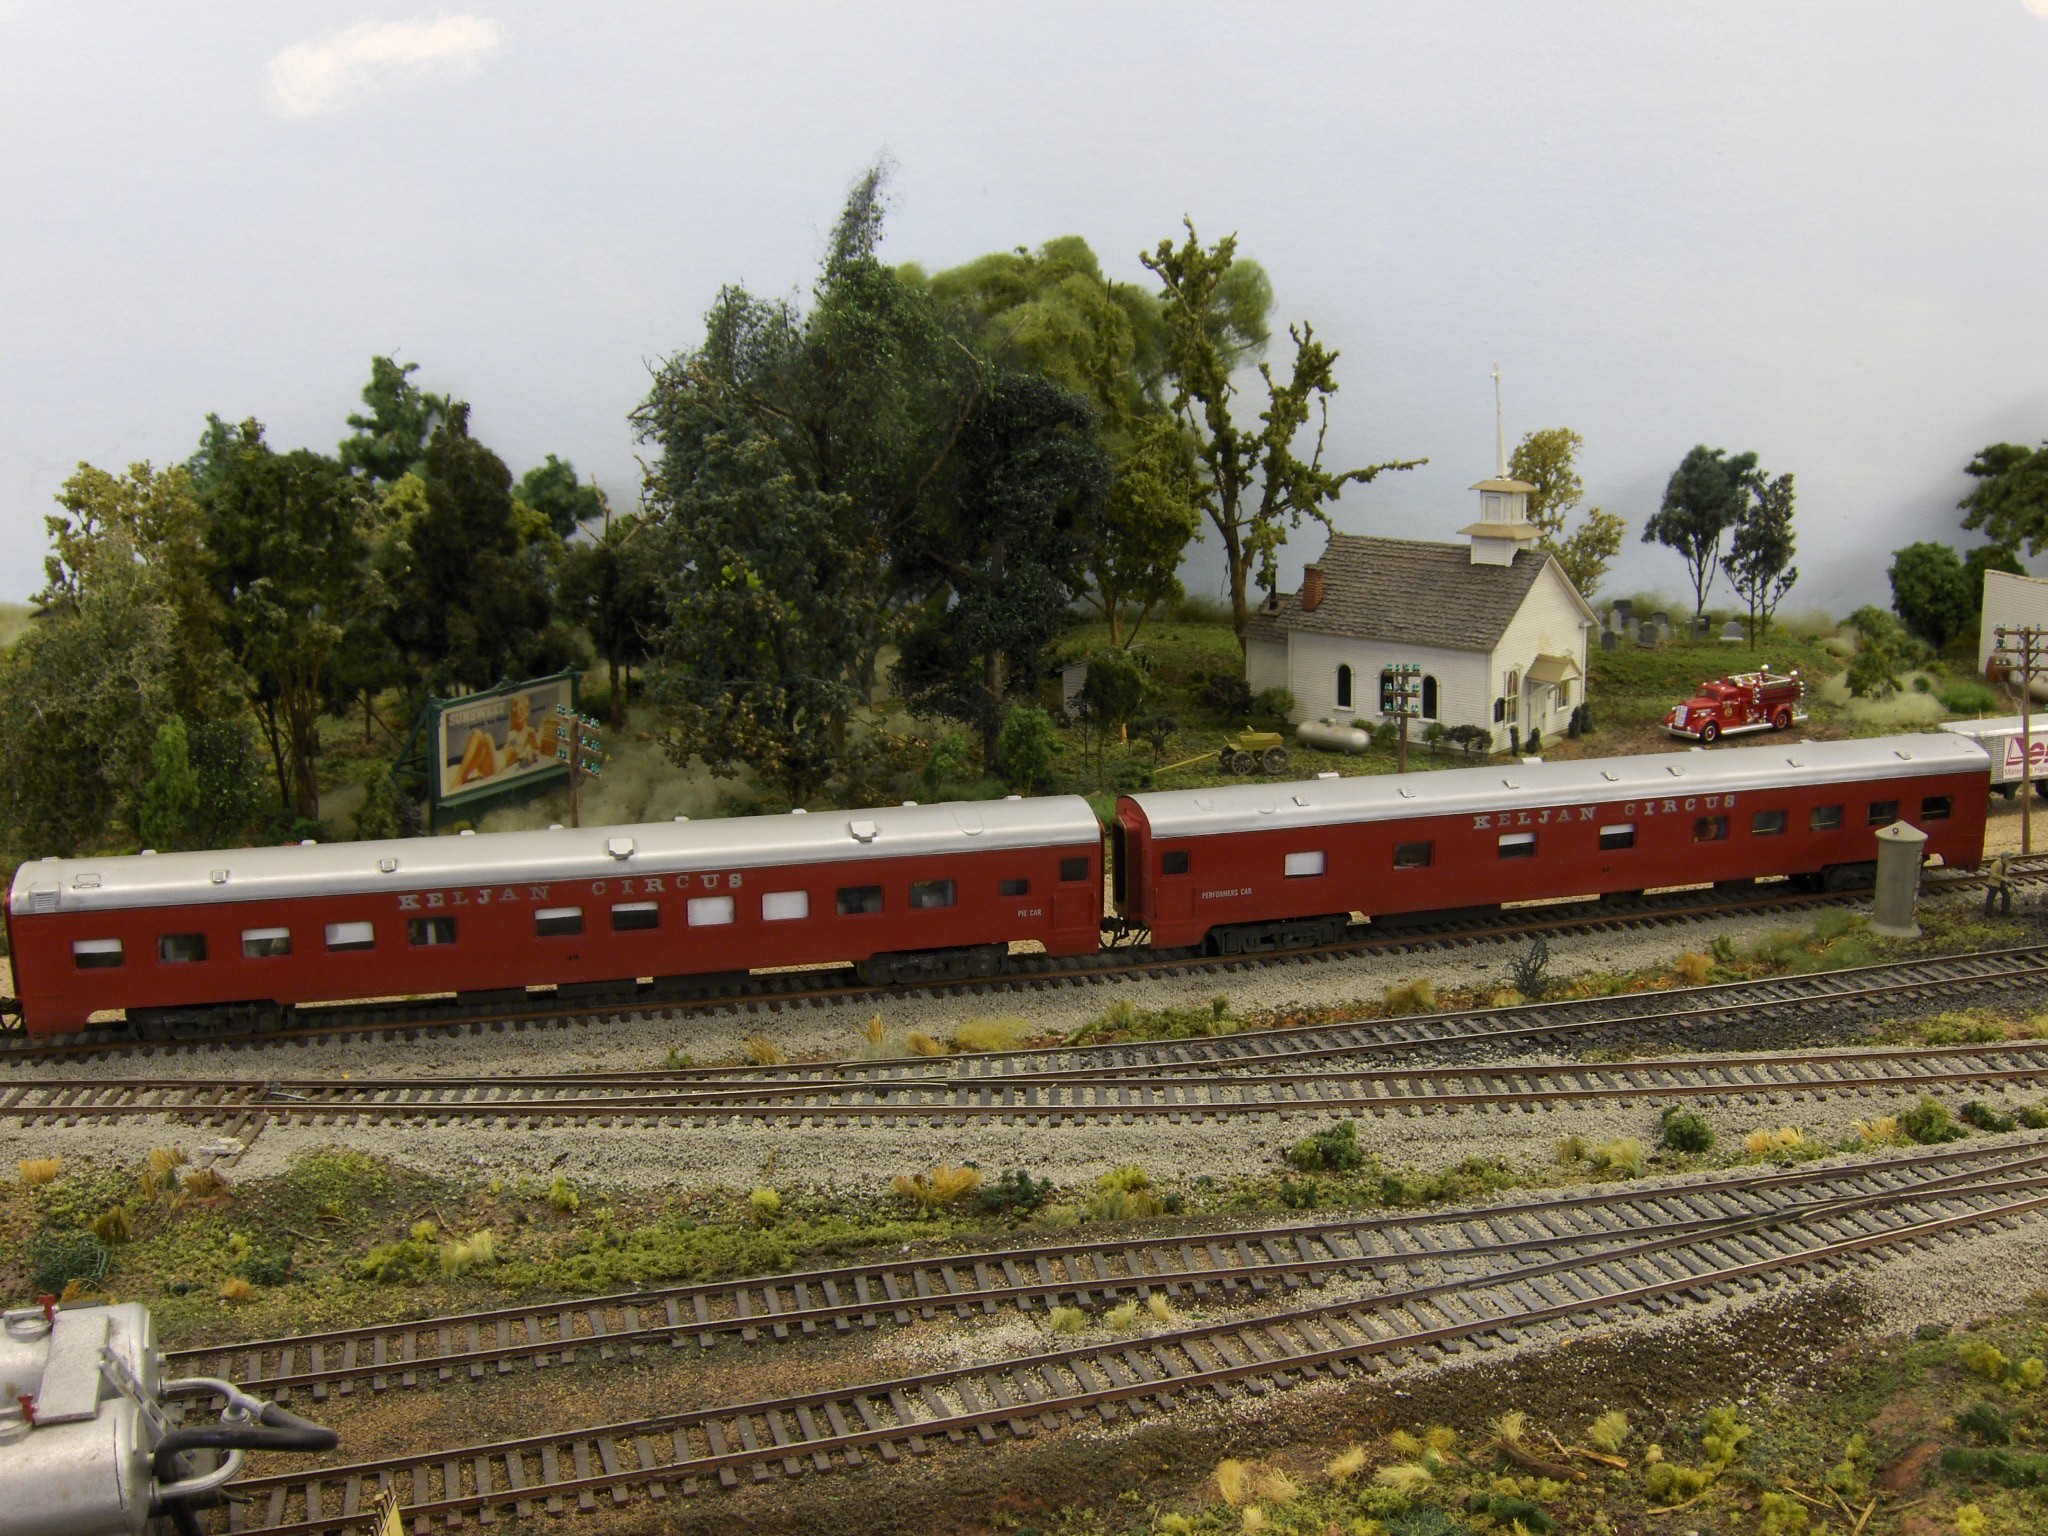

Car #48 isn't going anywhere since it is derailed.
Great article with a lot of good information. I wish my decaling went that easy. I'm always getting air bubbles under my decals and no matter how much it poke holes in them to get the solvent under them, they always dry with the same bubbles. Dullcoating them after doesn't help either. Oh, and Allen, shame on you. Take a look at the next to last photo! A derailment?! Tisk tisk.
Nice innovation
Hi Allen, Great modification. Why attach the "window shades" to the roof? Wouldn't it have been easier to tack them to the car sides just above each window?
I need help getting a transformer I have subway cars. I’m a beginner. I need to know how to set up my track and how to make my trains run
Great work on the Passenger Cars, Allen. I too, love detailing my fleet of old Rivarossi NYC Passenger Cars, but I'm taking it further, in that I am adding 'carpeting' to the floor, and adding "Haywwod Wakefield" seats for the passengers. No cutting off legs for my little people ... no sir! I've already cut the clear plastic 'glass' from the roof, leaving just enough to hold the roof in place. The windows are being glazed with microscope slide glass covers. Each one is the perfect size for the window openings, and because they are real glass ... they LOOK like real glass windows!. I'll photograph work on one of the coaches and submit it to you.
Very Nice and informative. I also wish in your adds for DVD's you would note the DVD numbers. I have wound up with several duplicates and hesitate to order additional sets.