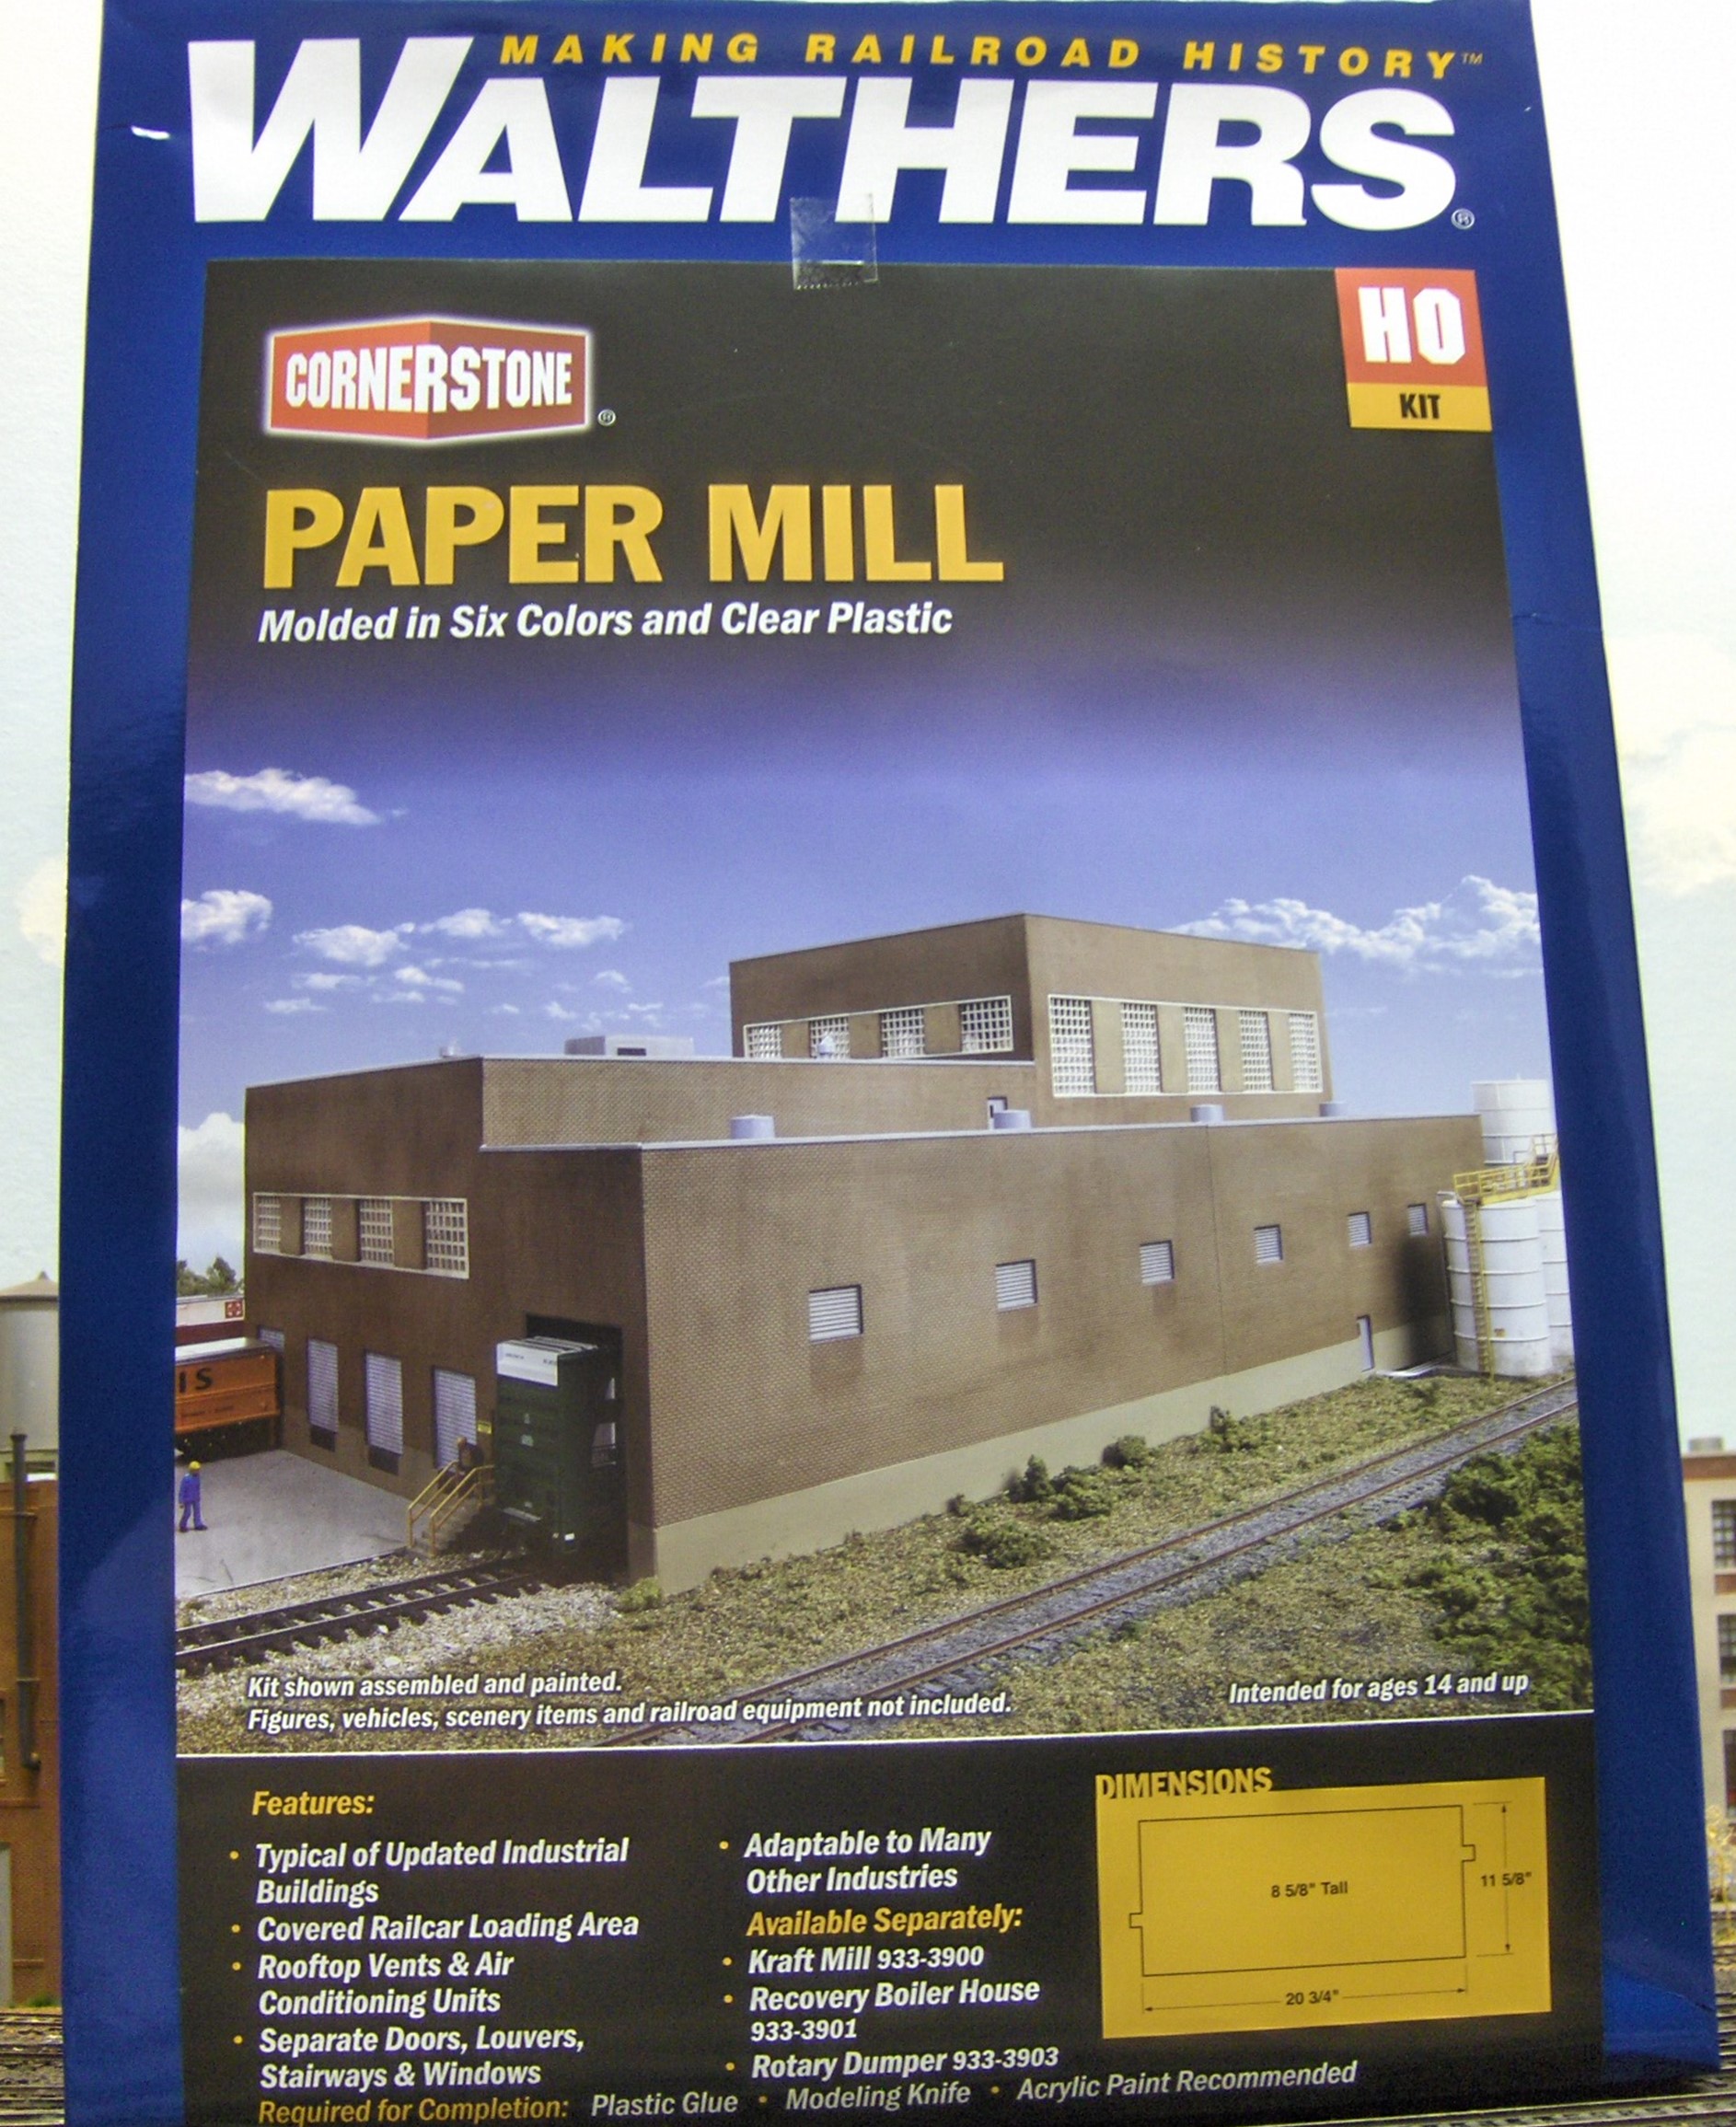
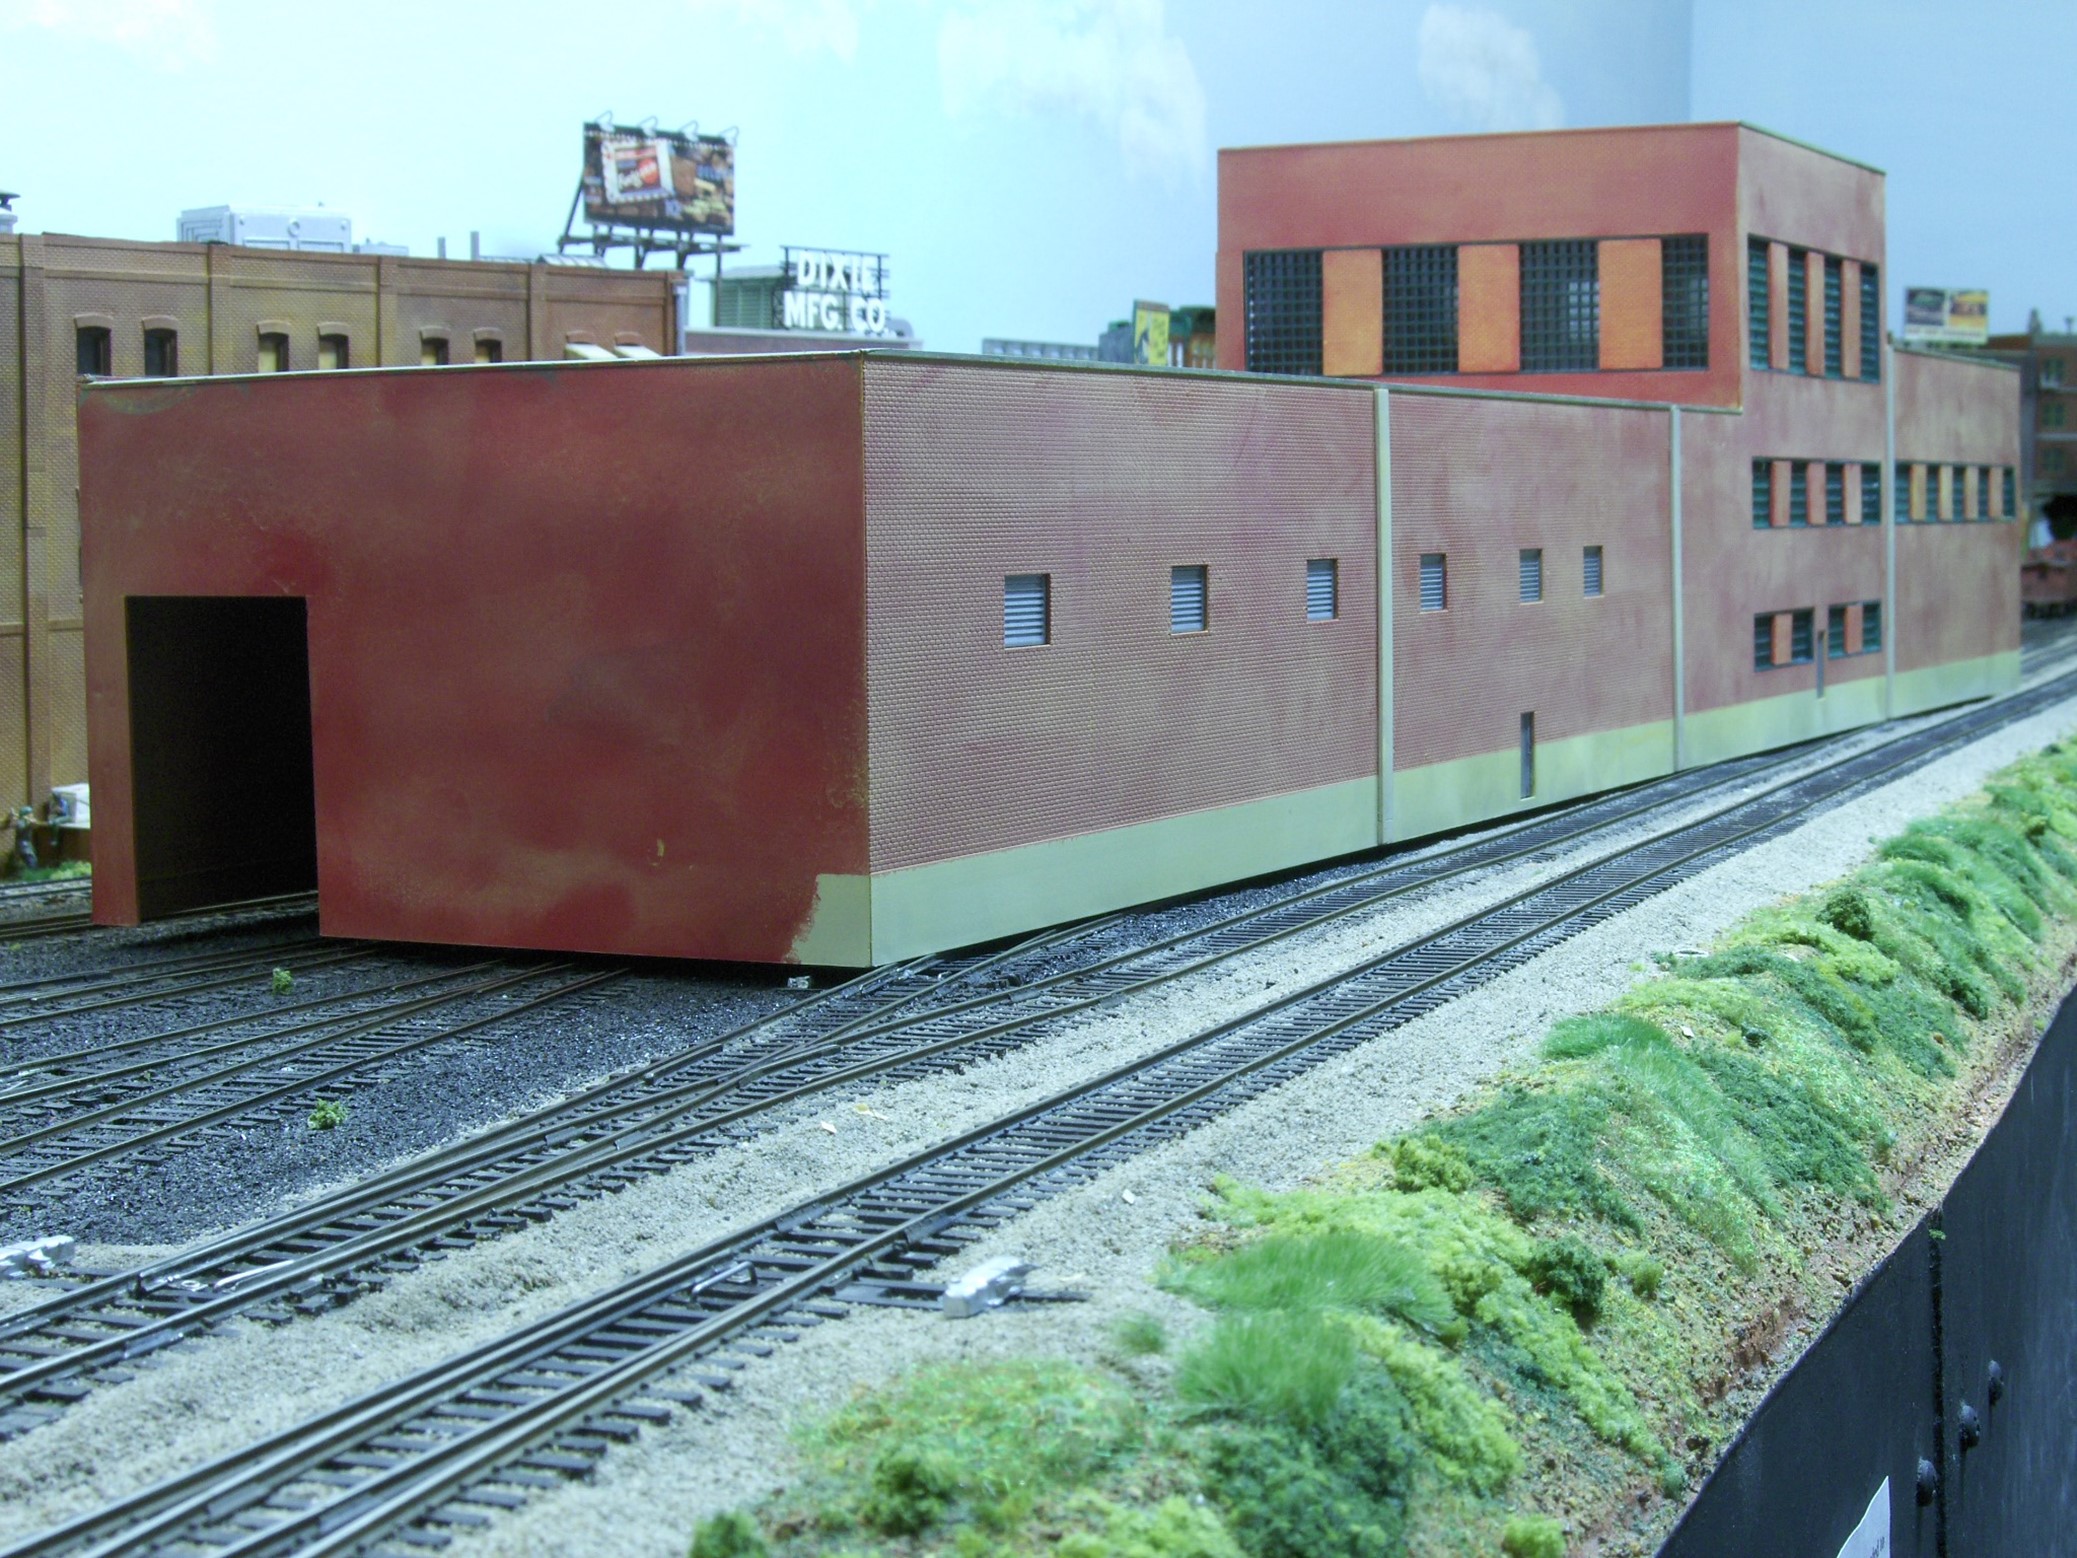
I received a request from my friend Dave to build a paper mill for his new Apache Railway. He needed the mill for the town of Snowflake, Arizona, so I started off with a Walthers paper mill kit and heavily modified it. My goal was to create something that no one else would have on their layout, since this is such a widely available kit.
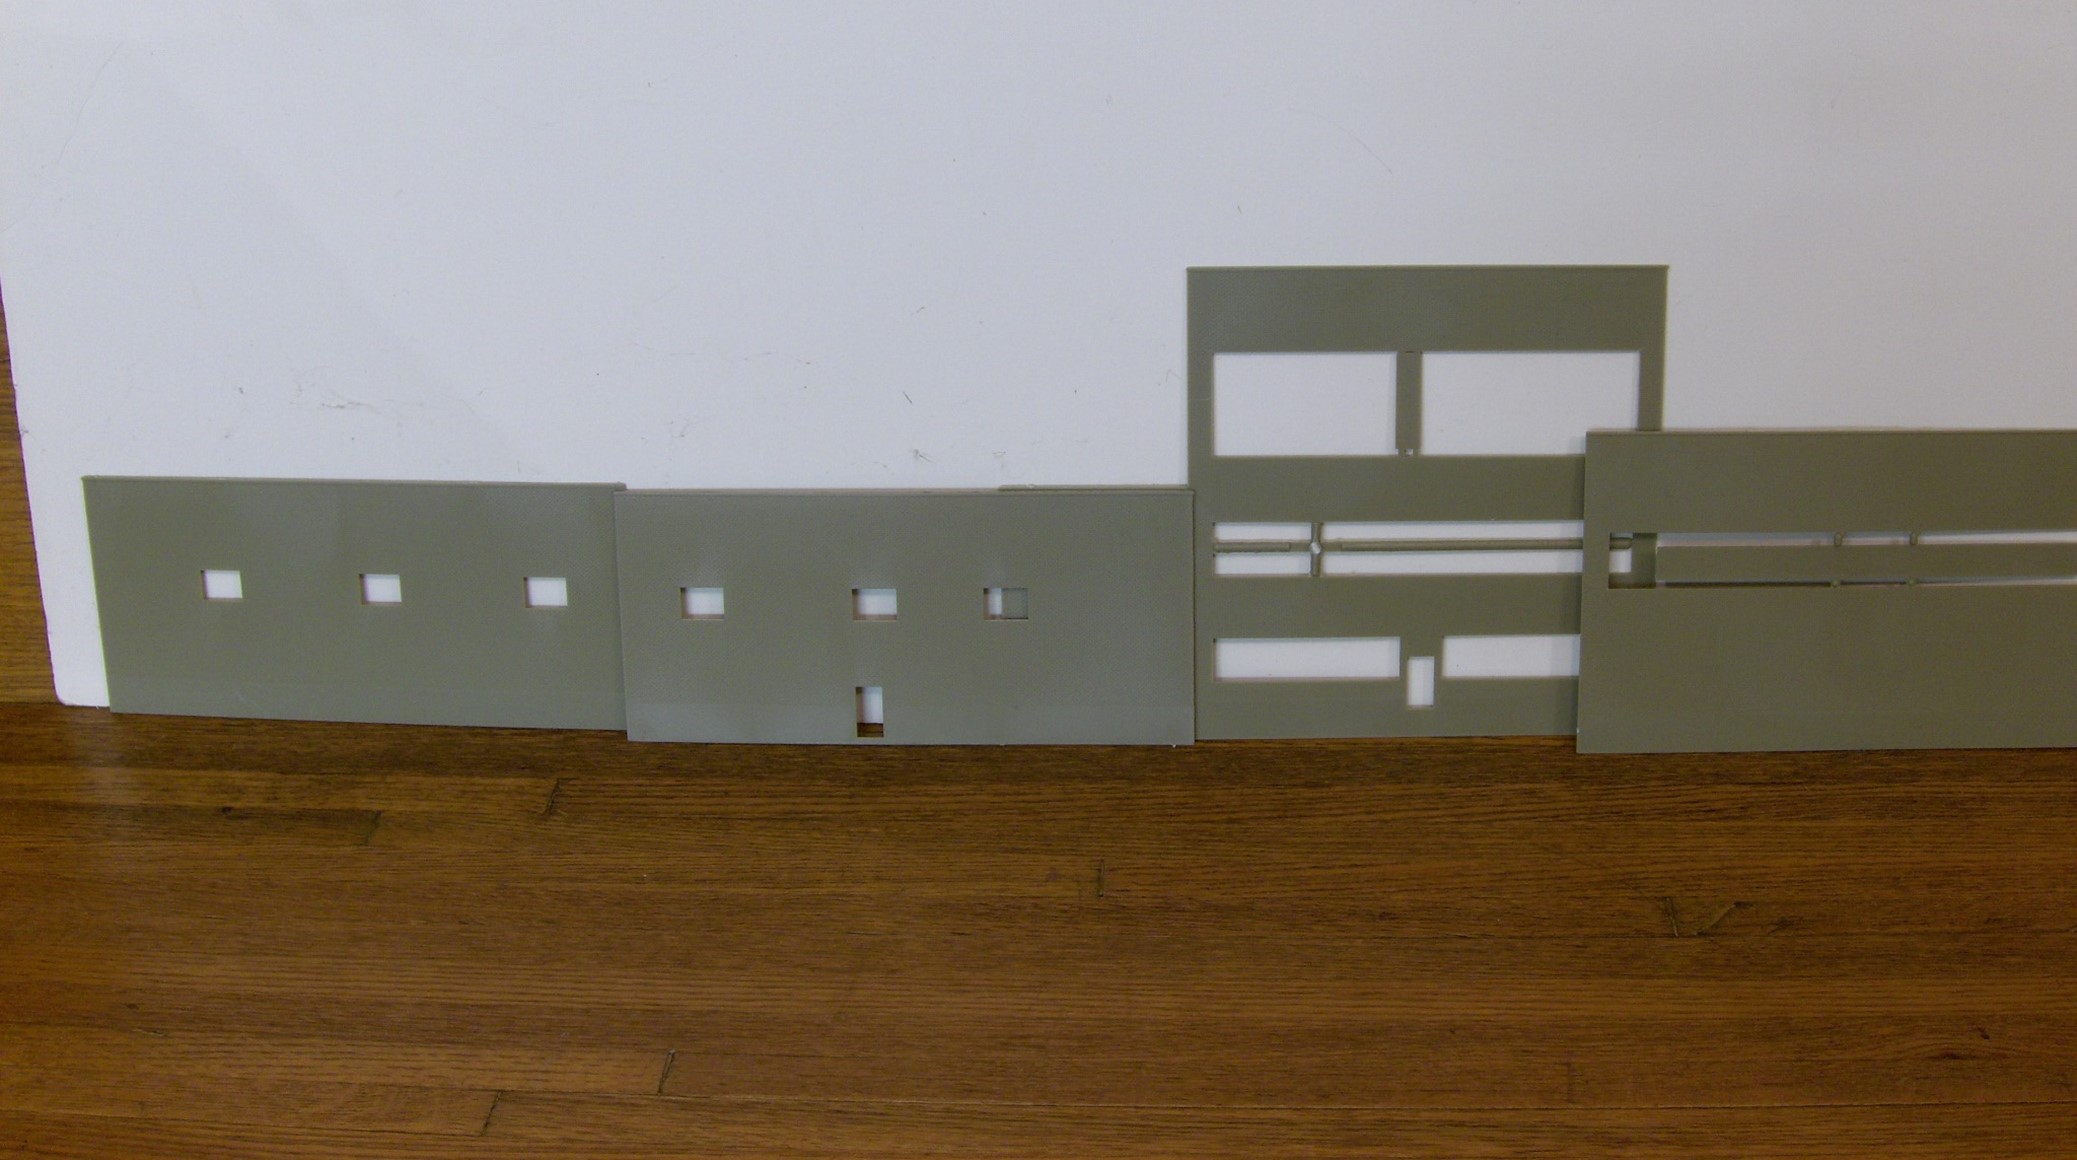
The first step was to arrange the parts into something that looked right. Of course, what “looks right” is very subjective, but I always try to make a structure look plausible by grouping similar pieces together. This image shows the new building that will be about 3.5 feet long, but I’ll have to modify the ends to be much narrower than the kit’s original design. Dave needed a long, narrow building to fit his available space.
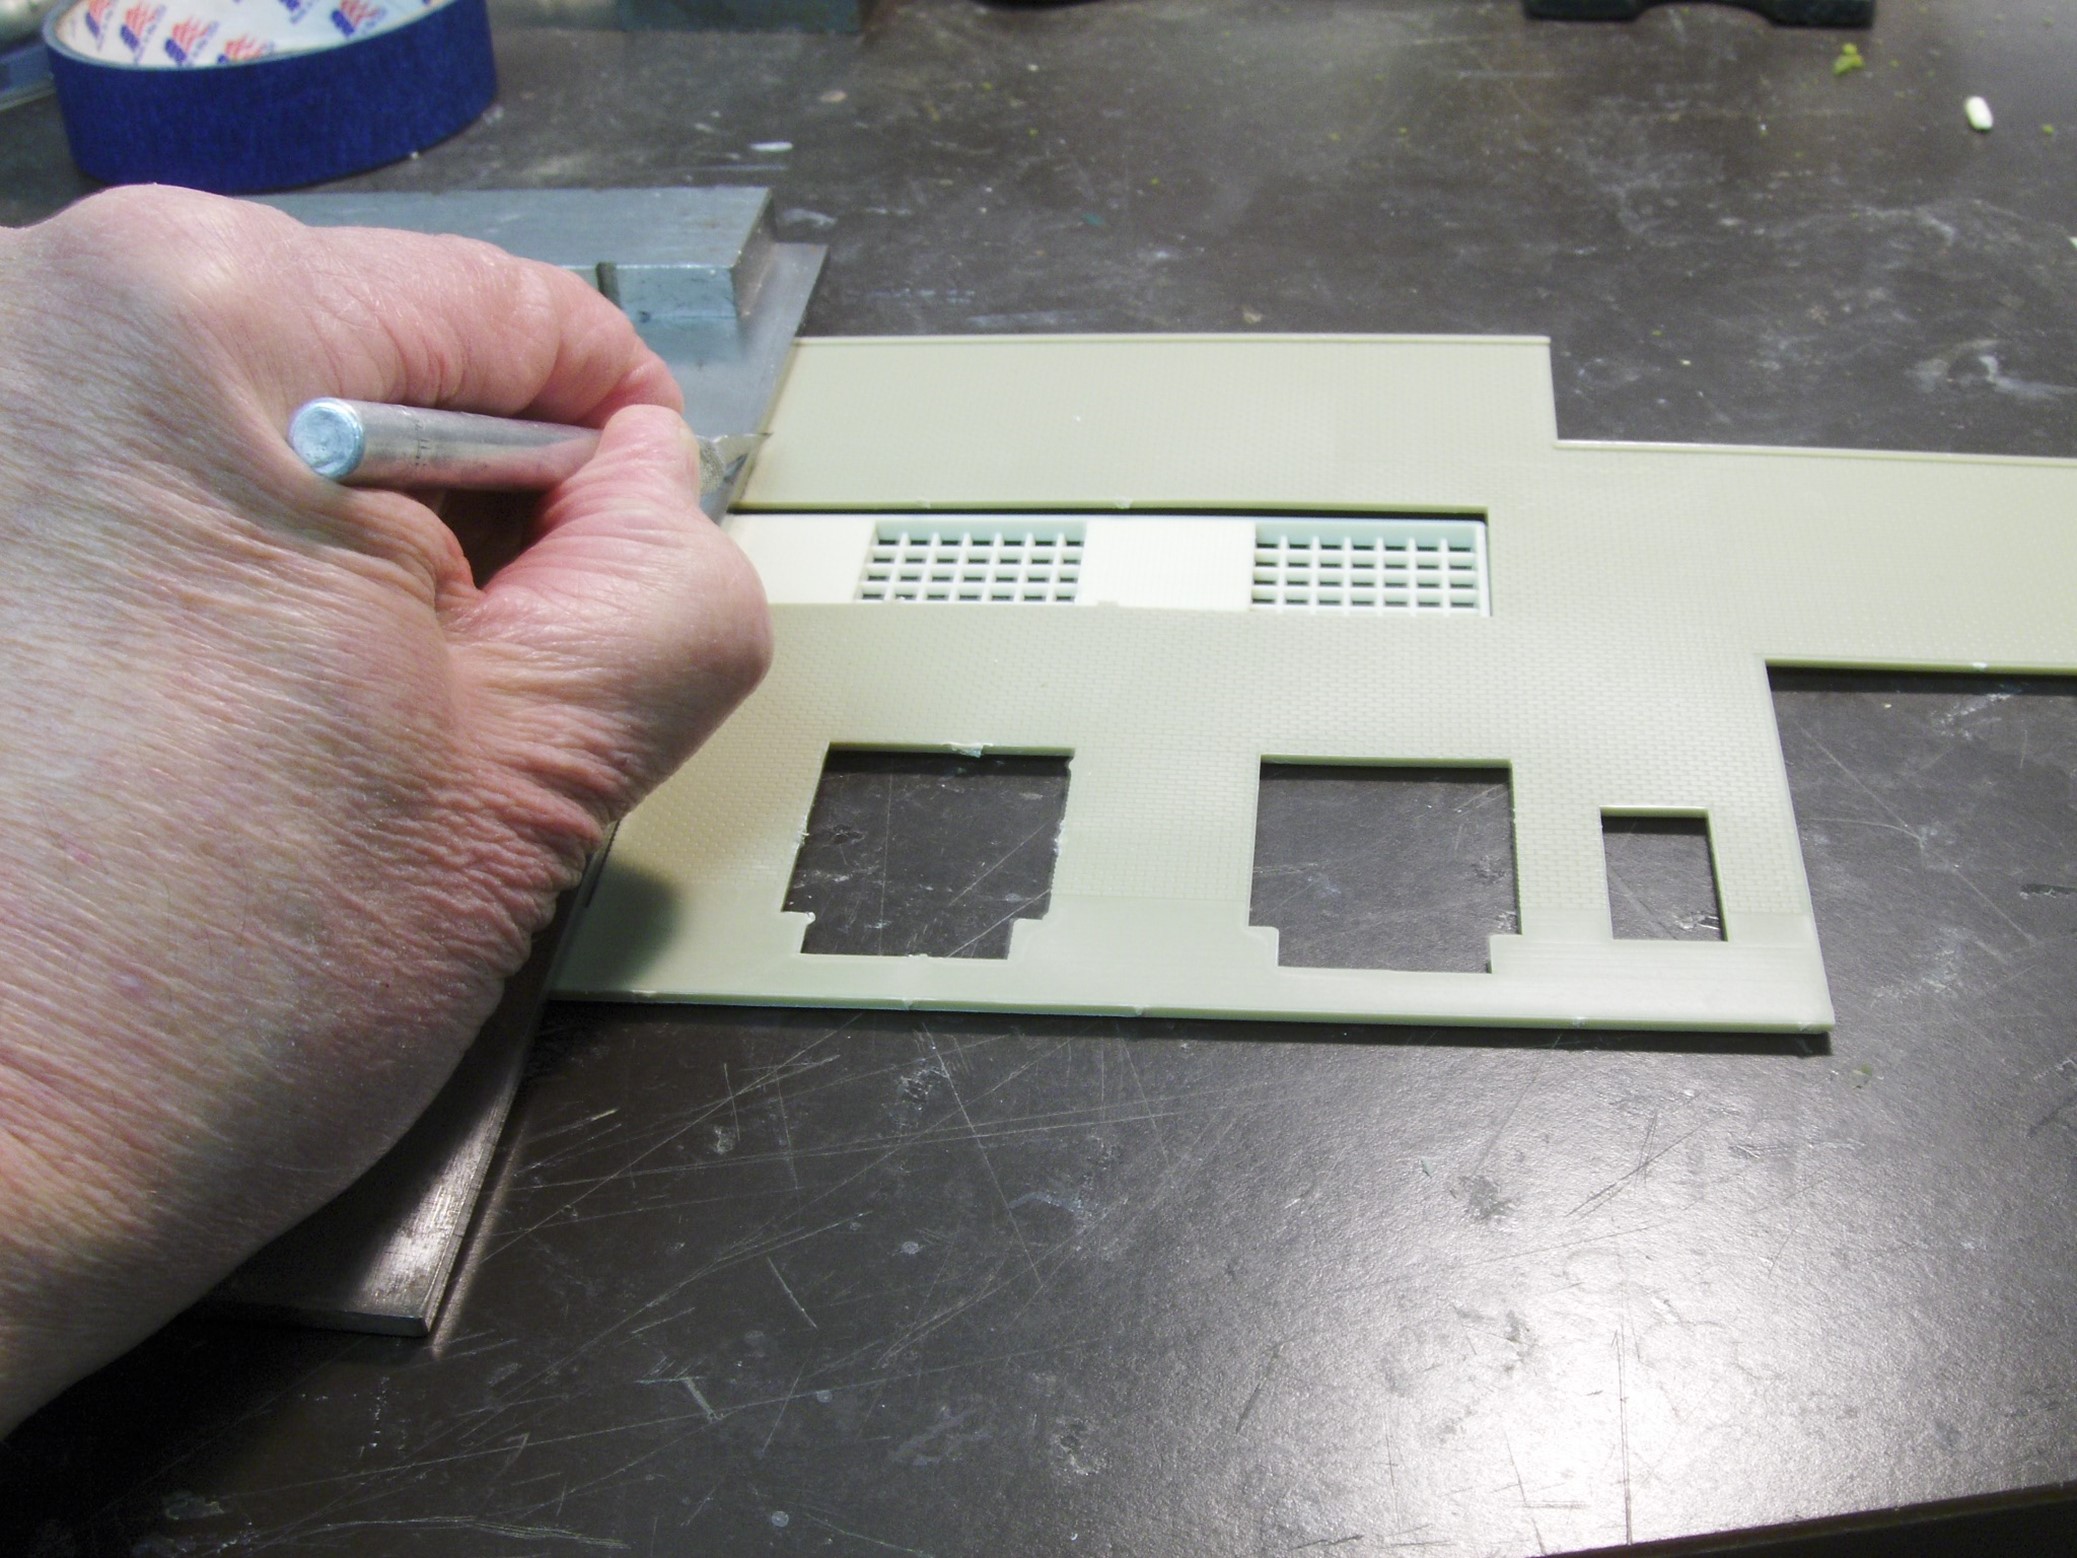
Here is where I trimmed about half of the end piece away in order to accommodate the narrow layout area. I also needed to modify the size of the window insert, so I trimmed it along with the original cutting. Remember to always use a straightedge and make multiple cuts with your X-Acto knife for a clean edge.
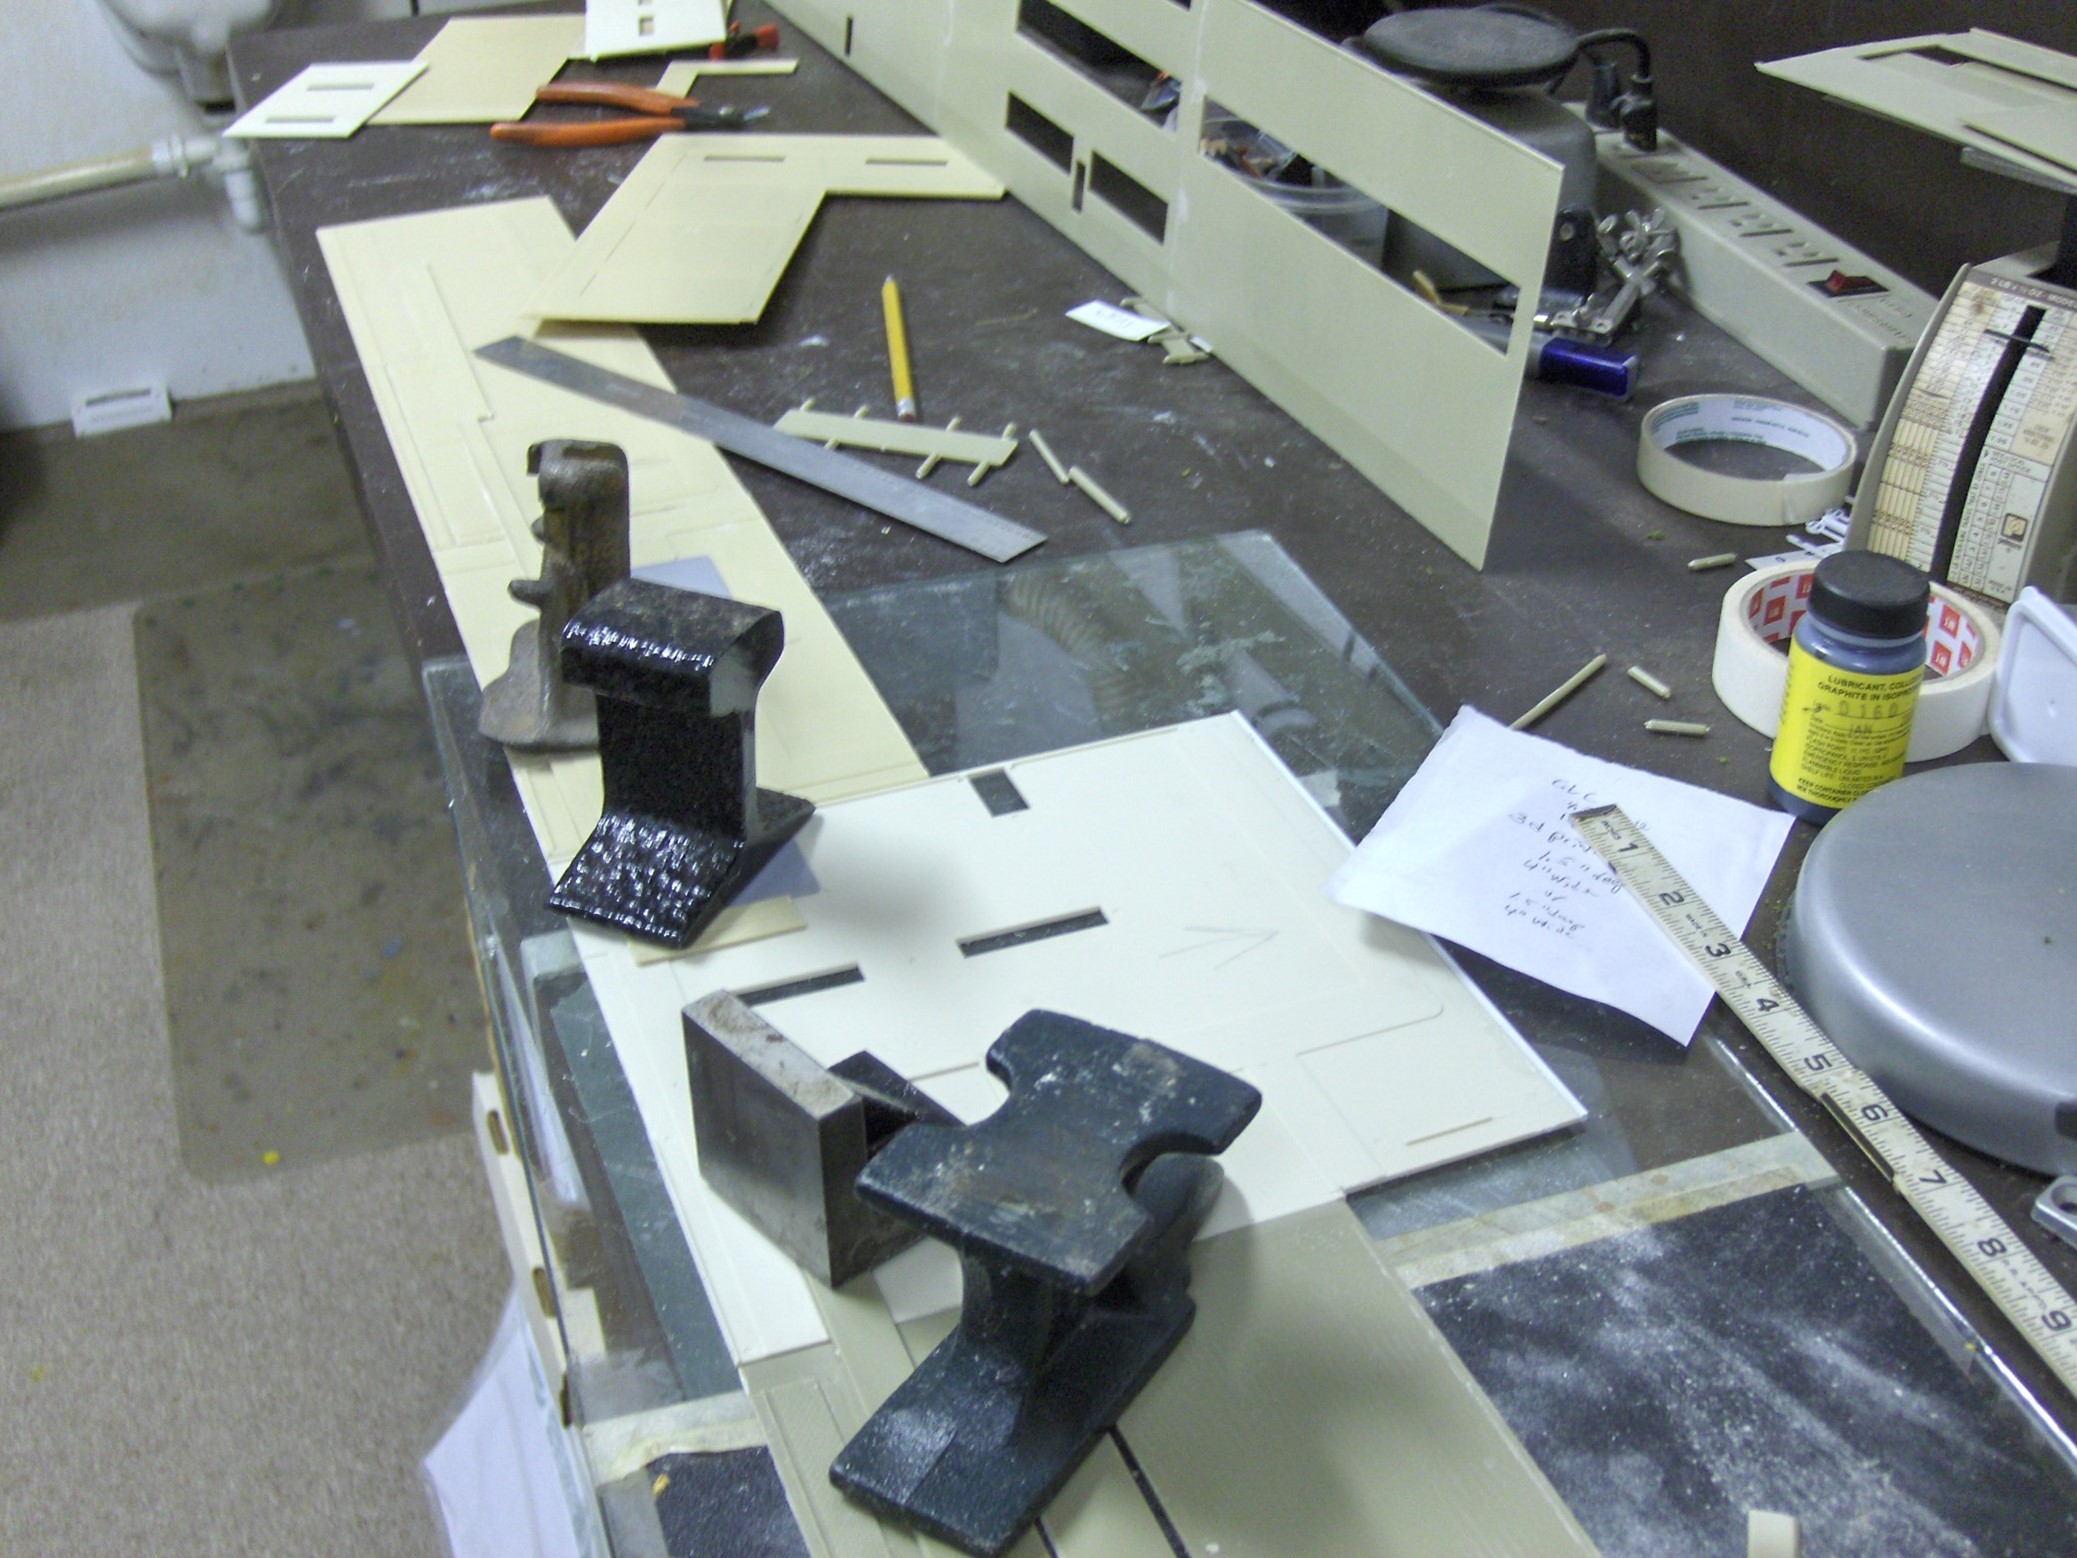
In the background are the original kit pieces that have already been trimmed and glued, but in the foreground you can see the extra pieces I decided to use for the rear wall that will not be seen. These pieces were left over from another kit I had built for my own layout years ago. Follow the model railroader’s motto: “Never throw anything away.”
After carefully sanding and cutting the pieces to the correct length, I used weights to hold them in place while the glue was drying. Each of the pieces received styrene scraps applied lengthwise to prevent the 3.5 feet of plastic from waffling.
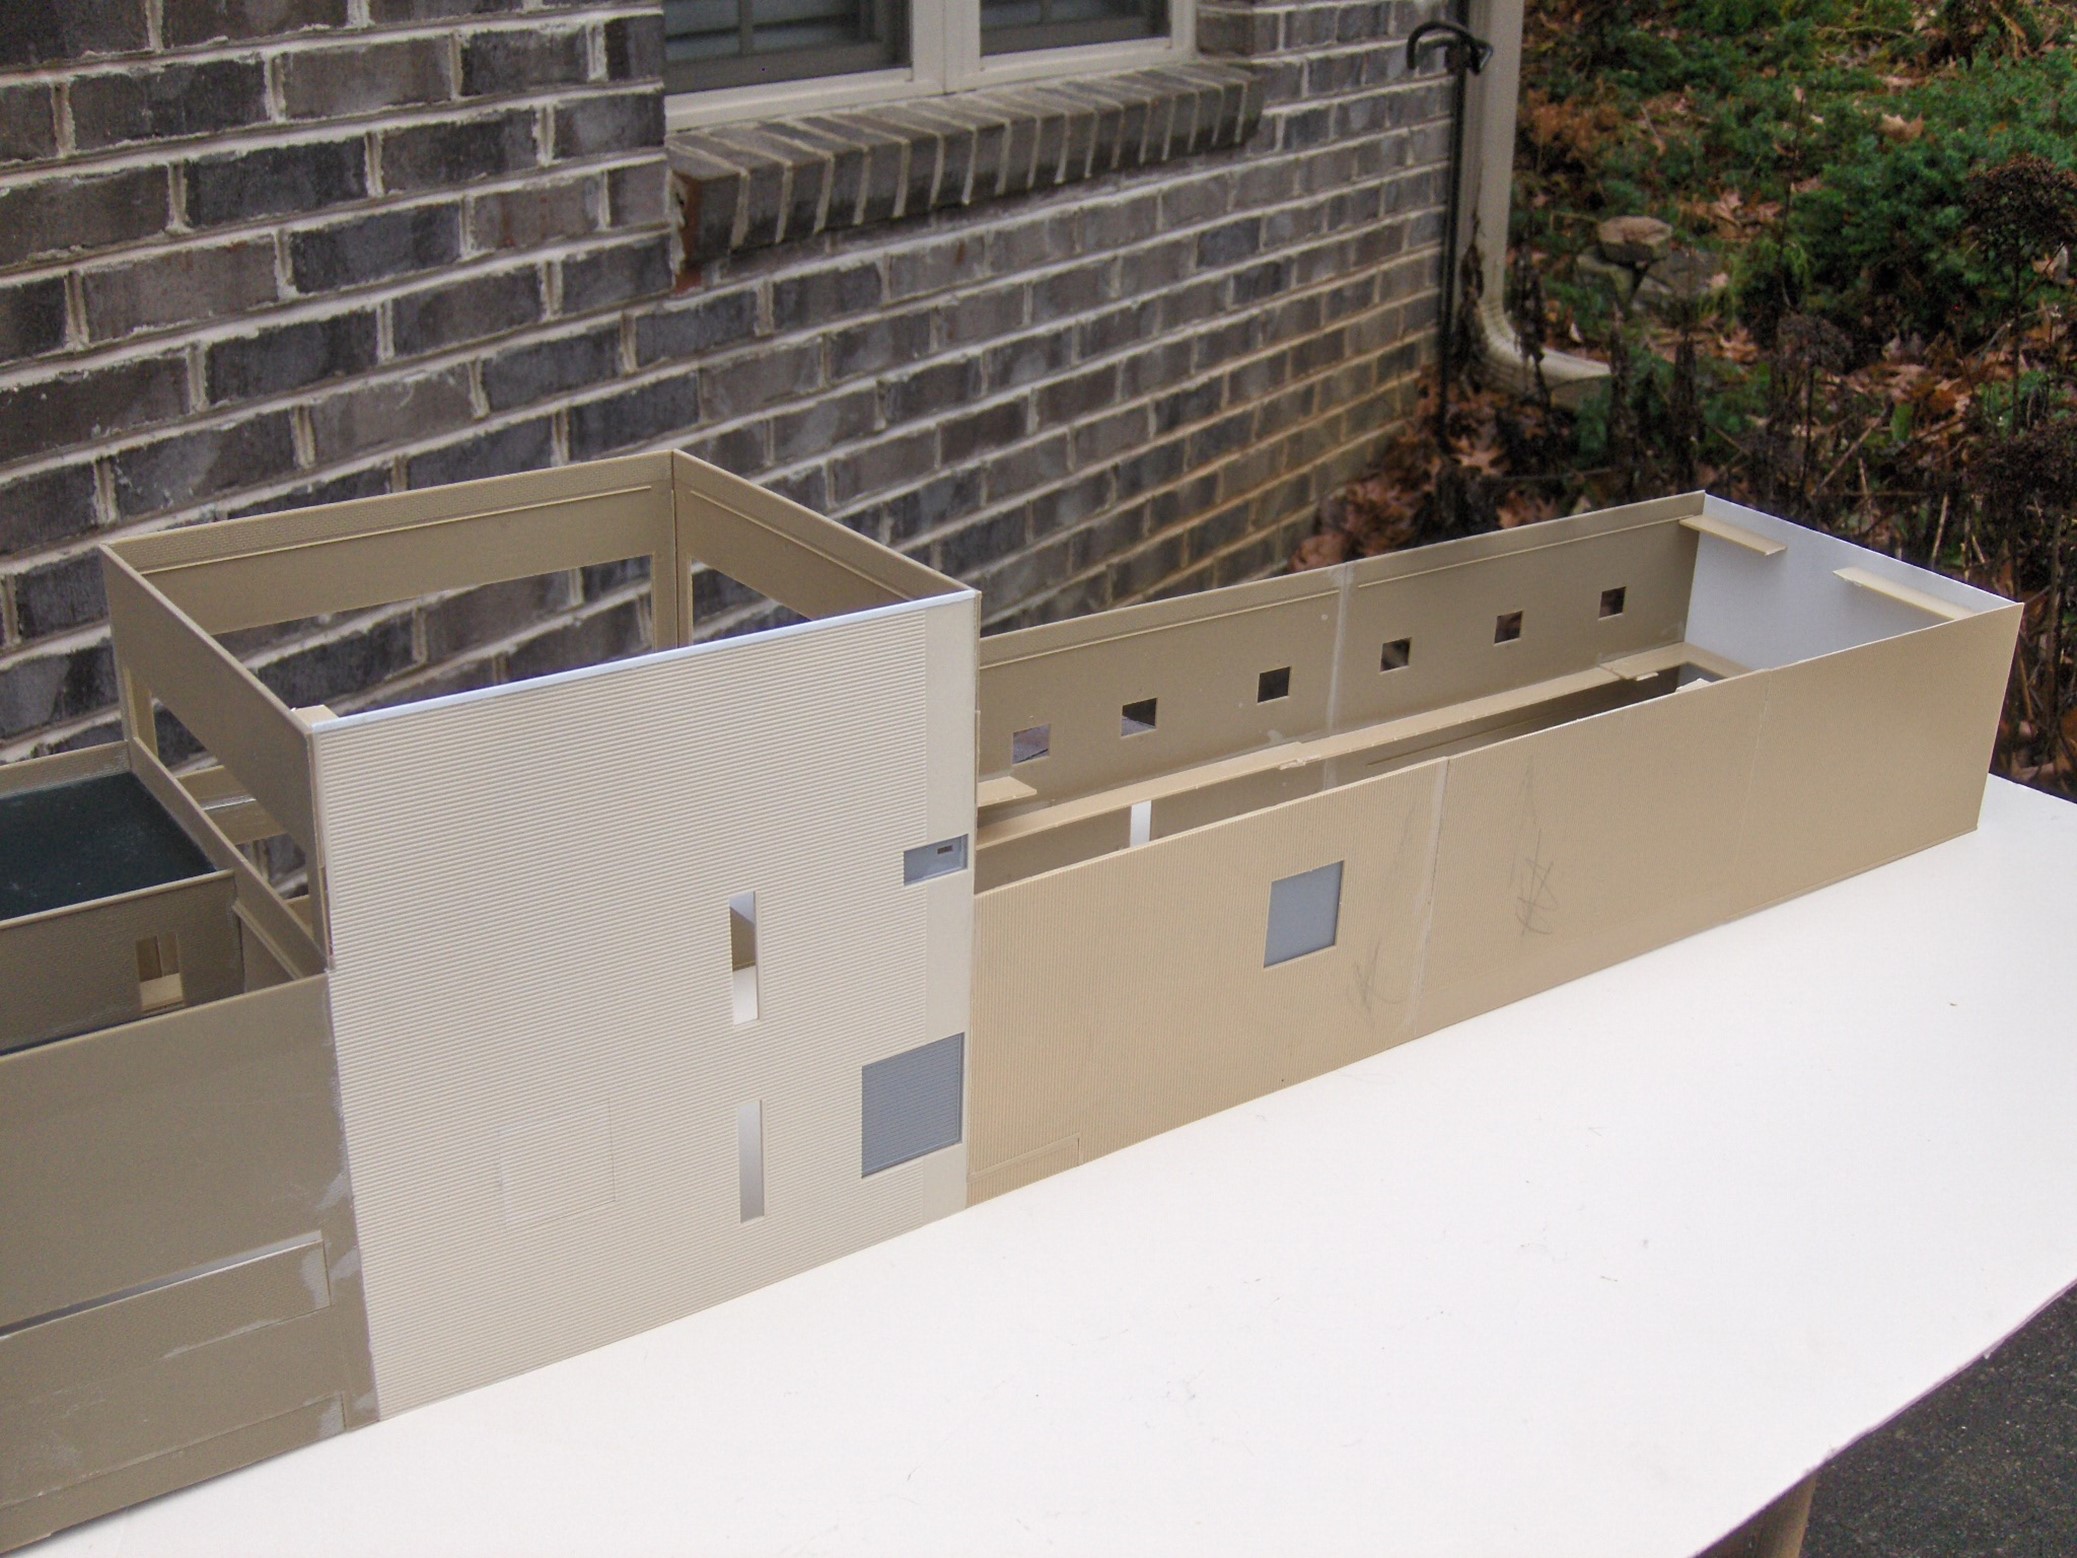
Since the extra pieces were used to make up the back wall of the new paper mill, they will not be seen by the viewer and will not be as detailed as the front. Notice the interior bracing on the walls. At the right, I added some strips to hold the roof in place and will add more all around the upper walls.
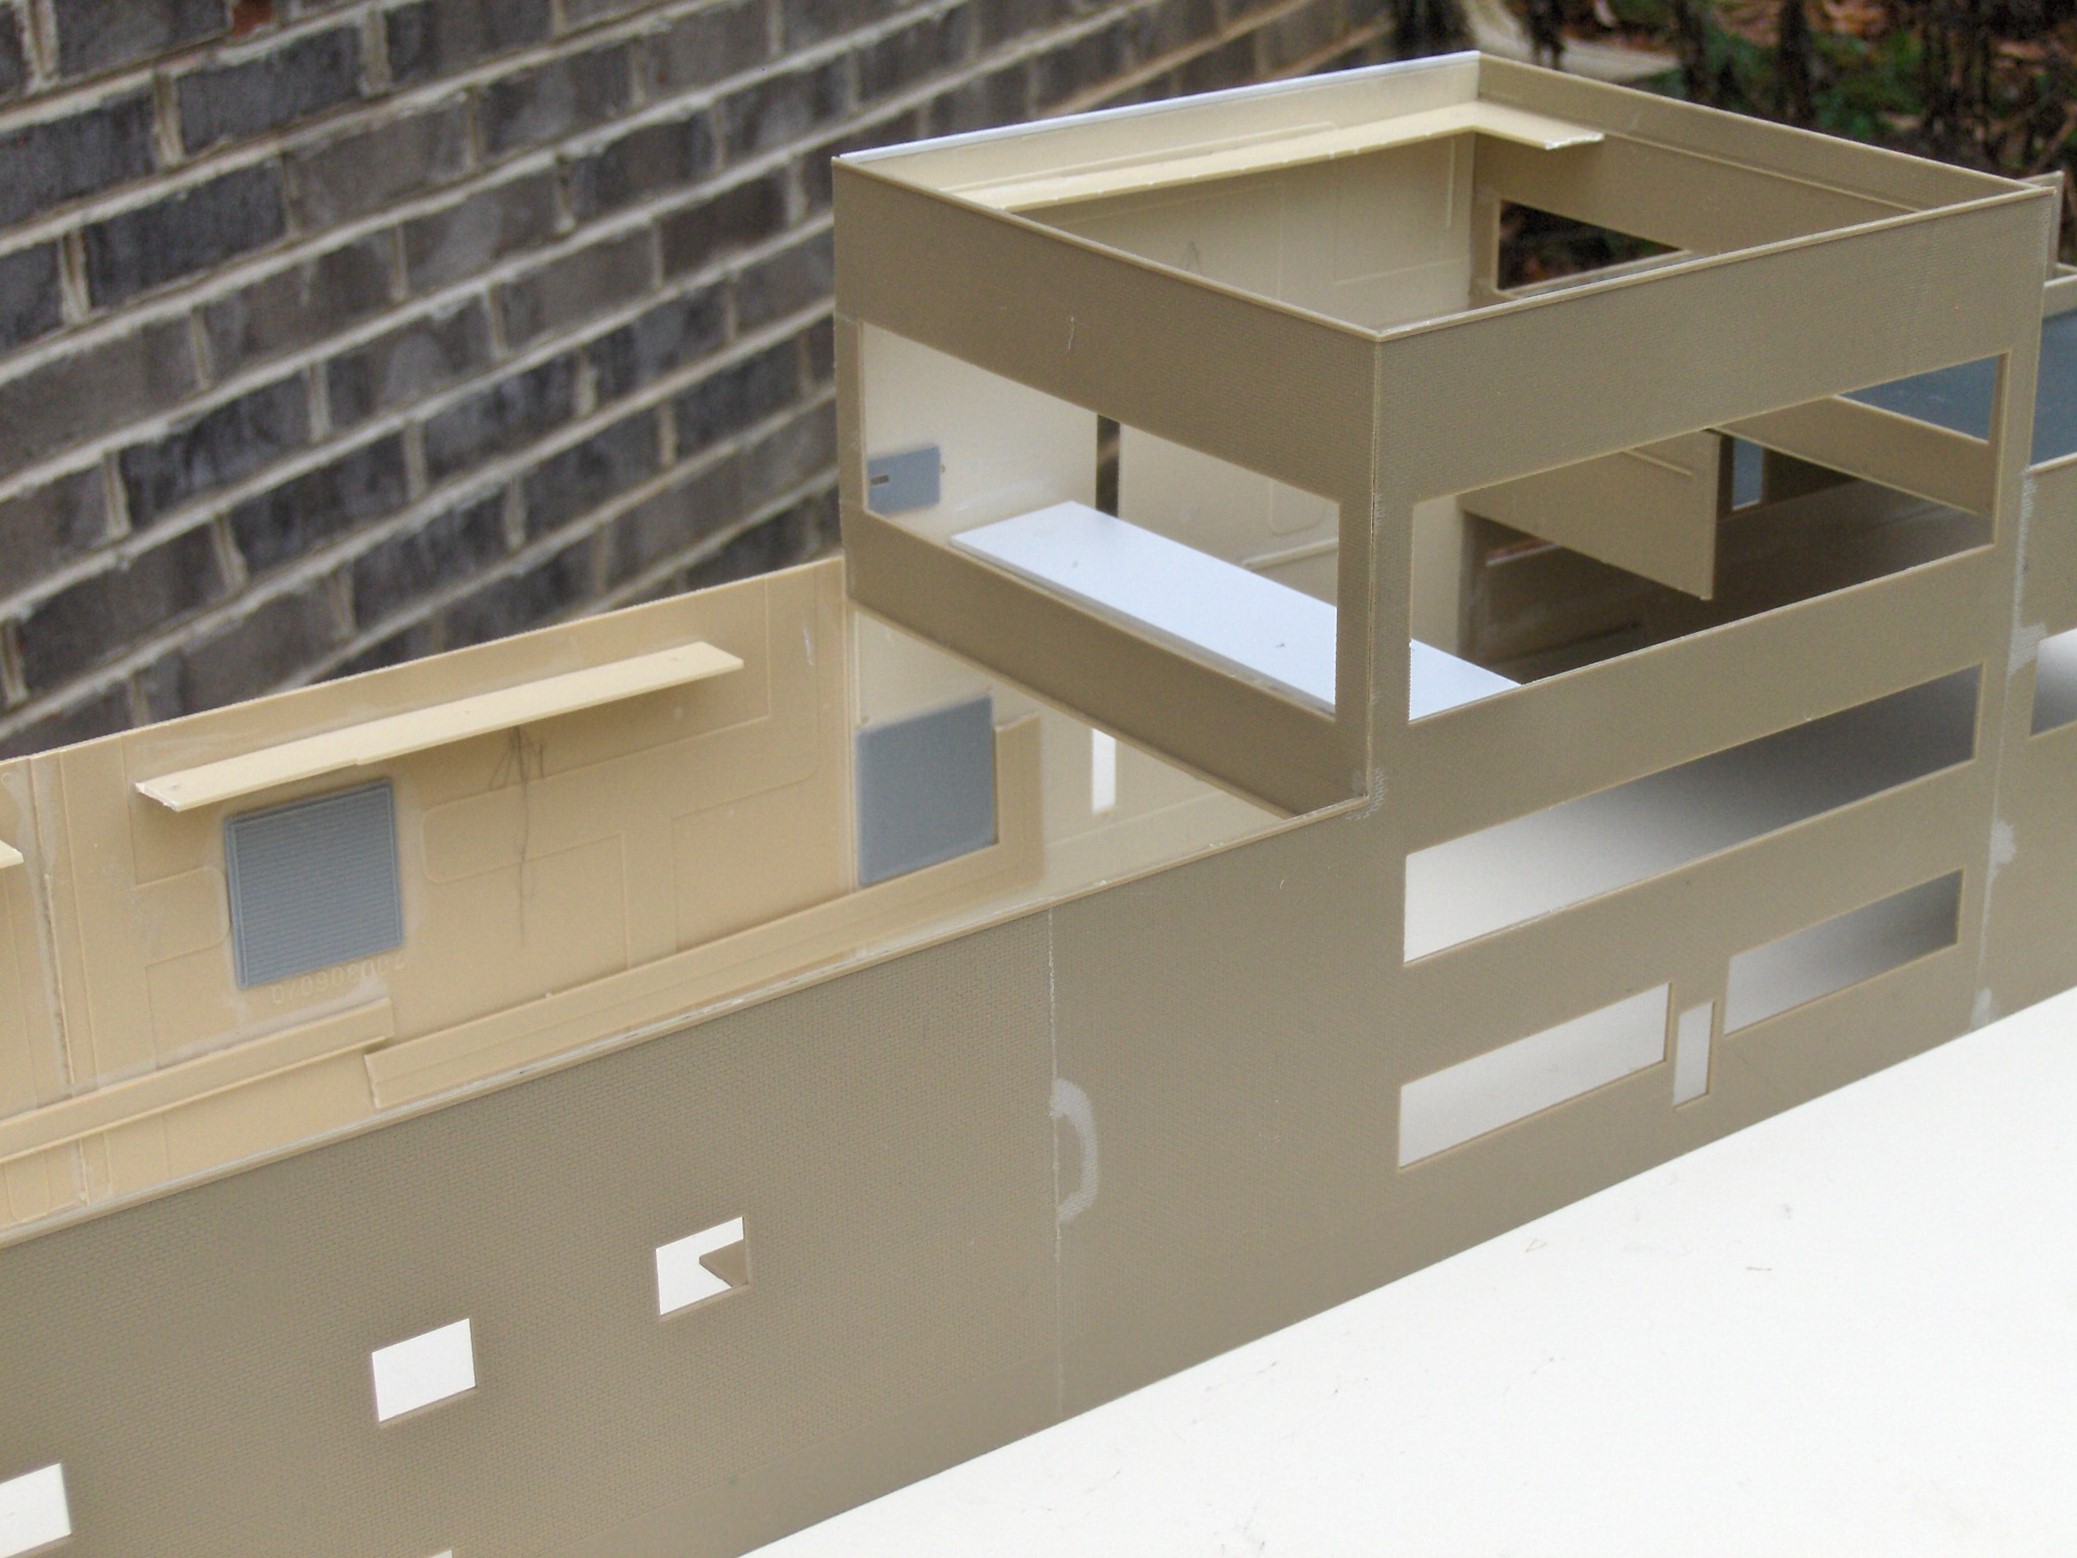
This front side of the paper mill will be seen by the viewer and will be given more detail. Notice the seam in the middle of the wall. Even though it’s a good joint, it will be imperfect after painting, so I will later add a “concrete” pilaster to hide the imperfection in the way the bricks line up.
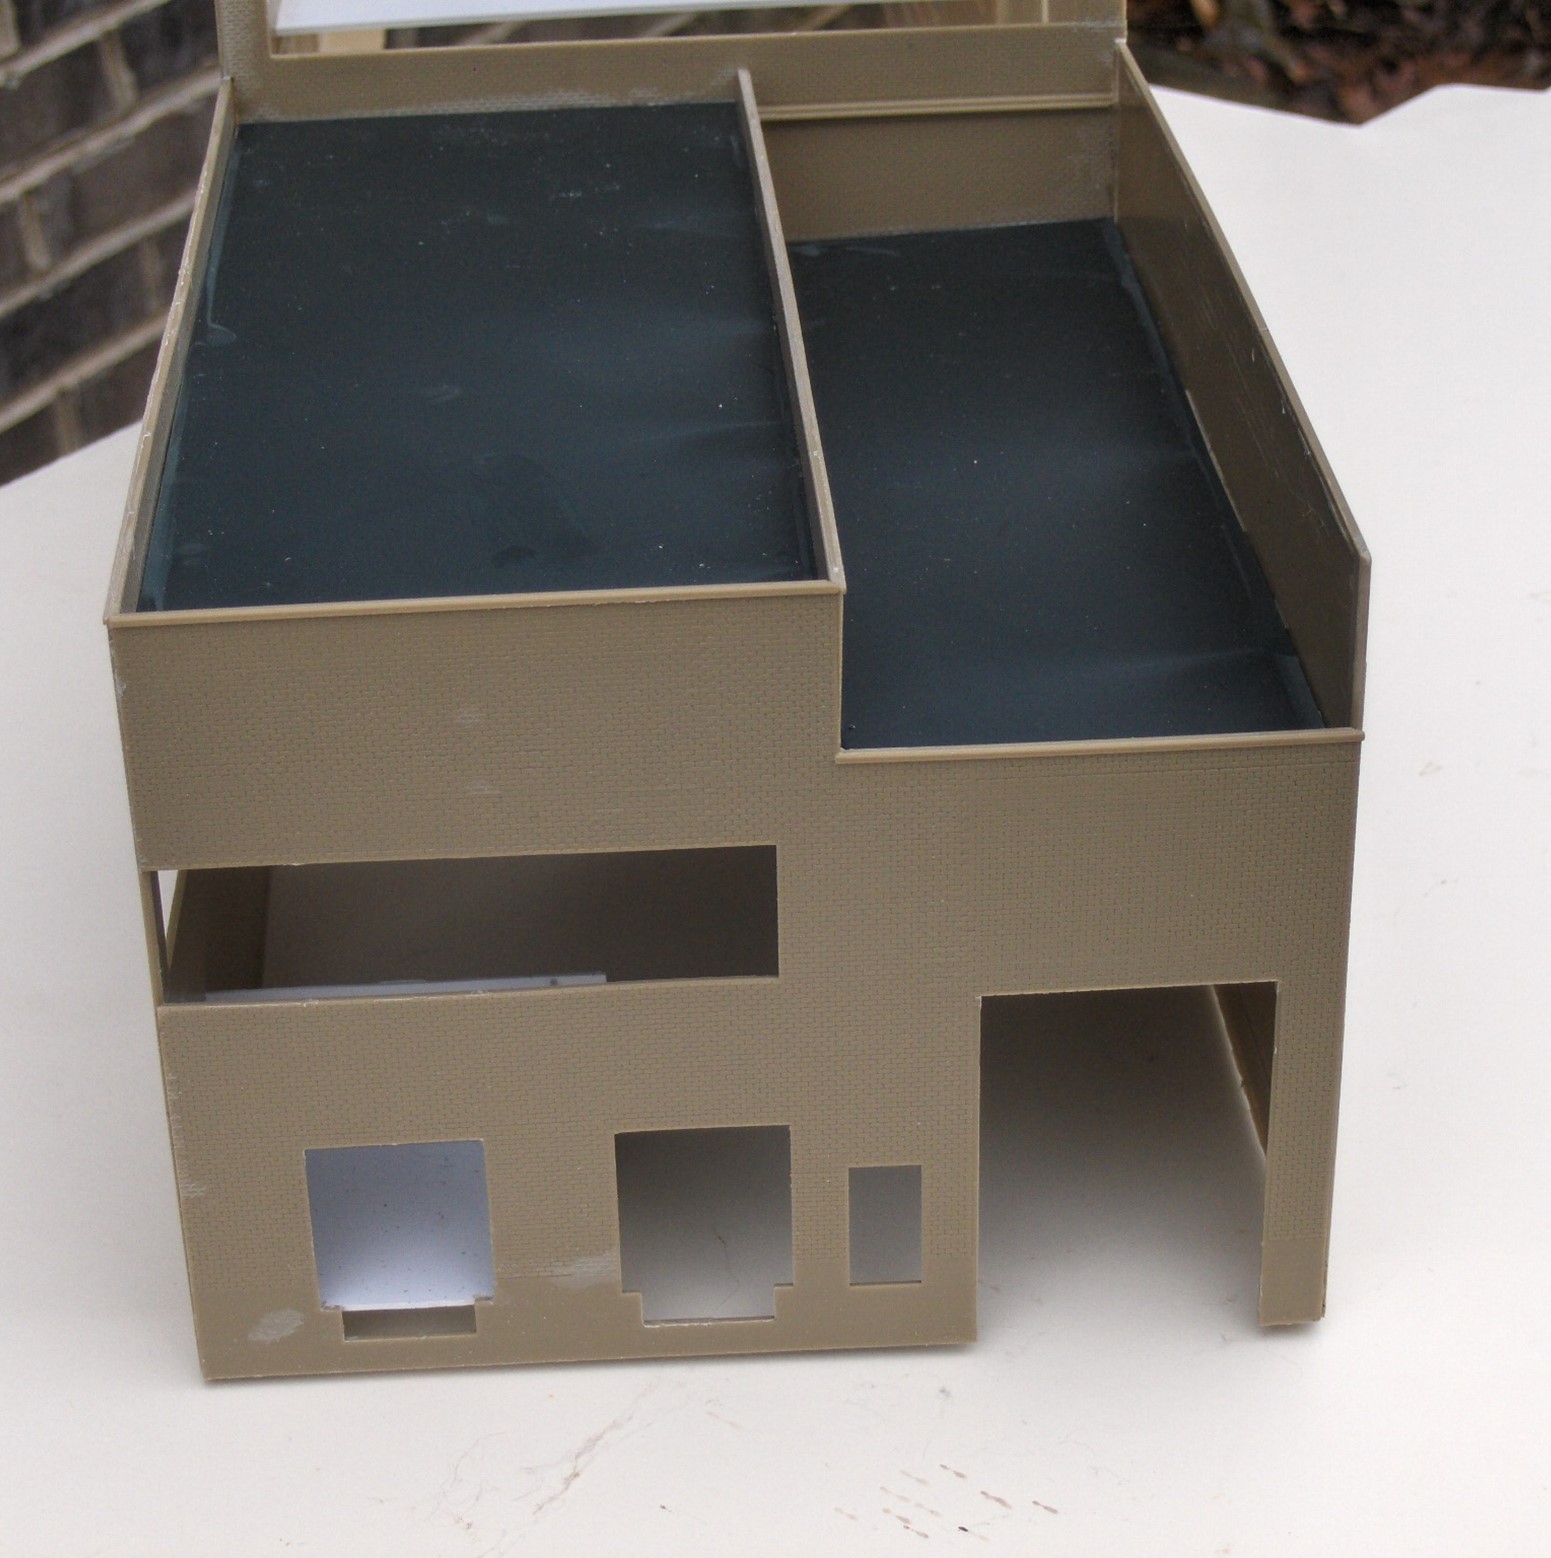
Here is the end view with the shortened piece in place. The structure is now about half as wide as the original kit design. I also put the roof panels in place after trimming them to fit the new dimensions. If you look closely, the door on the left has a styrene wall and floor so I can leave the door open to show the interior detail. Little details like that make the building look lived-in.
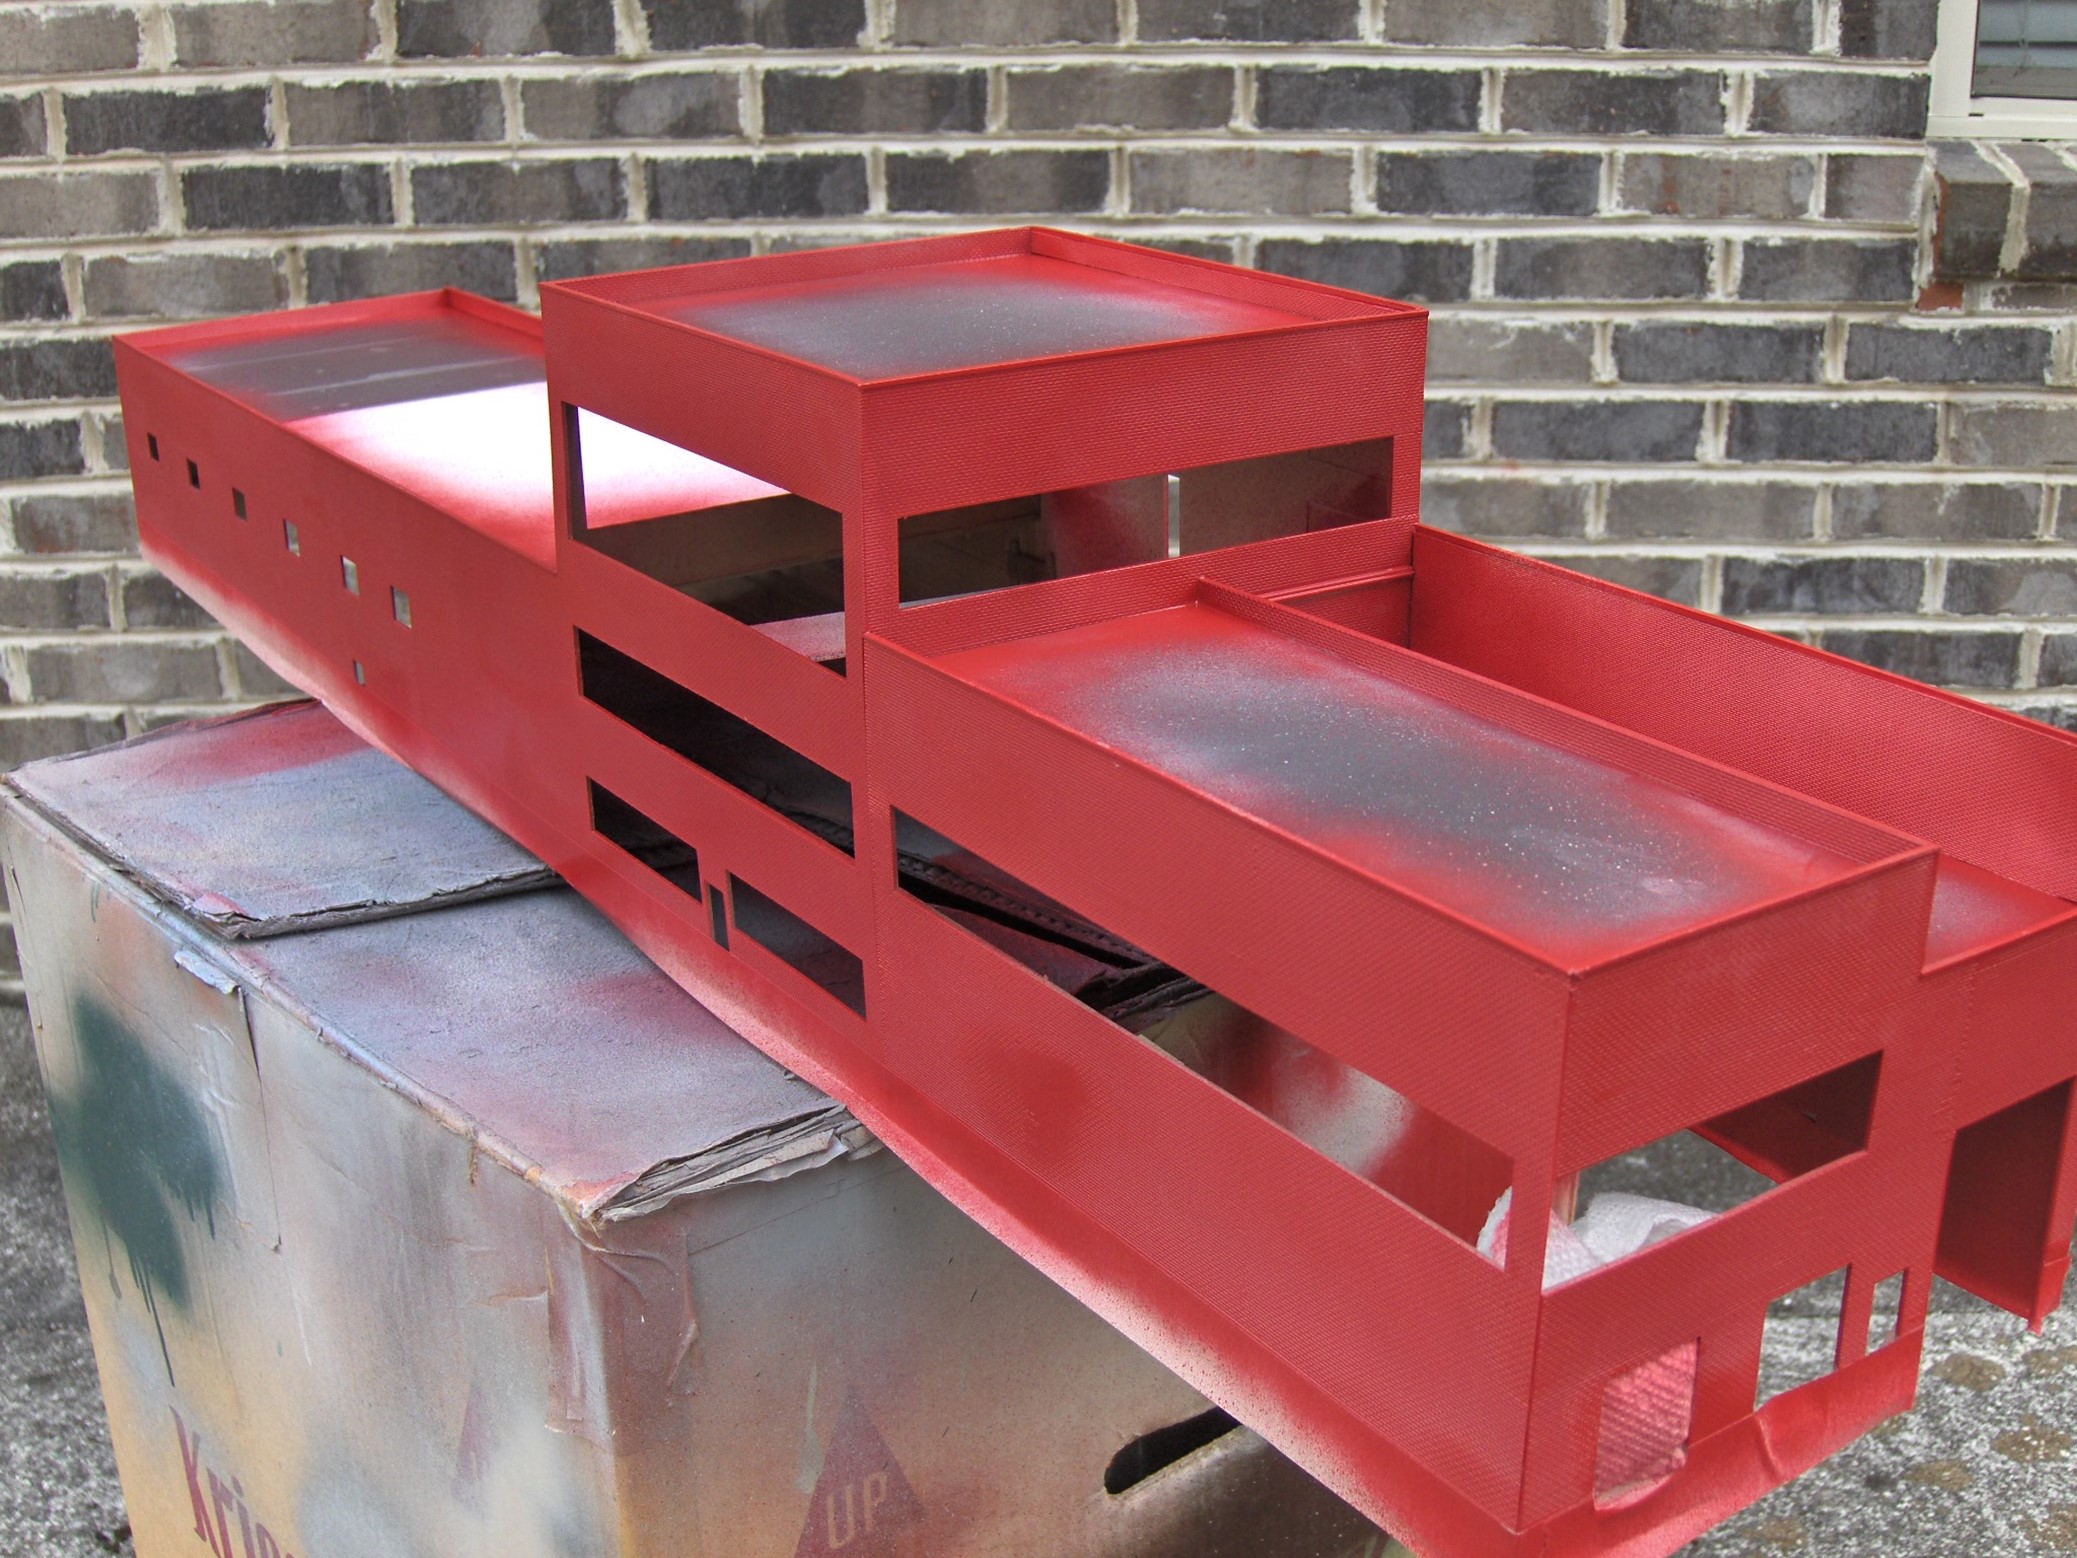
The paper mill was taken outside and given an even coating of brick red spray paint. Notice the masking tape around the bottom. I painted the base a concrete color, then taped over it before adding the brick red color to the rest of the structure.
This is the unseen rear view with an opening for the track cut into a piece of plain styrene. The walls of the tall center section had to be trimmed to match the reduced width of the mill. I added three “concrete” pilasters to camouflage the seams between the four pieces, then added the windows after scrubbing the building with yellow chalk and fixing it with a spray of water.
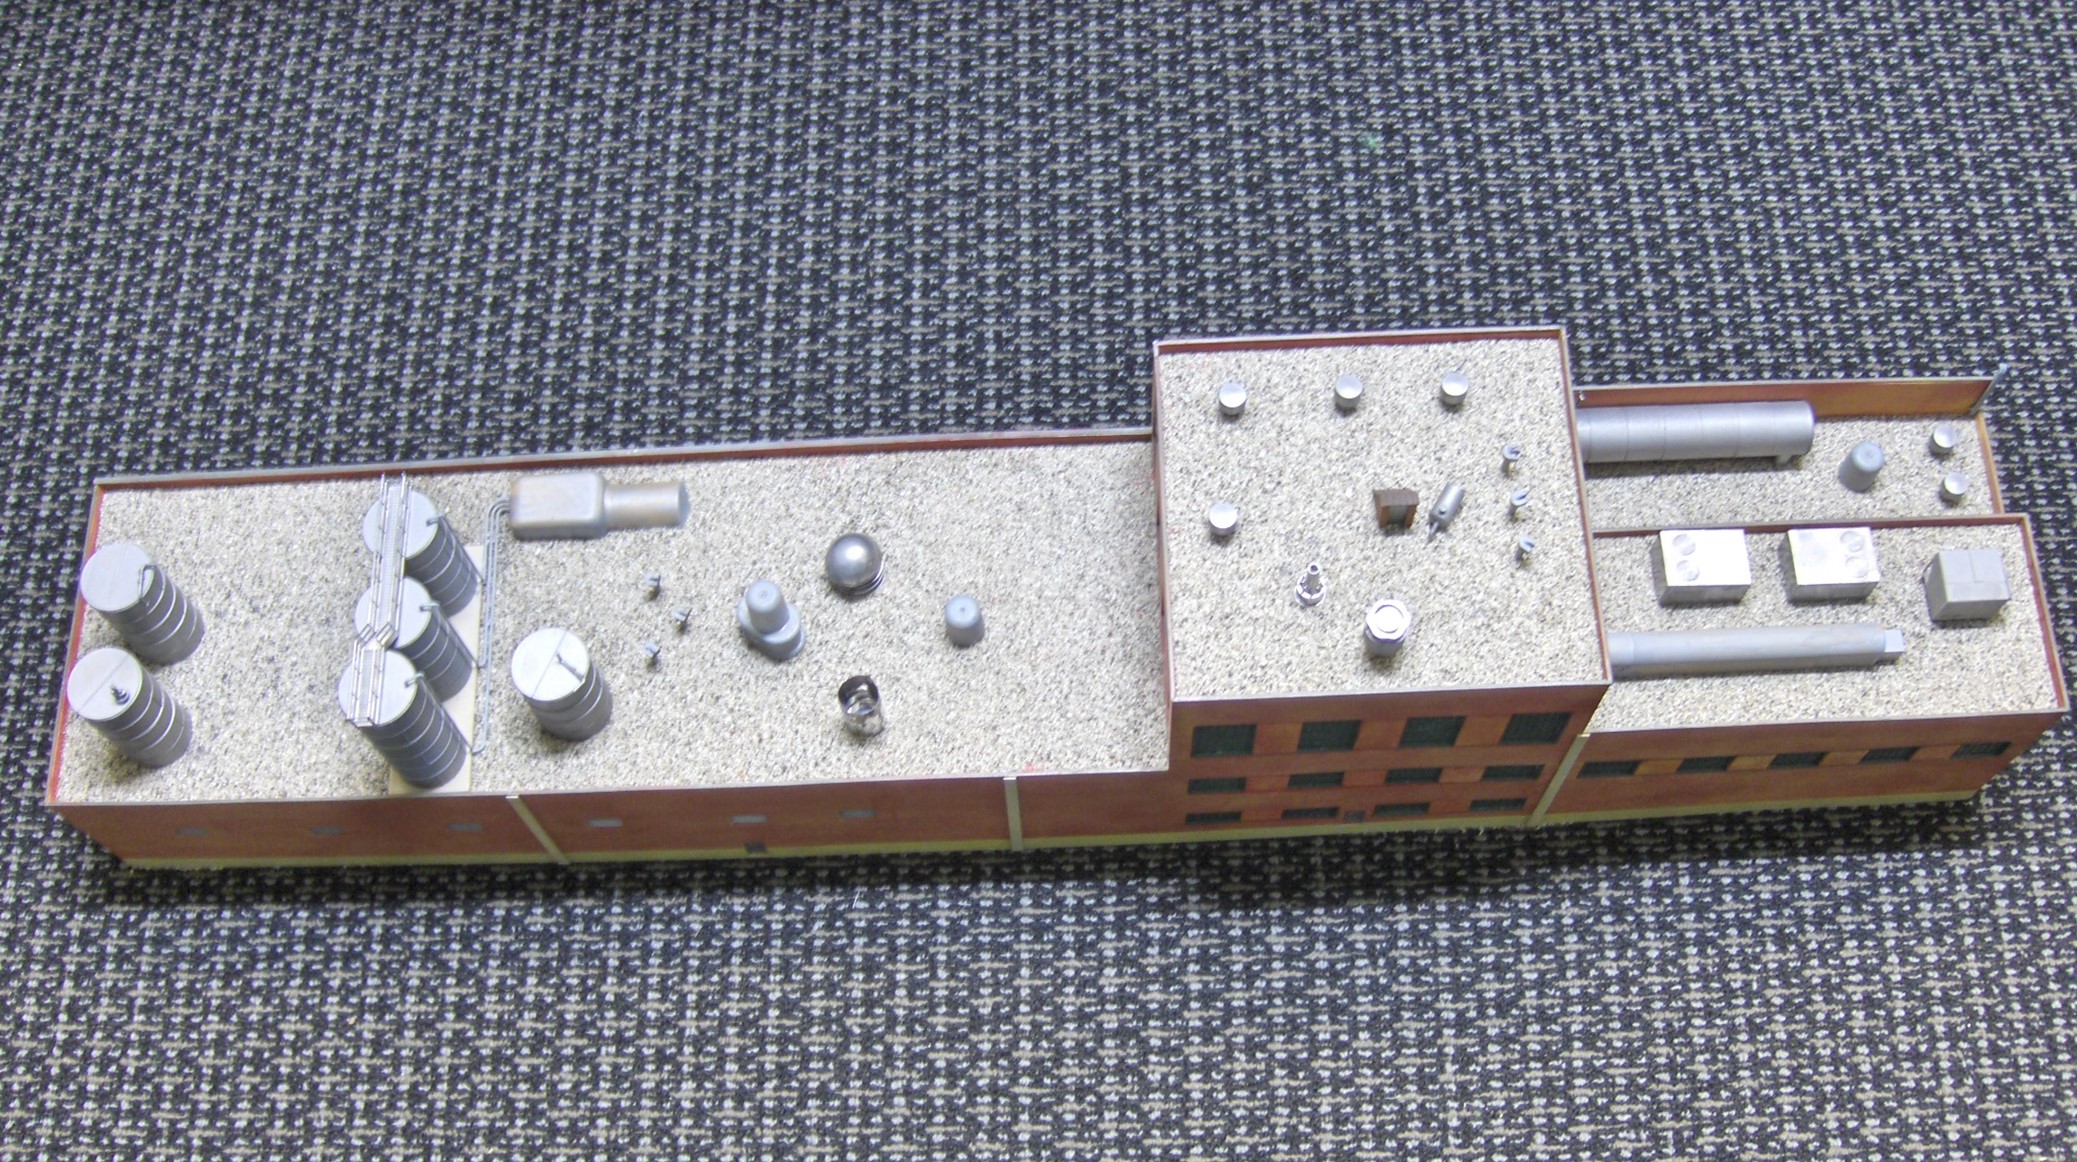
An industrial building always has a lot of details on the roof. It’s not important to know what they do, but it is important to have them. Some of them came with the kit, but most were pieces from my scrap box. I save tubes, cylinders, and tops from household items such as aerosol sprays and cosmetic bottles. They make great vents and tanks!
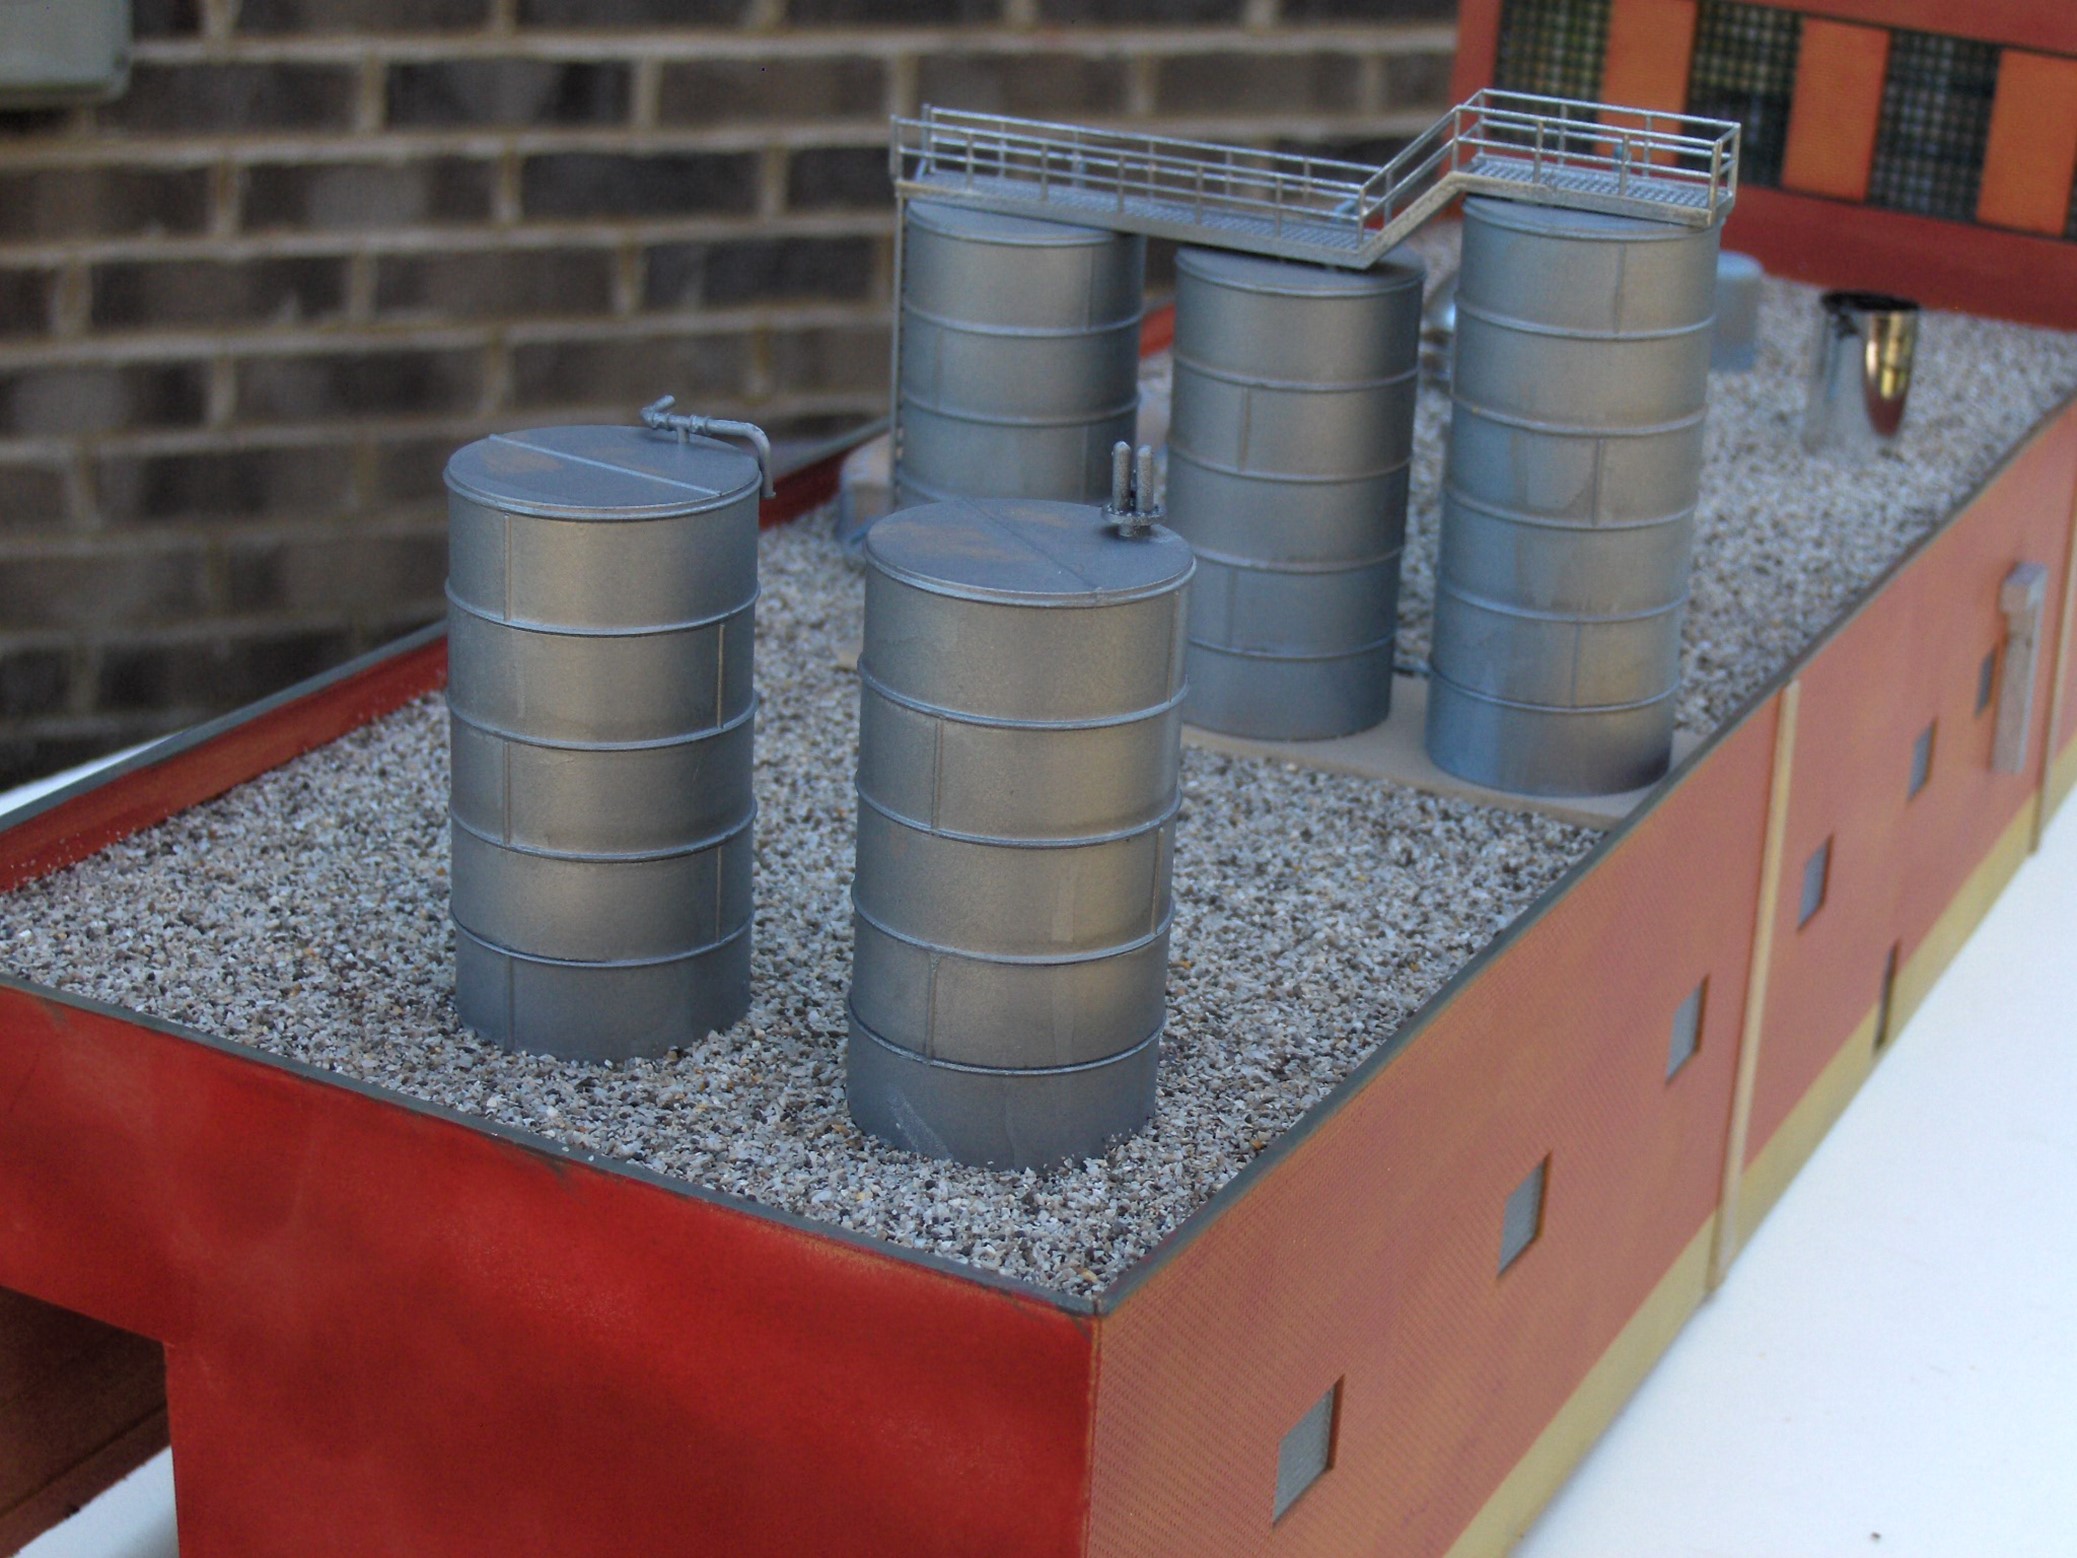
These tanks were part of the kit, and since space on a model railroad is always limited, why not put them on top of the structure? The coping on the top of the walls was painted a stone color, and vinyl brick was applied to the interior rim above the roof line so the bricks appear to go all the way down the inside of the wall. All the details were glued in place before rock ballast was sprinkled on top and sprayed with alcohol and water. Finally, diluted white glue was added to hold everything in place.
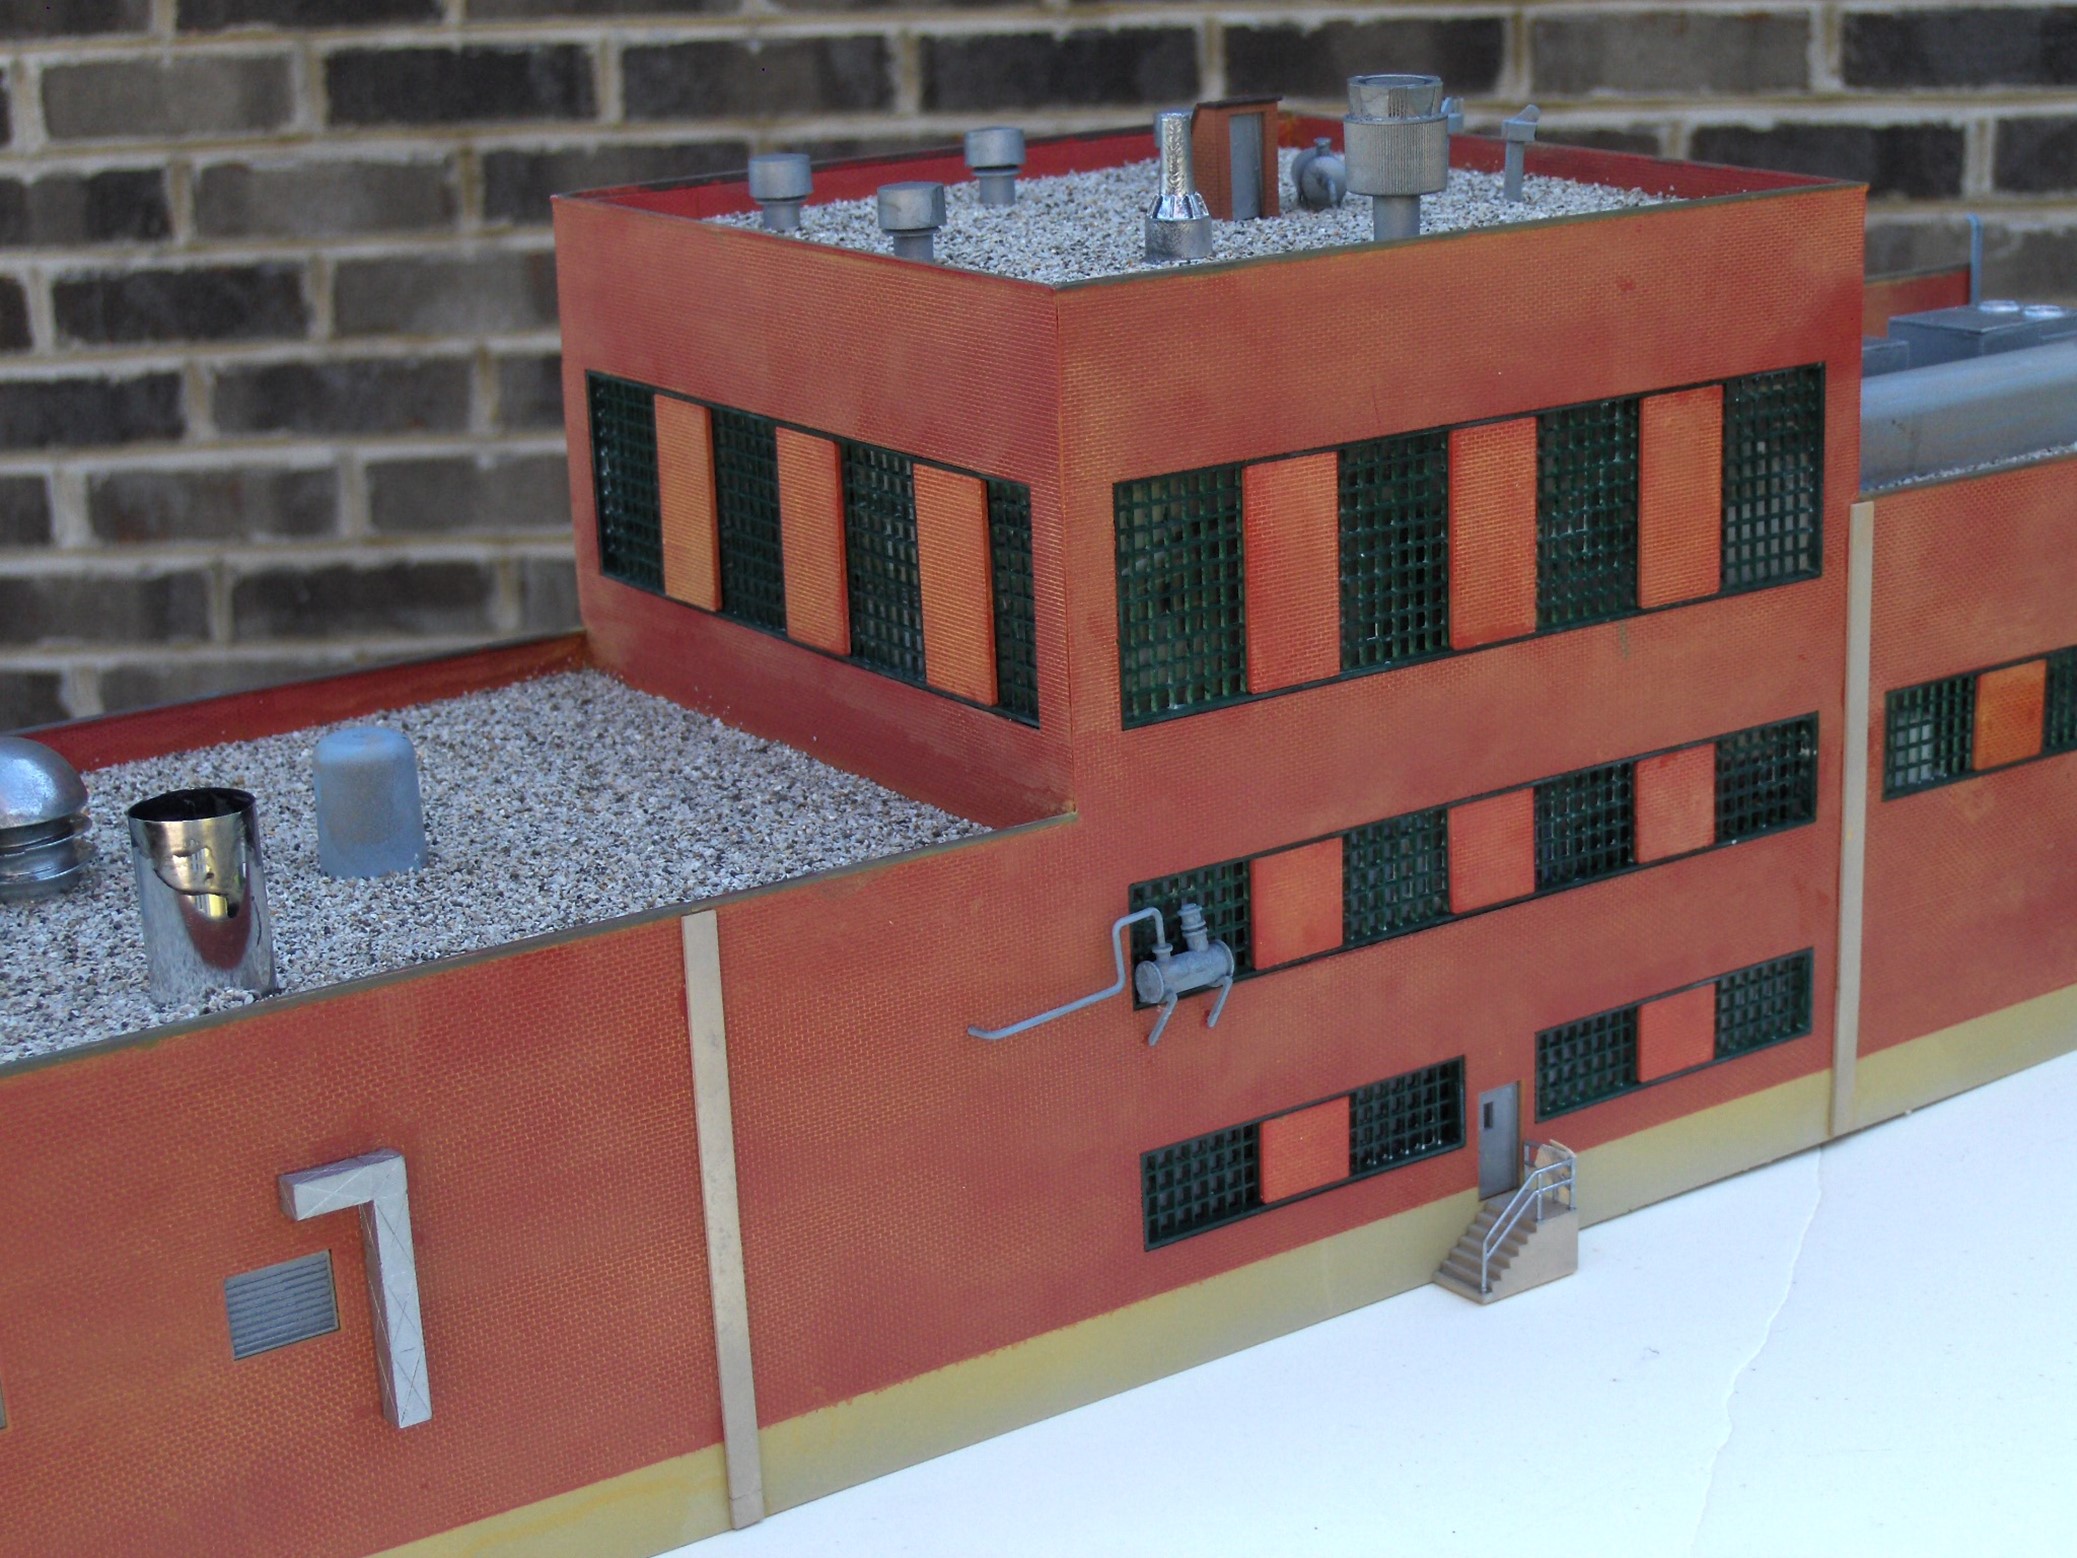
Details were also added to the side that will be seen from the aisle. This is a good shot of the vents and roof stairway access on the tallest part of the structure.
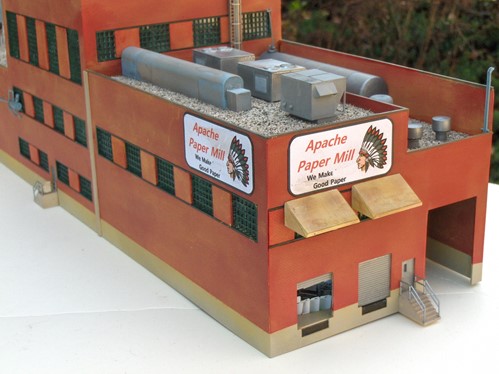
Here is the featured side with signs made on my computer, as well as a detailed door showing printed “rolls of paper” inside ready for loading. I also added two awnings from another kit to shade the office workers. On the right is the opening that extends the length of the building for a railroad spur. Now Dave’s new Apache Railway has a big industry to serve.

Absolutely fantastic.......and, great ideas for "our" paper mill. Thanks!!
Hi, That's an interesting way to modify the Walthers paper mill kit. I'm modeling paper mill for years now. I got two paper mill complexes : A big one witch is a whole complete small layout and a smaller one that stands on 3 modules of 45 inches x 26 inches. Two things I would do differently on your building are : Patching all windows (or a few ones). Most of the paper mill I've seen in my like have no big windows like these. It adds realism like the prototypes. Cut the narrowed second story wall (with a big window) in the center in a way that you end up with the same geometry on both sides. At least, Walthers could make fine window trims on those kits. They are simply horrible and out of scale. That's why I replace them or patch them. Keep on your good work. Regards Luc
Does this model come in O scale. The cover said HO?
Excellant step by step preso is this downloadable? Jerry
Nice article. What software did you use to make your signs?